While Sticker Mule is best known for stickers, we've quietly become a leader in magnets, too. We've sold thousands of custom flexible magnets (also known as vinyl magnets or fridge magnets) and recently introduced acrylic magnets.
We're confident that we offer the best custom magnets in the industry—but don’t take our word for it. With over 12,000 unfiltered reviews, our customers consistently praise the quality and strength of our magnets.
That quality is no accident. Before finalizing our design, our team rigorously tested samples from nearly every magnet manufacturer, evaluating factors like:
- Print quality and precision cutting on our equipment
- White point and gloss level to match our stickers
- Adhesion strength to various surfaces
Through this process, we've developed deep expertise in magnets. Our team shared some insights on how magnets work and practical tips to help keep them strong.
How do magnets work?
When it comes to custom magnets, strength and durability depend on several key factors:
1. What the magnets are made of
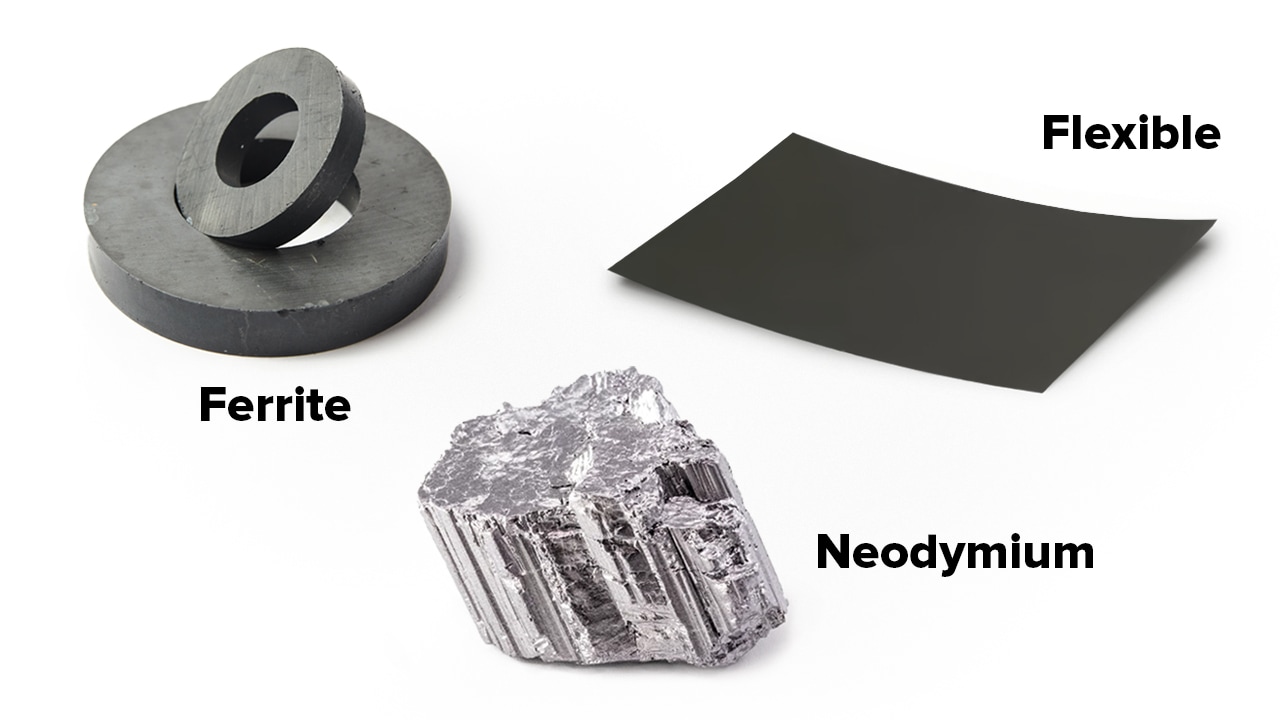
Custom magnets are typically made from one of the following materials:
Ferrite (Ceramic): Made from a mix of iron oxide and ceramic materials, these magnets are hard and brittle. They make a "tapping" sound when you hit them with a fingernail and can shatter if dropped or struck with force.
Flexible: Composed of ferrite powder (iron oxide mixed with other metal oxides) and combined with a rubber or plastic binder, these magnets are pressed into sheets and cut into shapes. They are thin, lightweight, and make a dull "thud" when tapped with a fingernail.
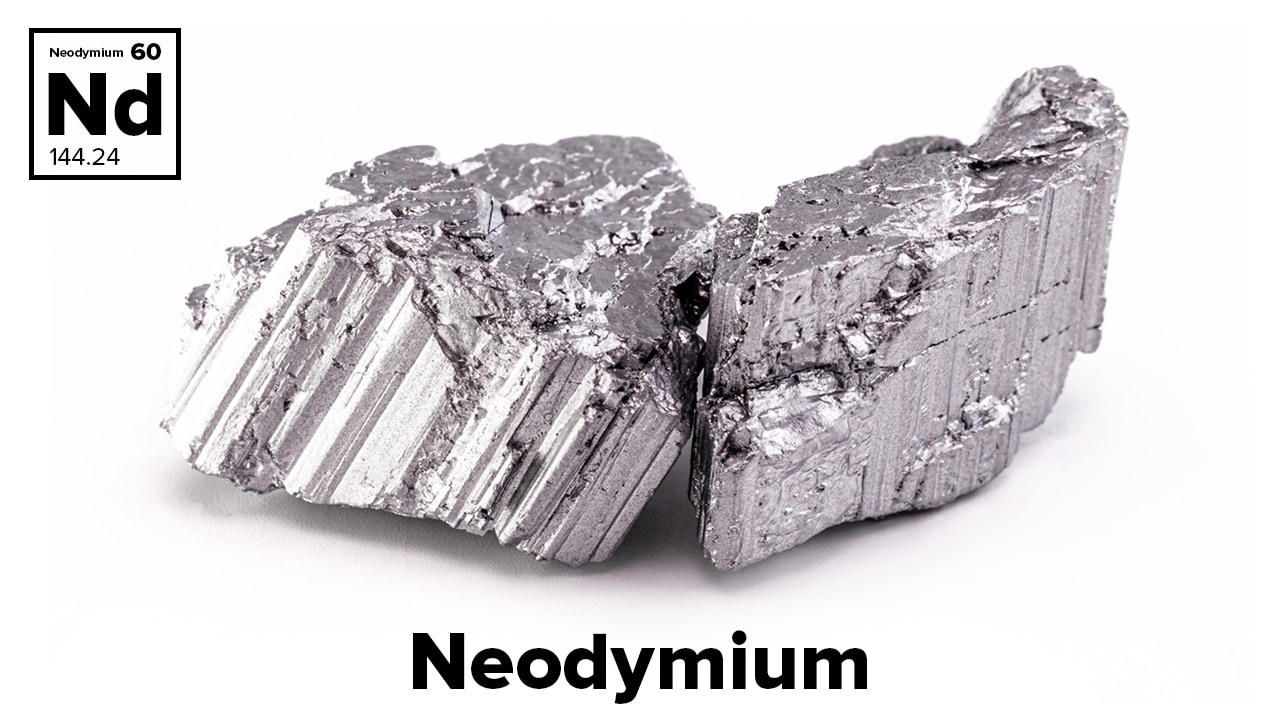
Neodymium (Rare Earth): The strongest magnets available, made from neodymium, iron, and boron. These magnets are typically coated to prevent chipping or cracking.
The quality of raw materials plays a major role in magnet strength. Not all flexible magnets, for example, are created equal—you’ve likely encountered flimsy business card magnets that barely cling to a surface, while others hold firm like glue.
2. How the magnets are made
Choosing high-quality raw materials is only the first step.
During manufacturing, factories apply a strong external magnetic field—using either electromagnetic coils or permanent magnets—to align the material’s natural magnetic domains, creating distinct north and south poles.
For specialized magnets like flexible magnets, manufacturers use magnetizing fixtures or jigs to create a striped pole pattern, ensuring a strong, localized magnetic pull.
The strength of a magnet also depends on:
- The quality of the equipment used in production
- The skill of the factory workers
- The level of quality control throughout the process
All these factors combine to determine how strong—and reliable—a magnet will be.
All about magnet strength
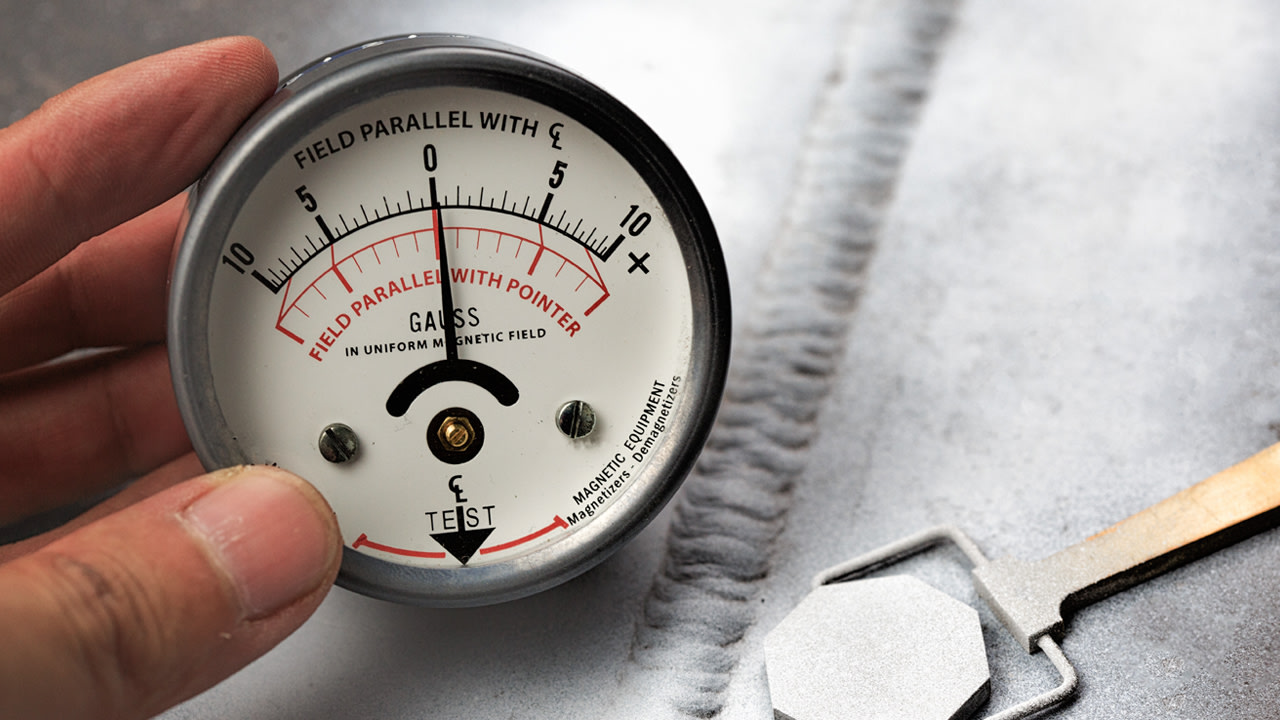
Magnet strength is typically measured in pounds (or kilograms) of pull force.
A magnet with one pound of pull force exerts a maximum of one pound of force on a metal surface.
Flexible magnets are measured in pounds per square foot, indicating the strength of a sheet of flexible material.
Neodymium magnets are graded by their maximum energy product (BHmax), which determines their overall strength. These range from N35 (weaker, used for crafts and toys) to N52 (the strongest, used in aerospace, scientific, and industrial applications).
This grading system helps categorize magnets based on their power and intended use.
Sticker Mule's flexible magnet strength
At Sticker Mule, our flexible magnets have a magnetic pull of 65 pounds per square foot—meaning one square foot of material can hold up to 65 pounds. These are thin, high-energy magnets, making them some of the best fridge magnets available.
Debunking a common myth: thicker ≠ stronger
Many people assume that a thicker magnet is always stronger, but that’s not necessarily true. Strength depends more on the quality of raw materials and the manufacturing process than on thickness alone.
For example, in 2017, we used a thicker 20 mil (0.508mm) magnet with a magnetic pull of 60 lbs/sq ft. While most customers were satisfied, we knew we could do better. We developed a thinner 15 mil (0.381mm) magnet with a stronger pull of 65 lbs/sq ft—resulting in magnets that cling more securely to refrigerators and even to cars at highway speeds.
Real-world testing
We tested our flexible magnets in-house, and here’s what a 2x2-inch magnet can hold:

- Three (3) sheets of standard 8.5" x 11" copy paper
- One thin 5" x 7" photo card (0.008" thick, 0.20 ounces)
Built to last
Magnetic pull is just one factor when choosing a magnet. We go the extra mile to source magnets that are not only strong but also durable and weather-resistant. Our magnets can withstand rain, snow, and sleet, performing in temperatures ranging from -15°F to 160°F.
Try them yourself
We’ve tested competitors, and we’re confident ours are the best. But don’t take our word for it—order a sample of 10 flexible magnets for just $9 and see for yourself.
Sticker Mule's acrylic magnet strength
Our acrylic magnets are made from clear, die-cut acrylic, securely attached to a neodymium magnet. Each magnet is cut to a minimum size of 0.75" x 0.75" and a maximum of 3" x 3".
Here are specs for the neodymium magnet itself:
- Diameter: 10mm
- Thickness: 1mm
- Magnetic Grade: N42 (42 MGOe)
- Nickel-coated for durability and protection
Real-World Holding Power
Regardless of size (1"x1", 2"x2", or 3"x3"), an acrylic magnet can hold:

- Eight (8) sheets of standard 8.5" x 11" copy paper
- One thick greeting card (0.027" thick, 0.55 ounces, 5.5" x 8")
As you can see, neodymium magnets are the gold standard when it comes to strength and reliability.
All about magnet strength
What materials do magnets stick to?
Yes, the material you stick a magnet to can impact its strength. Different materials have varying levels of magnetic attraction.

Iron is highly magnetic.
Steel (an iron alloy) may or may not be magnetic, depending on its composition and any coatings or plating it has.
Low-carbon steel is usually highly magnetic and is found in refrigerator body panels, washing machines, dryers, water heaters, cars, and some kitchen items like baking sheets, pots, and pans.
Certain stainless steels, especially those with high chromium content for corrosion resistance, are not magnetic.
The following metals are considered non-ferrious metals and aren't magnetic. If you're hoping to stick magnets to your solid gold refrigerator, you're out of luck.
- Aluminum
- Copper
- Brass (copper + zinc alloy)
- Bronze (copper + tin alloy)
- Lead
- Tin
- Titanium
- Zinc
- Gold
- Silver
- Platinum
Other factors that affect magnet strength
Aside from magnet quality and the type of metal it adheres to, several other factors can influence magnetic strength:
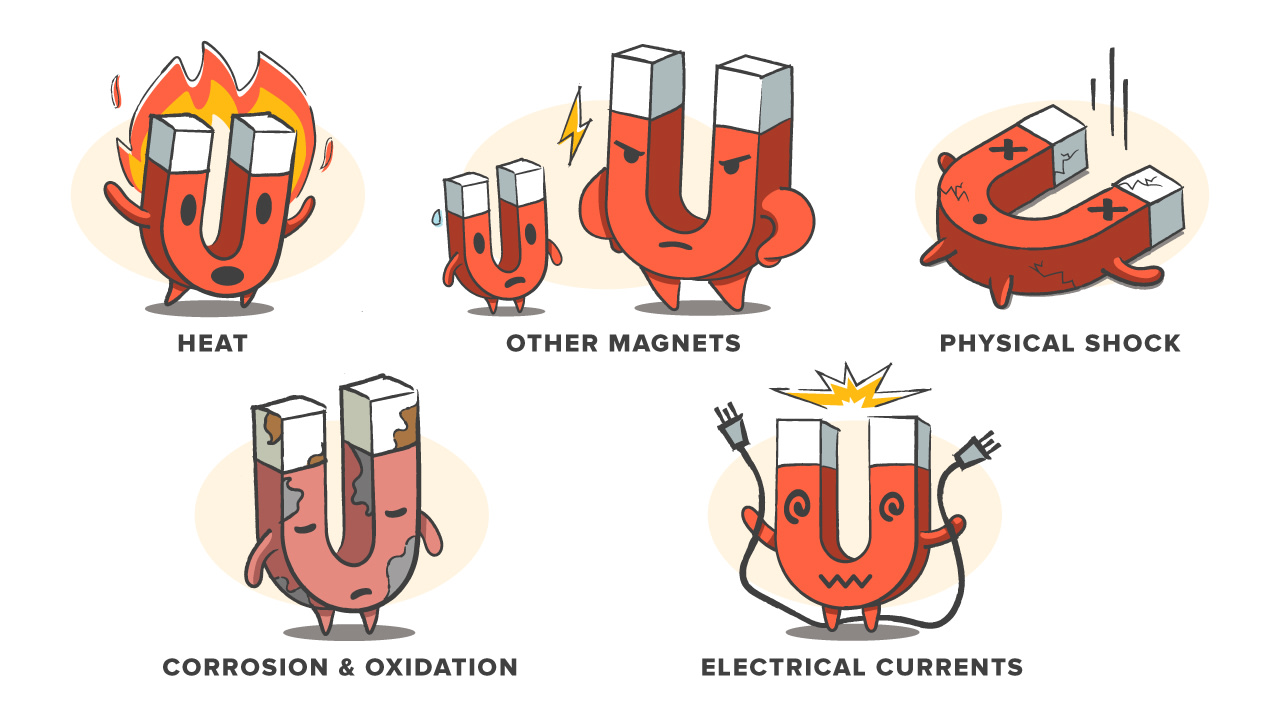
Heat: High temperatures can disrupt a magnet’s internal structure. If a magnet reaches its Curie point, it can become permanently demagnetized. Keep magnets away from ovens and heat-generating appliances.
Other magnets: Exposure to strong magnetic fields can misalign a magnet’s domains. Store magnets carefully—don’t just toss them in a drawer.
Physical shock: Dropping or striking a magnet repeatedly can knock its atomic structure out of alignment, weakening its strength.
Corrosion & oxidation: Keep magnets dry. Rust and oxidation can degrade their structure, especially neodymium magnets, which are typically coated to prevent damage.
Electrical currents: AC power generates fluctuating magnetic fields, which can disrupt a magnet’s alignment.
By understanding these factors, you can ensure your magnets remain strong and effective for as long as possible.
Can you restore a weakened magnet?
If stored properly, magnets should retain their strength for a long time. To prevent weakening:
Store magnets in attracting pairs (north pole to south pole).
Avoid high temperatures, which can disrupt their magnetic structure.
Keep magnets dry to prevent corrosion.
If a magnet has weakened over time but still attracts metal, you may be able to re-magnetize it using one of the following methods.
How to re-magnetize a weakened magnet
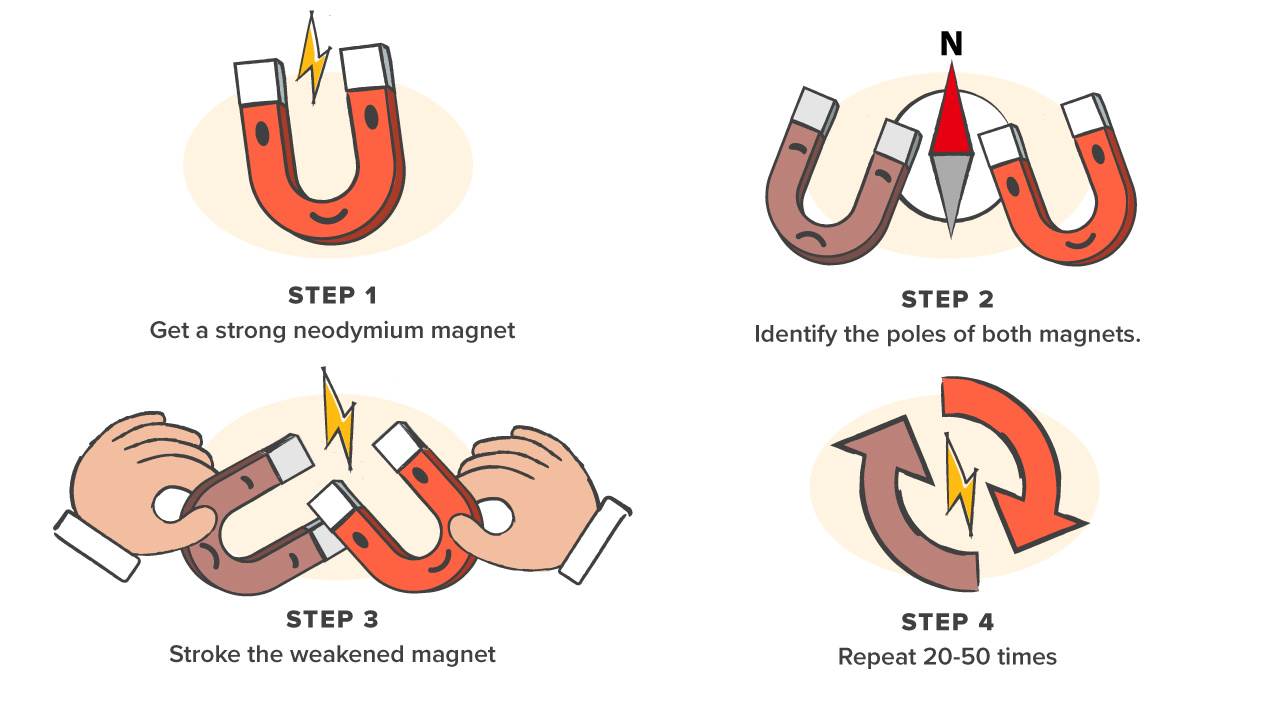
1. Using a stronger magnet
This method works for both neodymium and ferrite-based magnets that have lost strength but still have some magnetic pull.
Steps:
Get a strong neodymium magnet—our N42 acrylic magnets work well.
Test polarity by checking if the magnets attract rather than repel. For precision, use a compass—the red (north) end will be attracted to the magnet’s south pole, and vice versa.
Stroke the weakened magnet in one direction only (not back and forth).
Start at one end and drag the strong magnet across the surface of the weak magnet.
Lift the strong magnet off at the end, then repeat from the starting position.
Repeat 20-50 times. If all goes well, this action should realign the weakened magnet’s domains.
2. Using an electromagnet or coil
If you have access to electronics expertise, you can try using an electromagnet or a coil to generate a strong magnetic field around the weakened magnet. This mimics the industrial magnetizing machines we use in manufacturing.
- Limitations of re-magnetization
These techniques work best when the magnet is structurally intact and hasn’t been damaged by:
- Excessive heat (above its Curie temperature)
- Severe corrosion
- Breakage or cracking
- Inferior material quality
If the magnet has suffered any of these issues, restoration may not be possible. In that case, replacement is the best option.
Are magnets safe?
Household magnets generally pose no significant risk for adults and older children.
Neodymium magnets were in the news a few years ago when tiny magnets that looked like ball bearings were marketed as toys. There was a very real danger of toddlers and small children swallowing the magnets. Generally speaking, swallowing one magnet is harmless. But swallowing two magnets can attract inside the digestive tract, which can cause severe injury or worse. Thankfully, these toys are no longer marketed for kids but for adults.
Sticker Mule's neodymium magnets are securely glued to an acrylic surface that's a minimum of 1" x 1", so accidental ingestion is highly unlikely. That said, we do recommend that if your magnet will be marketed or distributed to those with pets or young children that you include instructions to keep them away from young children and animals.
Magnets may also interfere with older hard drives, pacemakers, cards with magnetic strips, or other electronic devices. Newer phones and laptops generally have sufficient shielding to keep them safe, but we still recommend keeping strong magnets away from them.
Conclusion: choosing and maintaining the best magnets

Magnets may seem simple, but their strength, durability, and performance depend on a mix of science, materials, and craftsmanship.
At Sticker Mule, we go the extra mile to ensure our flexible and acrylic magnets are among the best available—and we make them all out of our factories in the USA and Italy.
With industry-leading magnetic pull and superior durability, our magnets are designed to hold up against everyday use—whether on a fridge, car, or any other magnetic surface.
If you’re looking for high-quality, reliable magnets, try them for yourself.