How to create a circle sticker in Adobe Illustrator
投稿者 Miles Wright 投稿日
Circle stickers are everywhere these days. Laptops, water bottles, packaging, phones, notebooks, the list goes on. They're simple but effective, and with good reason. That perfect round shape just works.
When designing circle stickers in Illustrator, there are two things that you’ll find on a lot of them: text that perfectly follows a circle's curve, and rotated elements around a central point without any flaws.
These might seem tricky at first, but they're actually pretty straightforward once you know how. I remember the first time I tried to make text follow a circle. Using the Warp Tool seemed to be the logical method, but this only gets you so far. And trying to rotate multiple elements perfectly?
I spent way too much time eyeballing positions only to have everything look slightly off. And manually dividing 360° wasn’t the quickest way to do this.
In this guide, we'll walk through these techniques step by step, so you can create professional-looking circle stickers in a jiffy. Whether you're making branded stickers for your business or fun designs for your personal collection, these tips will help you get the results you want.

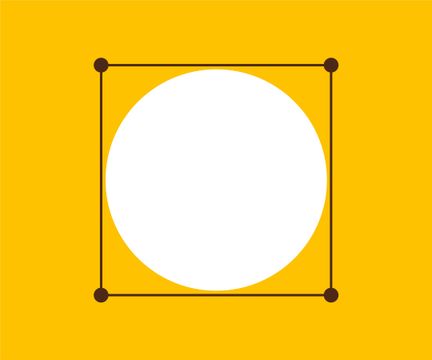
Step 1
Select the Ellipse tool (L) and create a circle. You can either click your mouse to set an exact size or hold shift and drag + click to create it manually.
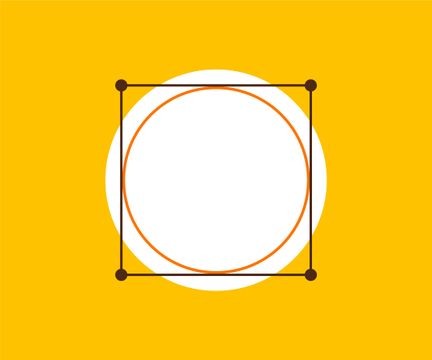
Step 2
Copy the circle (⌘+C on Mac, Ctrl+C on Windows ) and Paste in Front (⌘+F on Mac, Ctrl+F on Windows). Give it an outline to get a sense of its size.
Step 3
In the toolbar, click + hold on the Type Tool. Then, select the Type on a Path Tool.

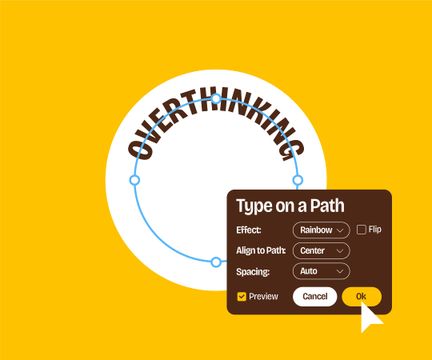
Step 4
Type your text. By default, text is placed on its baseline. Let’s change that.

Step 5
Double-click the Type on a Path Tool and set the Align to Path option to Center. Click OK.
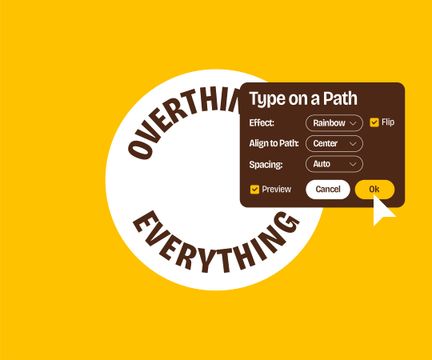
Step 6
Duplicate the text and rotate it 180° using the transform handles. Hold Shift to snap to clean steps of 45°.

Step 7
Double-click the Type on a Path Tool again and check Flip. Click OK.
Step 8
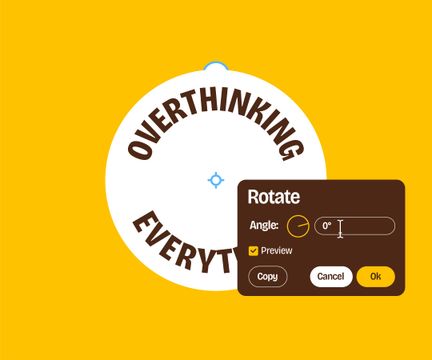
Place a circle on top, hit R, and Option + click your mouse on the center of the circle to open up the Rotate panel.
Step 9
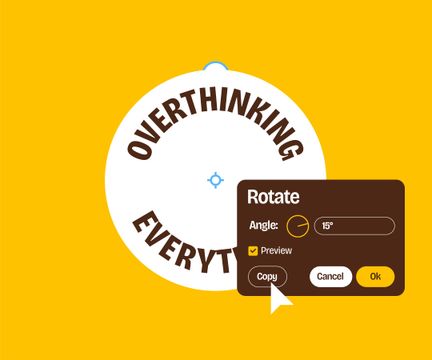
Set the angle to 15° and hit Copy to duplicate it. Now use Duplicate (⌘+D on Mac, Ctrl+D on Windows) to repeat those steps.
Step 10
Looking good! Now let’s add a line to the center. Use Shift+W to edit the stroke width.

Step 11
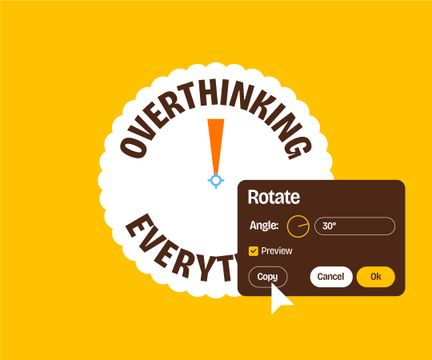
Repeat the same step by rotating the line using the Rotate tool.
Step 12
Nice! But those line endings are looking a bit wonky, let’s make them smoother.

Step 13
Place a circle on top of the lines and select them together. Use Object > Clipping Mask > Make (⌘+7 on Mac, Ctrl+7 on Windows) to create a Clipping Mask.

Step 14
Add some extra elements to spice it up a bit.

Step 15
Now, place another circle behind it, and you’re ready to go!

There you have it! With these techniques, you can create professional circle stickers that stand out from the crowd. Once you've perfected your circle design, you can also use it for labels, magnets, buttons, coasters, and more.
The circular format works perfectly across all these products, giving your designs a consistent look no matter where they appear.
Remember that practice makes perfect. Your first few attempts might not turn out exactly as you imagined, but keep experimenting. Try different fonts, play with spacing, and test various arrangements until you find what works best.
The time you spend getting comfortable with these techniques will pay off across all your design projects. After many years of using Adobe Illustrator, I only recently came across these "Baseline" and "Flip" options in the "Type on a Path" panel. And now I can’t go without them. See what I’m saying? Have fun creating your circle stickers, and don't forget to share your designs with the world!
コメント