Preparing your artwork with a border and/or cut line will help ensure that your sticker will be cut exactly as you intended. The process is slightly different depending on your file format so we provided instructions for both Photoshop and Illustrator.
1. Resize your image:
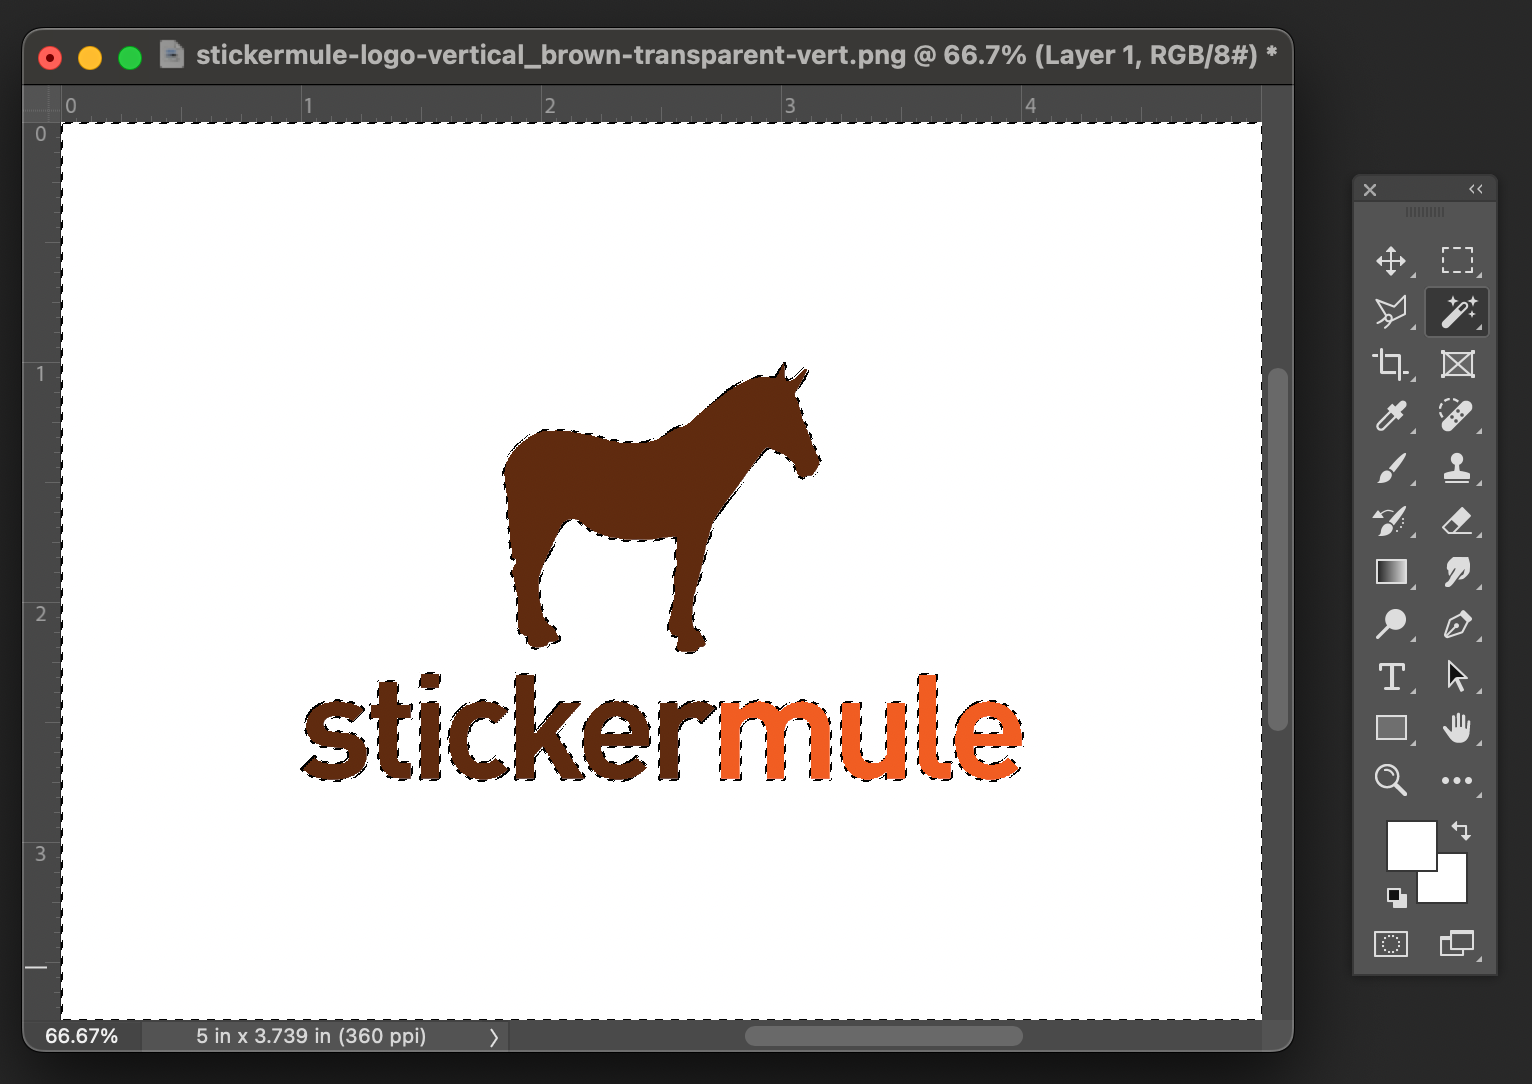
Open your file in Adobe Photoshop and click Image > Image size.

Resize your image to the desired size in inches at 360 PPI. Your size should be approximately the size you'd like your stickers to be. Keep in mind that the size shown in the dialogue box represents your entire document, so you should trim the background first.
Once you resize your image, add some padding to make room for the border. Click Image > Canvas Size and add 5 cm of relative padding to your image.

2. Create an image mask:
Note: If your image already has a transparent background, skip to step 3.
Use the magic wand tool and click the background area to select it. Click Layer > Layer Mask > Hide Selection to hide the background. Your design will now be isolated on a transparent background.
3. Add a stroke to the layer:
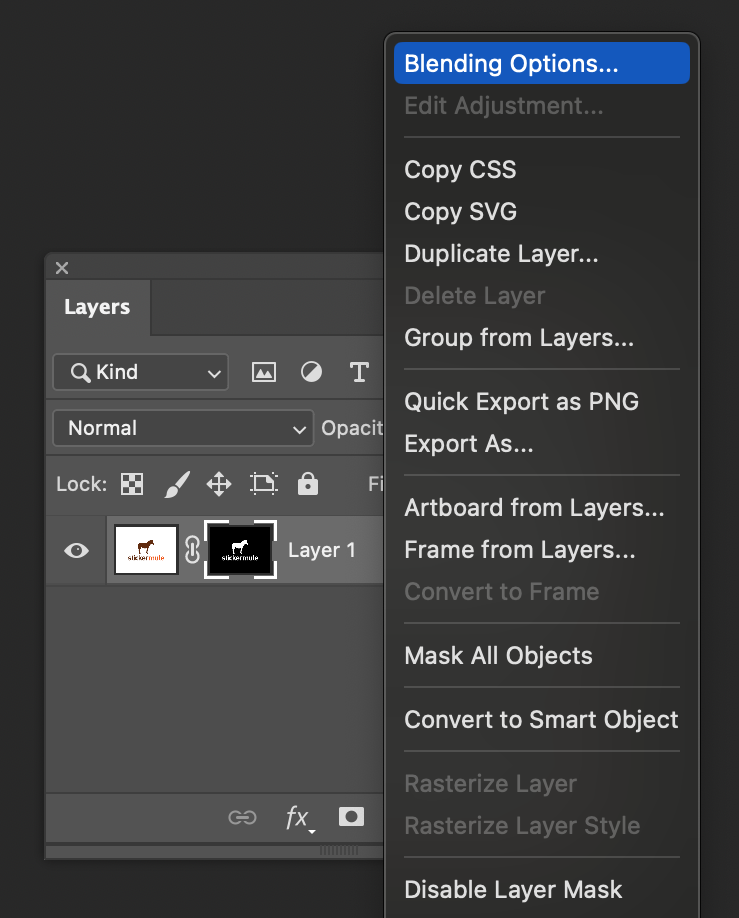
Right-click on your layer and select Blending Options.
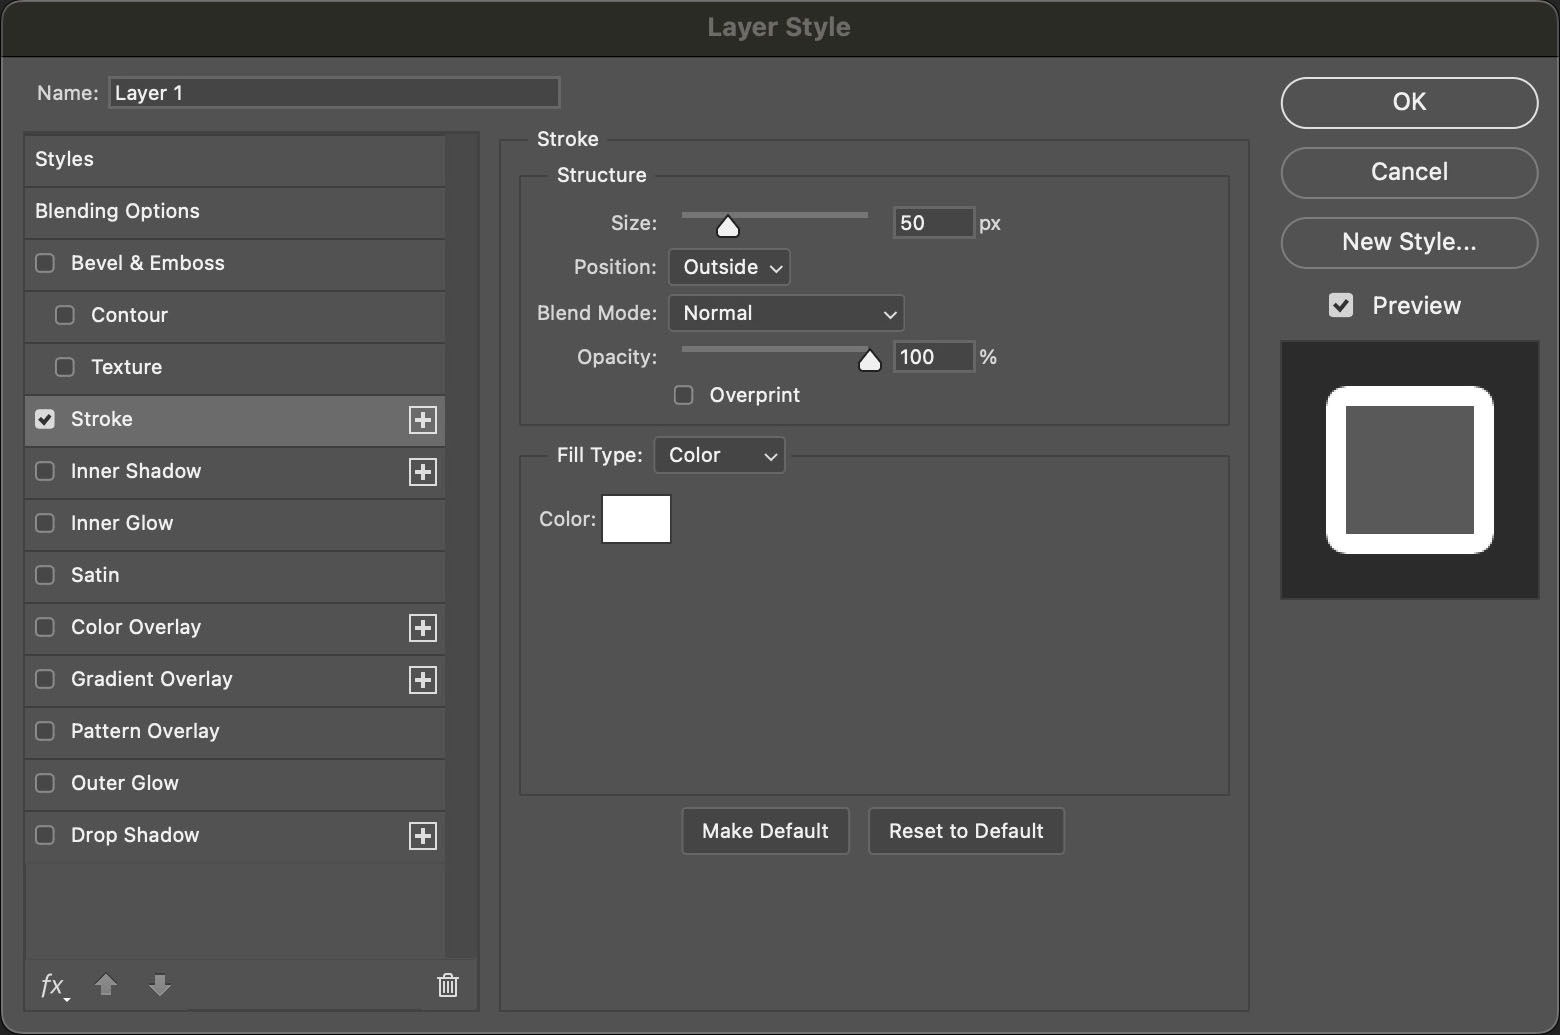
Select Stroke and choose a size and colour. The other settings should match the following:
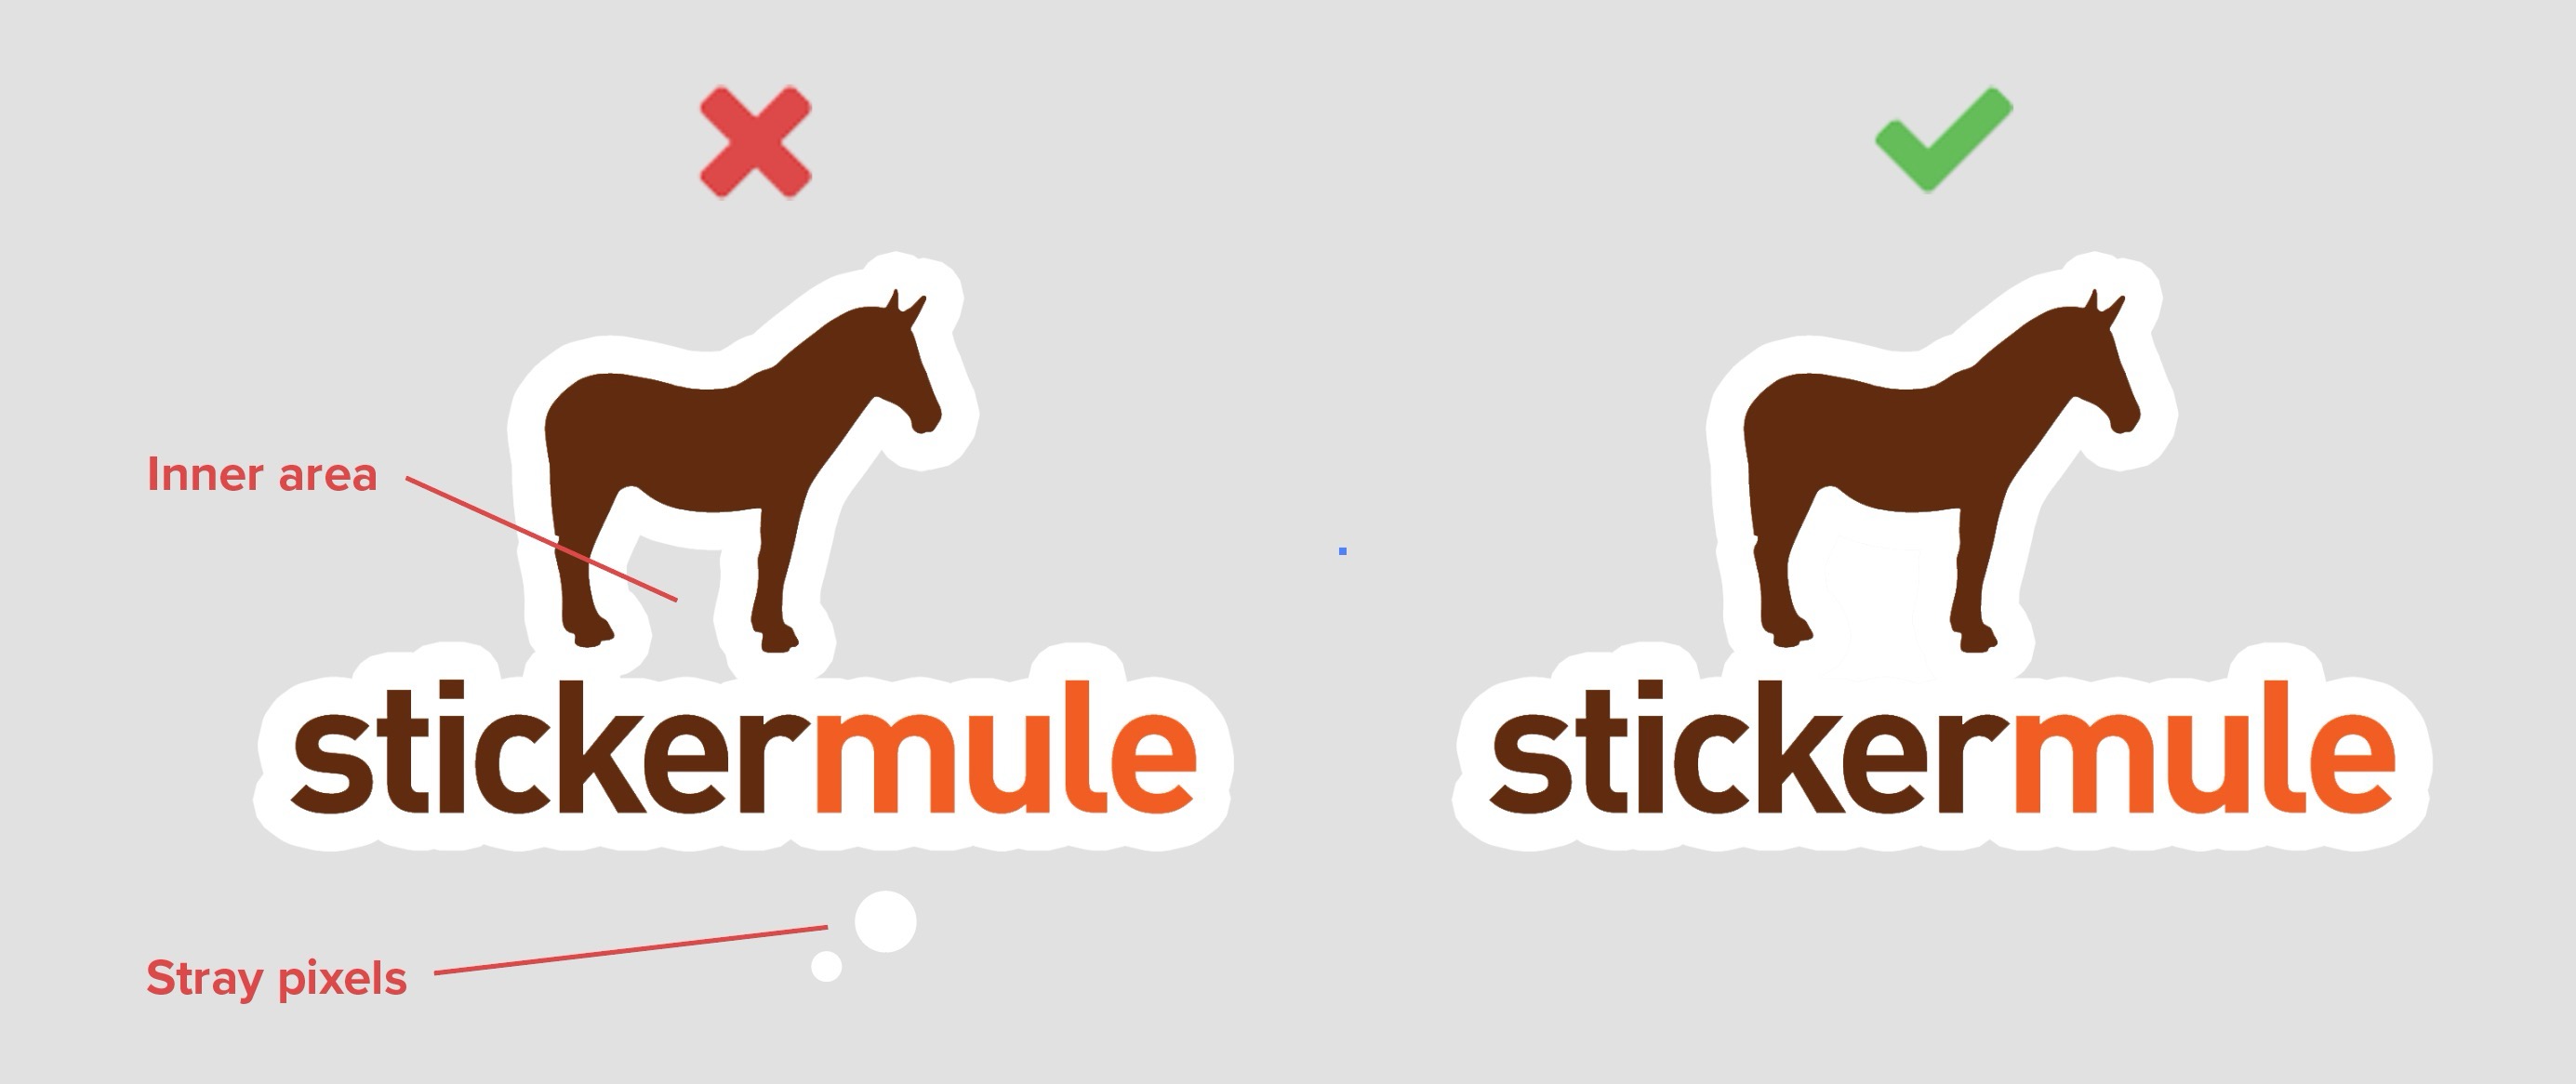
4. Clean up your border:
Depending on the shape of your design, you may have some inner areas that need to be filled in or stray pixels that need to be removed. Adjust your border size to be sure that your sticker will be cut as 1 piece.
Comments