Individuelle Sticker drucken: Sticker selbst gestalten, Teil 2
Von Sticker Mule am gepostet
Im ersten Teil dieser Anleitung haben wir die Designgrundlagen im Stickerdesign behandelt. In diesem Beitrag zeigen wir Ihnen, wie Sie Ihre Designs direkt hier bei Sticker Mule auf Vinyl in Topqualität drucken können.
5. Bereiten Sie Ihr Design für den Druck vor
Bevor Sie Ihr Design zum Drucken senden, müssen einige Dinge überprüft werden, sodass sichergestellt ist, dass es druckbereit ist.
Das richtige Format wählen
Achten Sie beim Exportieren Ihres Designs darauf, ein druckerfreundliches Dateiformat zu verwenden. Vektordateien wie EPS oder PDF eignen sich ideal zum Drucken, da die Größenanpassung ohne Qualitätsverlust vorgenommen werden kann. Falls Sie jedoch mit Rasterbildern arbeiten, sollte für ein gutes Ergebnis sichergestellt werden, dass die Auflösung auf mindestens 300 DPI (dots per inch) eingestellt ist. Vielleicht haben Sie Ihr Design bereits exportiert und sind sich nicht sicher, in welcher Auflösung es exportiert wurde? In dieser Schritt-für-Schritt-Anleitung finden Sie eine Erklärung, wie Sie dies überprüfen können.
Beschnittränder
Damit Ihr Sticker beim Drucken nicht an den Rändern abgeschnitten wird, sollte ein Beschnittbereich von 3,175 mm um das Design hinzugefügt werden. In Adobe Illustrator kann dies ganz einfach erledigt werden, indem Sie Ihr Design auswählen und zu Objekt > Pfad > Pfad verschieben gehen. Stellen Sie nun die Größe auf 3,175 mm ein. Wählen Sie im Abschnitt Verbindungen Rund aus, um glattere Ecken zu erstellen. Klicken Sie auf OK. Gehen Sie nun zu Pfadfinder und wählen Sie Hinzufügen, um alle Elemente in einem Pfad zusammenzuführen.
Schnittlinie hinzufügen
Wenn Sie einen gestanzten oder angestanzten Sticker entworfen haben, ist eine Schnittlinie für uns immer nützlich. Entscheiden Sie, wo der Sticker geschnitten werden soll, und erstellen Sie daraus eine Form mit der oben beschriebenen Methode "Pfad verschieben + Pfadfinder". Setzen Sie diese in eine neue Ebene, nennen Sie sie "Schnittlinie" und geben Sie ihr eine separate Farbe, die in Ihrem Design nicht verwendet wird.
Auflösung
Zudem sollte vor dem Exportieren noch einmal überprüft werden, ob das Design die richtige Auflösung hat. Bei Rasterbildern sollten mindestens 300 DPI angestrebt werden, um Unschärfen oder Verpixelungen zu vermeiden.
Proof-Abnahme Ihres Designs
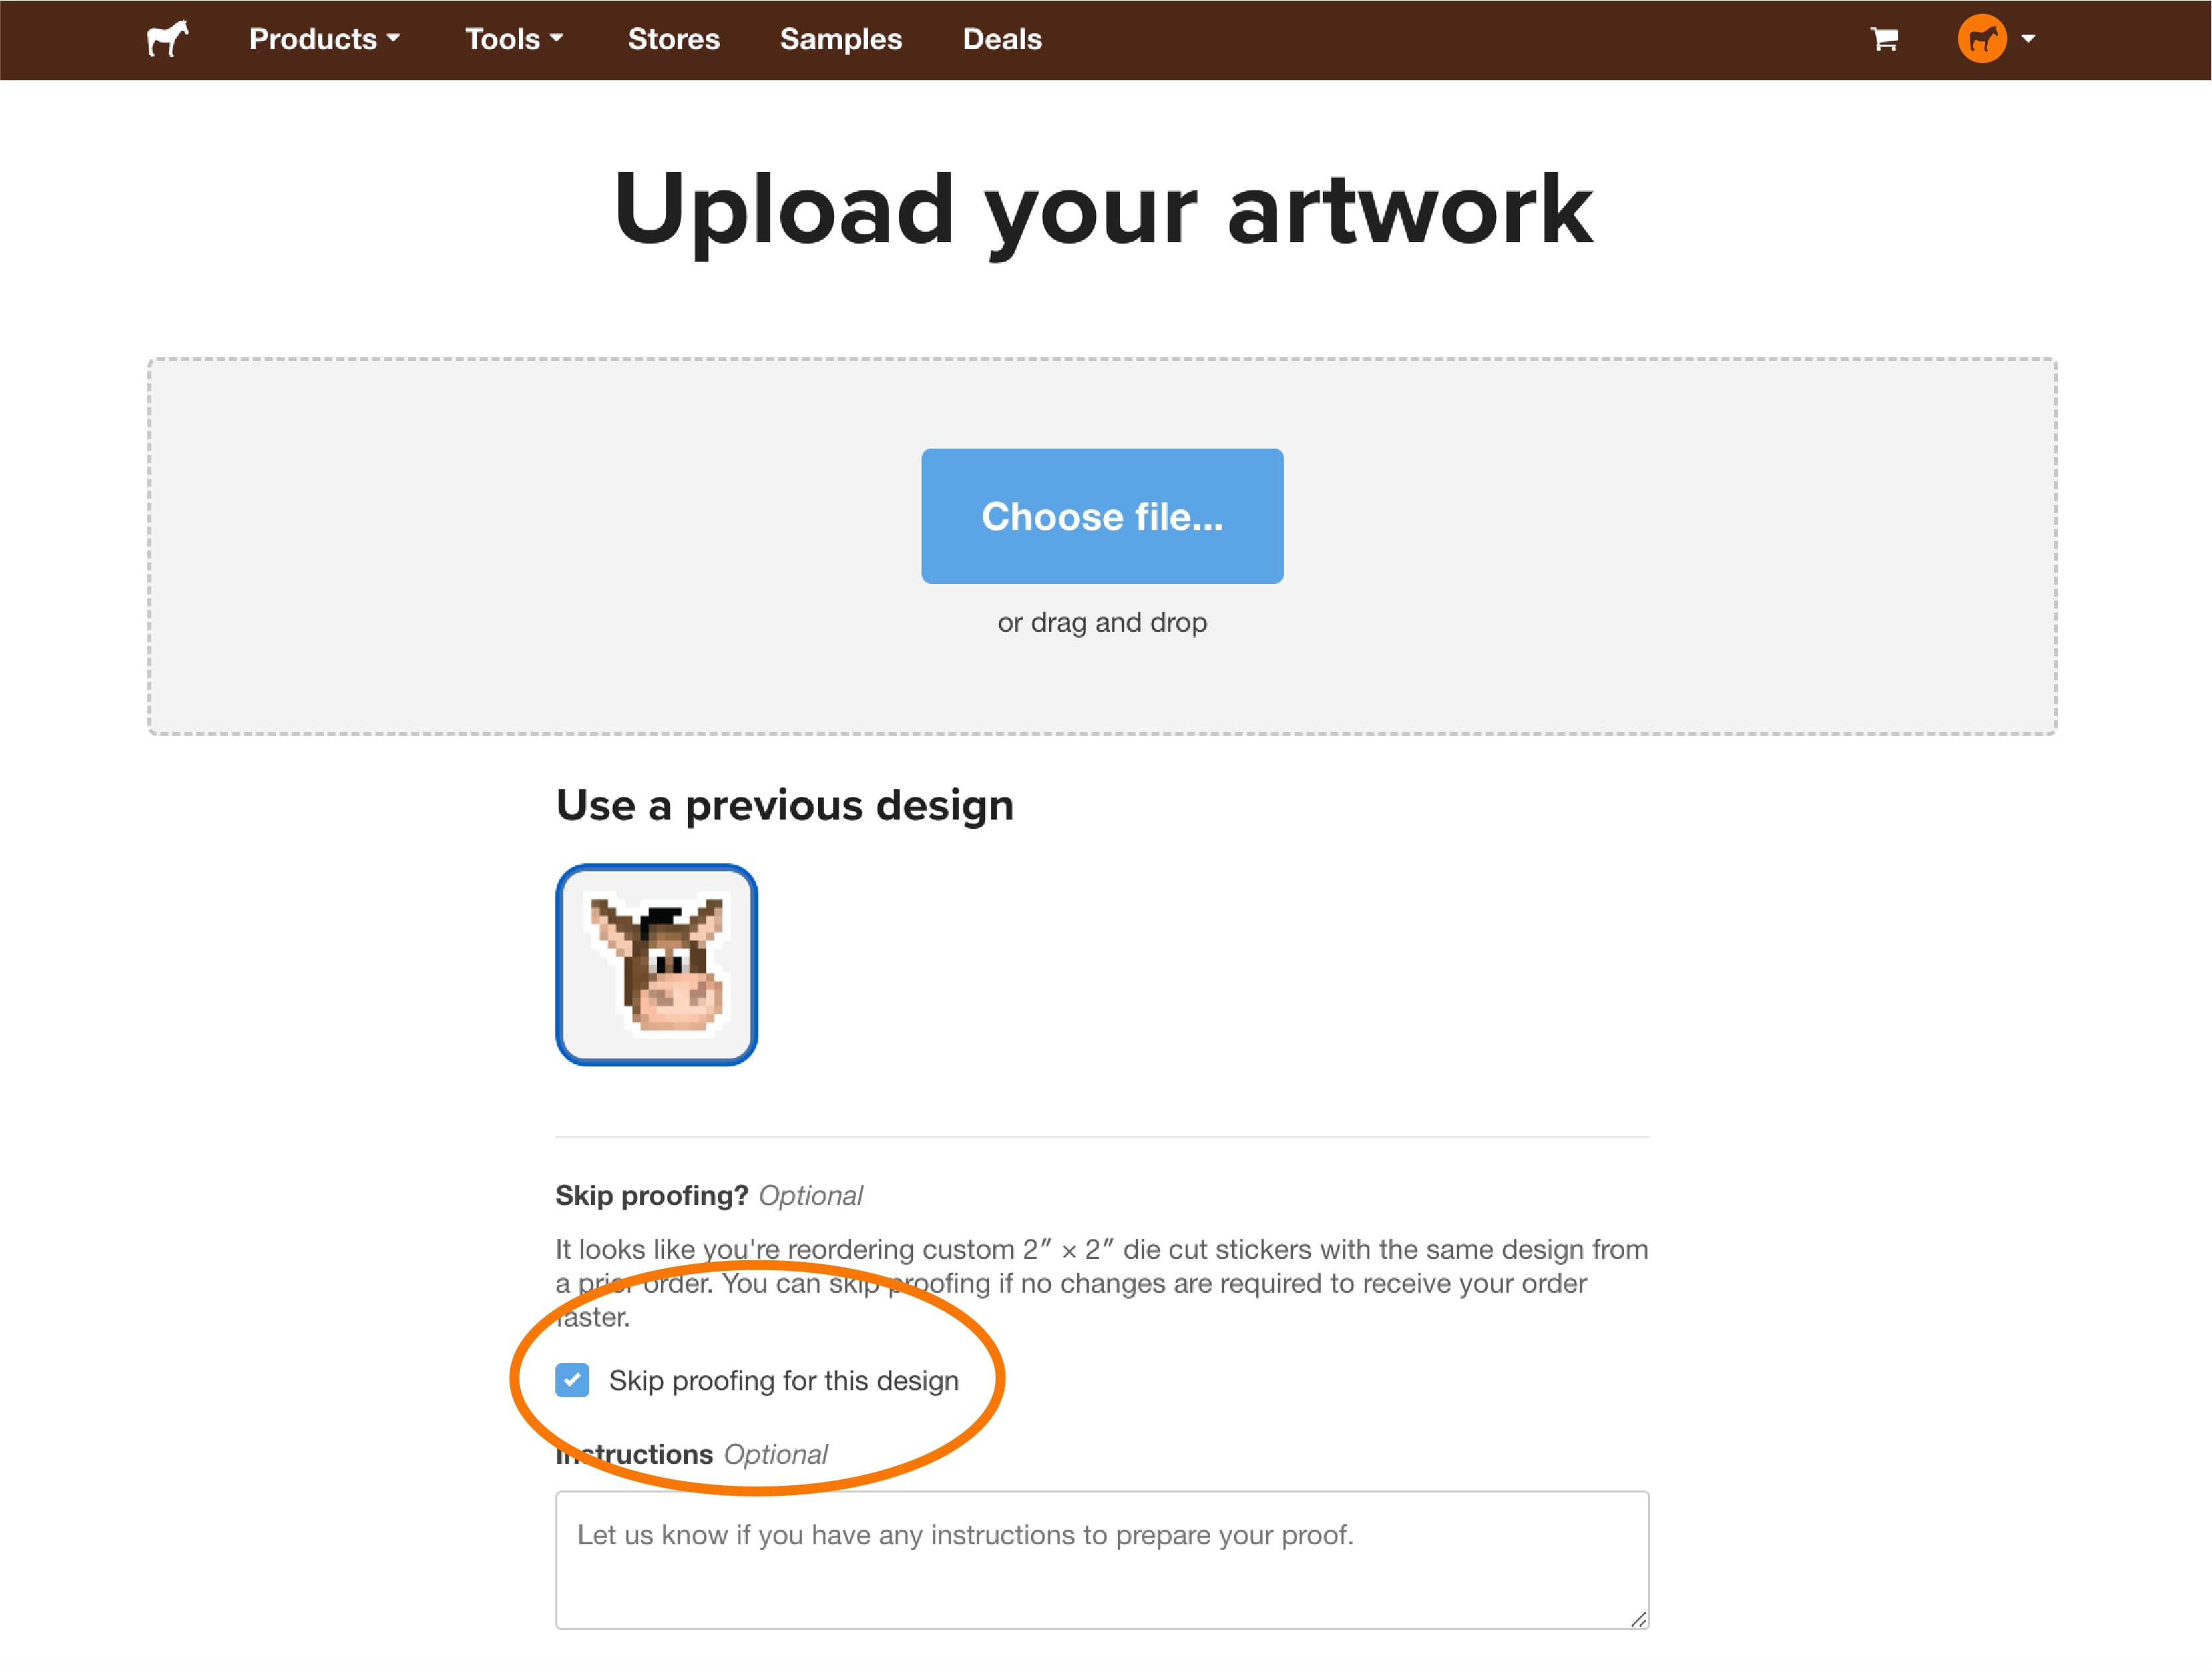
Bevor Sie eine Bestellung aufgeben, ist es möglicherweise erforderlich, einen Proof Ihres Designs abzunehmen. Hier bei Sticker Mule bieten wir automatisch abgenommene Proofs an. Während des Bezahlvorgangs scannt unser System Ihre Grafik, um festzustellen, ob ein Proof erforderlich ist. Wenn Sie dennoch einen Proof erhalten möchten, können Sie sich einen zusenden lassen, indem Sie "Nein, danke" auswählen.
Aber machen Sie sich keine Sorgen. Wir sind hier, um Ihnen zu helfen. Unsere Tools wie Studio und Print helfen Ihnen, diesen Prozess zu vereinfachen, ohne dass Sie dabei komplexe Software verwenden müssen.
Möchten Sie sehen, wie der Designvorgang eines Stickers in Adobe Illustrator aussehen kann? Wir haben eine Schritt-für-Schritt-Video-Anleitung erstellt, die genau das zeigt.
6. Drucken Sie Ihre Sticker
Sobald Ihre Druckdatei bereit ist, können Sie sich ans Drucken machen!
Erkunden Sie Ihre Optionen
Sobald das Stickerdesign festgelegt ist, besteht der nächste Schritt darin, es zum Leben zu erwecken! Mehrere Möglichkeiten des Stickerdrucks stehen Ihnen zur Verfügung, je nach Budget, Druckumfang und erwünschtem Look. Hier ist ein kurzer Überblick der beliebtesten Optionen:
Drucken zu Hause
- Wenn Sie das nur zum Spaß machen und nicht allzu viel Wert auf Qualität legen, ist das Drucken zu Hause die schnellste Option. Investieren Sie in Stickerpapier, das mit Ihrem Drucker (Tintenstrahl- oder Laserdrucker) kompatibel ist, und Sie können Ihre Designs direkt zu Hause ausdrucken. Denken Sie daran, dass die Qualität Ihres Druckers und Papiers das Endergebnis direkt beeinflusst und dass das Drucken zu Hause oft mit viel Ausprobieren verbunden ist und die Kosten für Verbrauchsmaterialien dies möglicherweise nicht zur günstigsten Option machen.
Vinyl-Schneidemaschinen
- Für ernsthafte Heimwerker oder Kleinunternehmer gehören Vinyl-Schneidemaschinen wie Cricut oder Silhouette zu beliebten Optionen. Mit diesen Maschinen lassen sich Sticker zu Hause drucken und zuschneiden. Sie bieten mehr Präzision und ein professionelleres Ergebnis als herkömmliche Heimdrucker. Bedenken Sie jedoch, dass sich dies möglicherweise als kostspielig herrausstellen kann, wenn Sie Ihre Investition in Ausrüstung, Verbrauchsmaterial und die eigene Zeit berücksichtigen (und die Qualität wird oft schlechter ausfallen als bei einem professionellen Druckdienst mit millionenschwerer Ausrüstung und hochwertigen Werkstoffen).
Lokale Druckereien
- Für diejenigen, die professionelle Druckqualität ohne die Verpflichtung zu Großbestellungen bevorzugen, sind lokale Druckereien eine fantastische Wahl. Sie bieten oft eine Reihe von Werkstoffen und Oberflächen an, wie z. B. glänzende, matte oder wasserfeste Sticker, und können Ihnen helfen, Ihr Design für optimale Ergebnisse zu verfeinern.
Online-Druckdienste
- Online-Stickerdruckdienste (wie bei uns!) ermöglichen es Ihnen, Ihre Designs hochzuladen, aus einer Vielzahl von Größen, Formen und Materialien auszuwählen und professionell gedruckte Sticker direkt an Ihre Haustür geliefert zu bekommen. Diese Option ist ideal, um höhere Produktionsmengen zu erreichen und gleichzeitig erstklassige Qualität zu gewährleisten.
Wählen Sie die Art des Stickers
Ihre Wahl des Stickerdruckers hängt auch davon ab, welche Art von Stickern Sie erstellen möchten.
Die besten Anbieter individueller Sticker (wie wir!) bieten auch einzigartige Optionen (wie holografische oder konturgeschnittene Aufkleber) für Unternehmen und Kreative, die sich durch besondere Merkmale hervorheben möchten.
Technisch gesehen fallen die meisten Sticker in eine der beiden gängigsten Kategorien, die wir in unserem letzten Beitrag beschrieben haben: gestanzte Sticker und angestanzte Sticker.
Gestanzte Sticker
- Diese Sticker (auch konturgeschnittene Aufkleber) können auf beliebige Form zugeschnitten werden und verlaufen entlang der Konturen Ihres Designs. Sie werden als Sammlerstücke, persönliche Ausdrucksformen, Werbedesigns und zum Dekorieren von Laptops, Wasserflaschen oder Fahrzeugen verwendet.
- Diese Sticker sind in Kreisform gestanzt. Runde Sticker werden am häufigsten für Markenaufbau, Produktetiketten, Personalisierung, Verpackungssiegel und Veranstaltungsgeschenke verwendet.
- Diese sind in die Form eines Rechtecks gestanzt. Rechteckige Sticker werden häufig für Produktetiketten, Firmenbranding, Beschilderungen, Verpackungen und Informationsanzeigen verwendet.
- Diese sind in die Form eines Quadrats gestanzt. Unternehmen verwenden quadratische Sticker für Markenaufbau, Produktverpackungen, Werbung in den sozialen Medien und dekorative Personalisierung.
- Diese sind in die Form eines Ovals gestanzt. Ovale Sticker werden am häufigsten für Produktbeschriftungen, Firmenbranding, Fahrzeugaufkleber und Werbegeschenke verwendet.
- Diese sind in ein großes Rechteck gestanzt. Stoßstangen Sticker werden natürlich für politische Stellungnahmen, Werbung, Humor, persönlichen Ausdruck und das Eintreten für Anliegen verwendet.
- Diese Sticker sind in Form eines Quadrats gestanzt, wobei die Ecken abgerundet sind. Sticker mit runden Ecken werden am häufigsten für elegante Produktetiketten, Firmenbranding, Verpackungen und professionelle Werbematerialien verwendet.
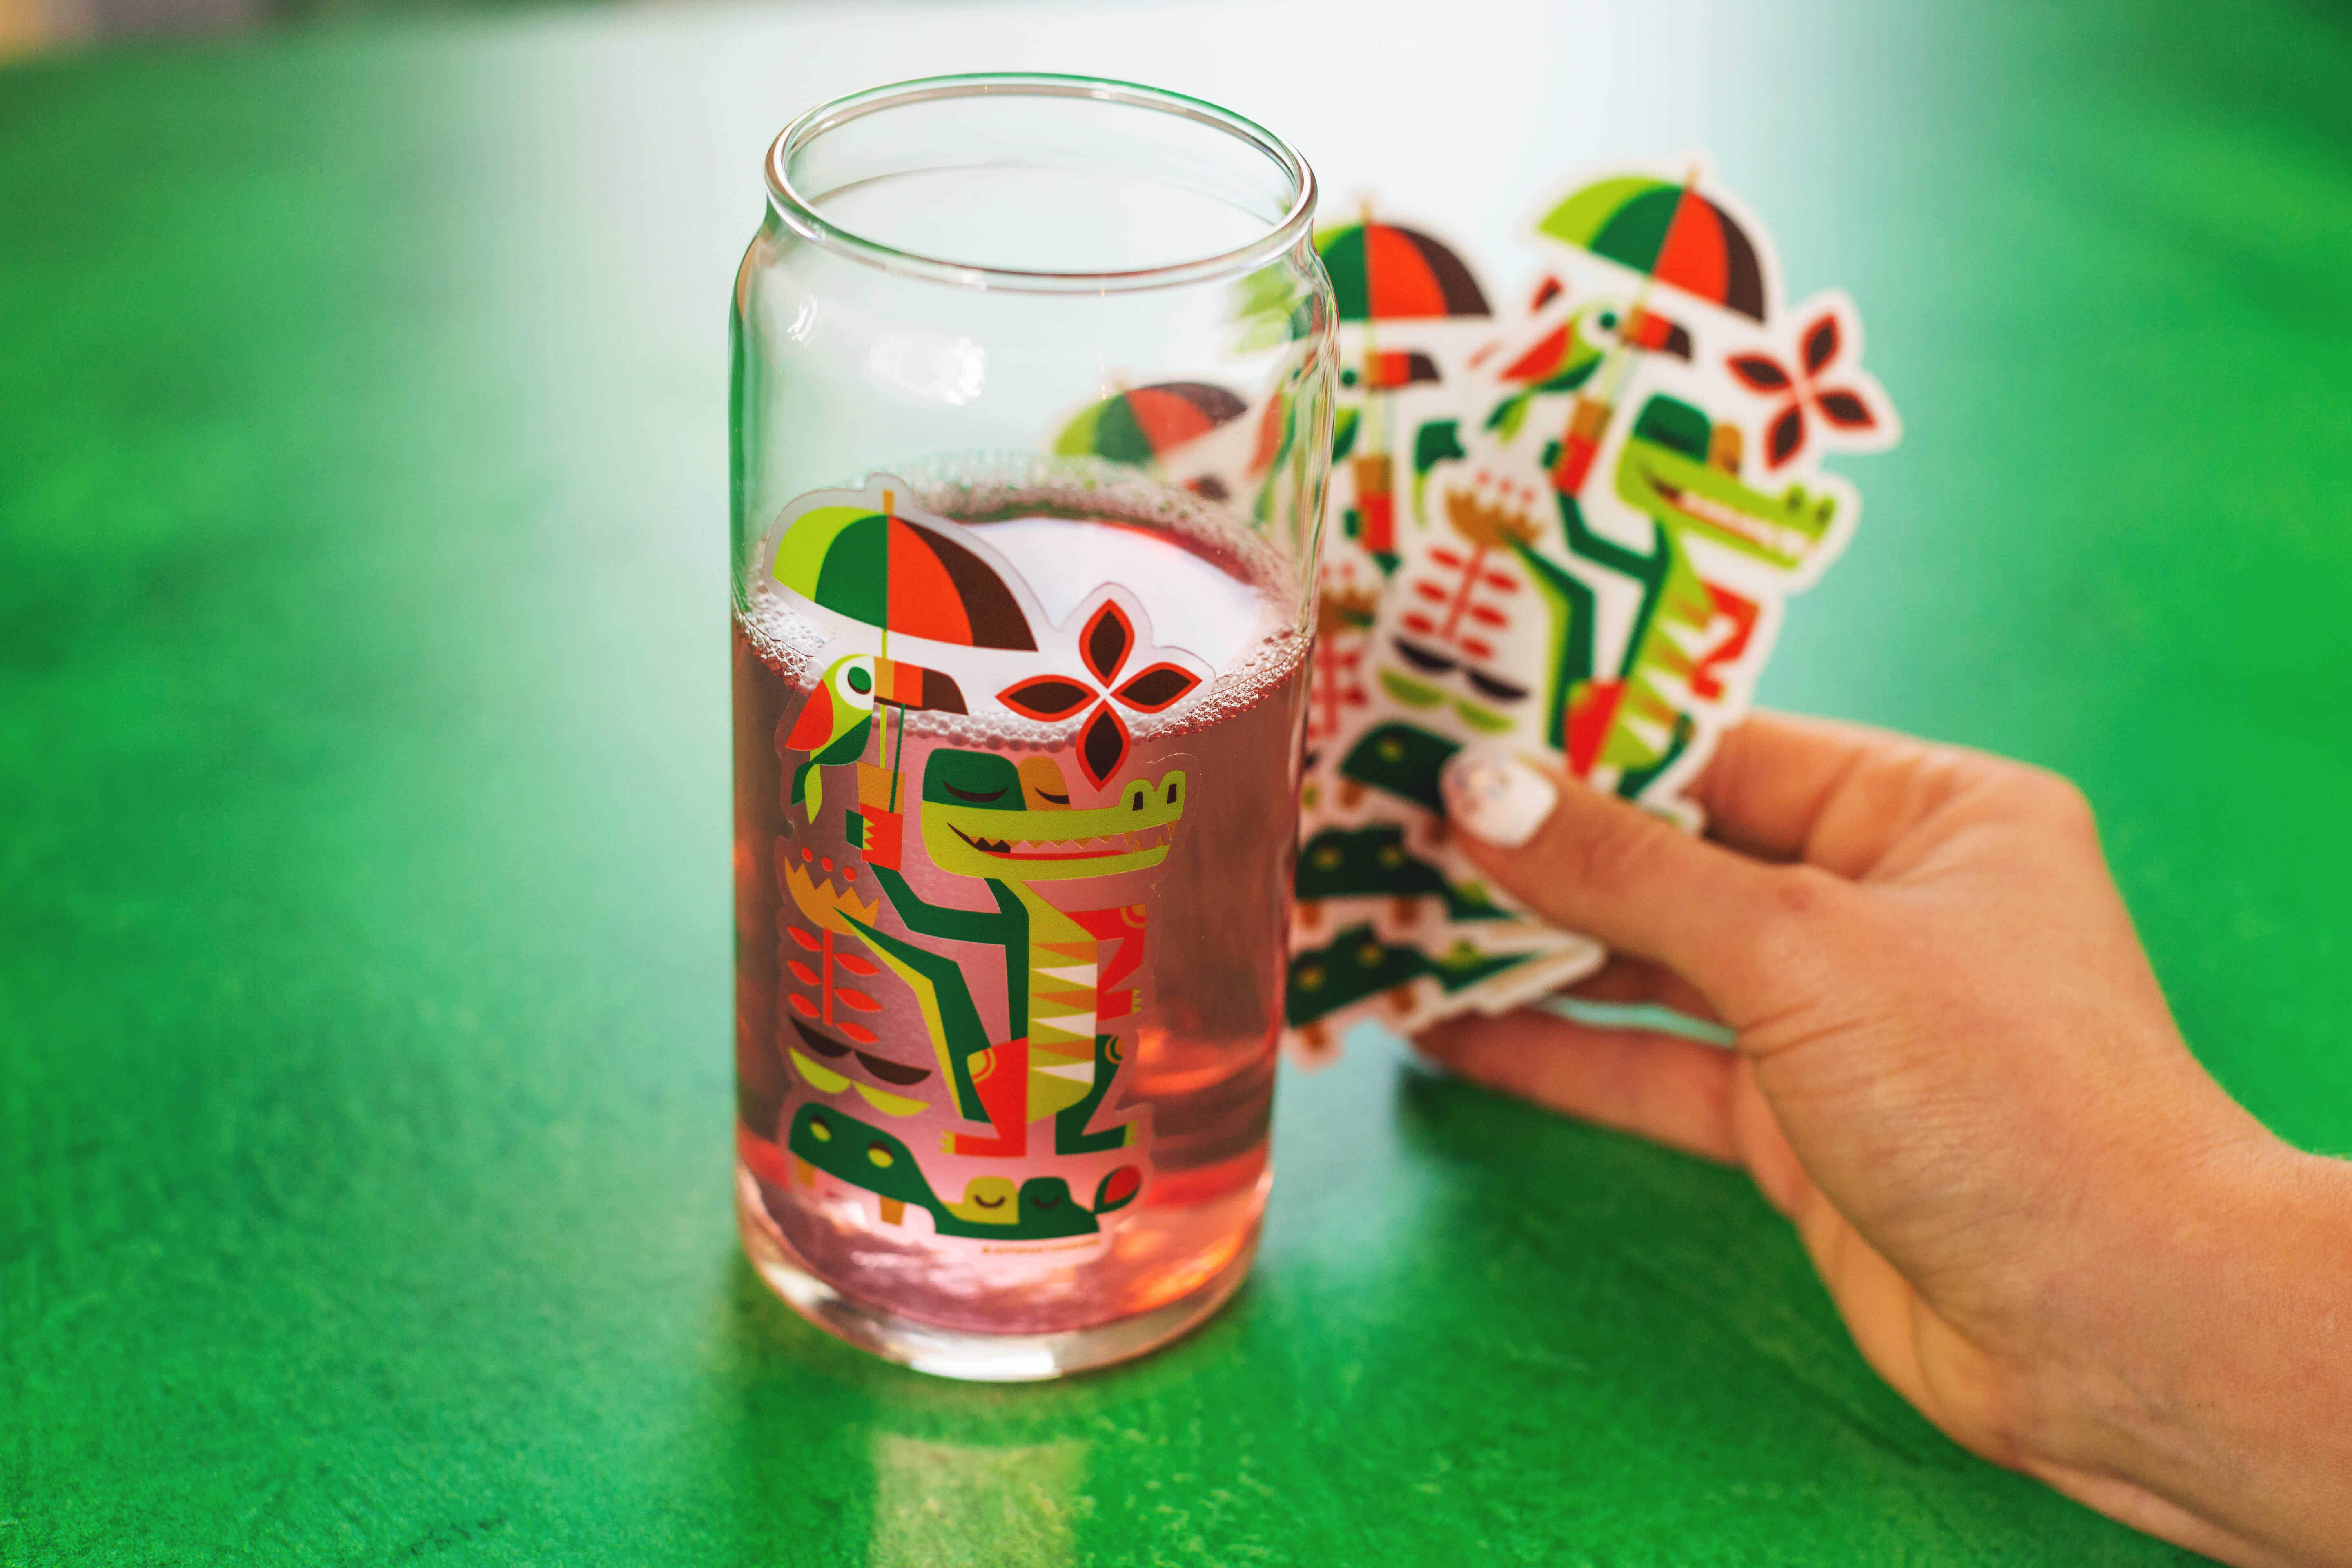
- Transparente Sticker sind im Wesentlichen konturgeschnittene Aufkleber, die auf transparentes Vinyl statt auf weißes Vinyl gedruckt werden. Sie eignen sich hervorragend für Dinge wie Fenster und Trinkgläser.
- Hinterglasaufkleber
- Das sind Aufkleber, bei denen Ihr Design auf die Klebeseite gedruckt wird (denken Sie an einen Aufkleber, den Sie vielleicht bei der Kfz-Zulassungsstelle bekommen). Sie sind nicht ganz so makellos wie gedruckte Transfer Sticker, sehen aber trotzdem toll aus und lassen sich viel schneller und einfacher verwenden.
- Das sind Vinyl Sticker mit einer reflektierenden Folie, die schillernd und regenbogenartig wirkt. Sie werden für futuristische und technisch inspirierte Themen sowie für Fantasy-, Weltraum- und Science-Fiction-Themen verwendet.
- Glitzer Sticker
- Dies sind Vinyl Sticker, die mit einer glitzernden, funkelnden Schicht laminiert werden. Sie vermitteln ein Gefühl von Verspieltheit und Laune und werden oft für festliche, glamouröse und Kinderaufkleber verwendet.
- Keine Lust auf Verpflichtungen? Statische Sticker sind konturgeschnittene Aufkleber aus Vinyl ohne jegliche Klebrigkeit. Durch die Magie der statischen Elektrizität und der molekularen Adhäsion "haften" sie an jeder sauberen und glatten, nicht porösen Oberfläche wie Glas. Sie wurden erstmals in den 1960er Jahren mit Stickern für Fenster mit Feiertagsmotiven (z. B. Weihnachtsschneeflocken) populär und erreichten ihren Höhepunkt in den 1970er und 1980er Jahren durch Sticker mit Sportmotiven und Zeichentrickfiguren wie Garfield.
Angestanzte Sticker:
- Wie im letzten Beitrag erwähnt, lassen sich angestanzte Sticker leicht abziehen und verwenden, da das Designs durch die Vinylschicht, aber nicht durch das Trägerpapier geschnitten wird. Sie sind in denselben Formen wie auch konturgeschnittene Aufkleber zu haben.
- Stickerbögen sind im Wesentlichen angestanzte Sticker. Der Hauptunterschied besteht darin, dass ein Stickerbogen mehrere angestanzte Sticker auf einem einzigen Trägerblatt enthält, sodass verschiedene Designs, Formen oder Größen zusammen angeordnet werden können.
Hier ist ein kleiner "Hack" für Sie. Wenn Sie nur Sticker für die eingene Anwendung (und nicht zum Verteilen) benötigen, können Sie etwas Geld sparen, indem Sie mehrere Kopien desselben Designs auf einen Stickerbogen drucken lassen. Beispielsweise kosten 50 angestanzte Sticker im Format 75 mm x 75 mm 64 €, aber zehn Stickerbögen im Format 213 mm × 275 mm (auf die jeweils sechs Designs im Format 75 mm x 75 mm passen) kosten dasselbe, sodass Sie 10 zusätzliche Sticker erhalten. Bei höheren Auflagen können Sie zusätzlich sparen.
Transfer Sticker:
- Transfer Sticker bestehen aus vorgeschnittenen Designs oder Texten auf klebendem Vinyl mit einem transparenten oder aus Papier gefertigtem Transferband, das eine präzise Anwendung gewährleistet, indem die Teile aneinander "gerieben" werden, bis sie fest auf der gewünschten Oberfläche haften. Bei Sticker Mule hatten wir ursprünglich nur herkömmliche Transfer Sticker auf schwarzem oder weißem Vinyl.
- Vor kurzem haben wir auch farbige Transfer Sticker eingeführt. Diese ermöglichen Ihnen einen vollfarbigen Druck, und nicht nur Schwarz oder Weiß.
- Dies ist eine spezielle, aus Buchstaben bestehende Art von Transfer Stickern, mit denen Sie Wörter auf Schaufenster, Autofenster oder Boote auftragen können. Sie können natürlich auch Ihre eigene Schriftart als Transfer Sticker oder als farbigen Transfer Sticker verwenden, jedoch sind die 13 Schriftarten, die wir für Klebebuchstaben bereitgestellt haben, die beliebtesten, ansprechendsten und saubersten, die wir gefunden haben.
7. Sticker bestellen
Ihre Datei ist bereit und Sie haben entschieden, welche Art von Stickern Sie haben möchten. Jetzt ist es an der Zeit, die Bestellung aufzugeben, damit Sie Ihre geliebten Sticker im Handumdrehen an die Tür geliefert erhalten.
So bestellen Sie
Beim Bestellen Ihrer Sticker müssen Sie überlegen, ob Sie eine Großbestellung aufgeben möchten, damit Sie Ihren eigenen Lagerbestand verwalten können (beispielsweise zum Verteilen an Ihre Kunden oder zum Verkauf auf Websites wie Amazon oder Etsy) oder ob Sie möchten, dass wir Ihre Sticker auf Anfrage drucken und ausliefern, sobald Ihre Kunden diese bestellen.
Bestellung für Lagerbestand
- Durch eine Vorbestellung können Sie auf lange Sicht Geld sparen. Großbestellungen senken in der Regel die Kosten pro Sticker, sodass sie eine kostengünstige Option sind, wenn Sie eine große Anzahl von Stickern verteilen oder für Werbekampagnen, Veranstaltungen oder Waren verwenden möchten. Dies ist eine ideale Option, wenn Sie sicher sind, dass sich die Sticker verkaufen, wenn Sie alle Sticker griffbereit haben müssen oder mit einer Massenverteilung eine erhebliche Wirkung erzielen möchten. Da größere Druckauflagen effizienter sind, können Sie umso mehr sparen, je mehr Sie drucken.
Auf Anfrage
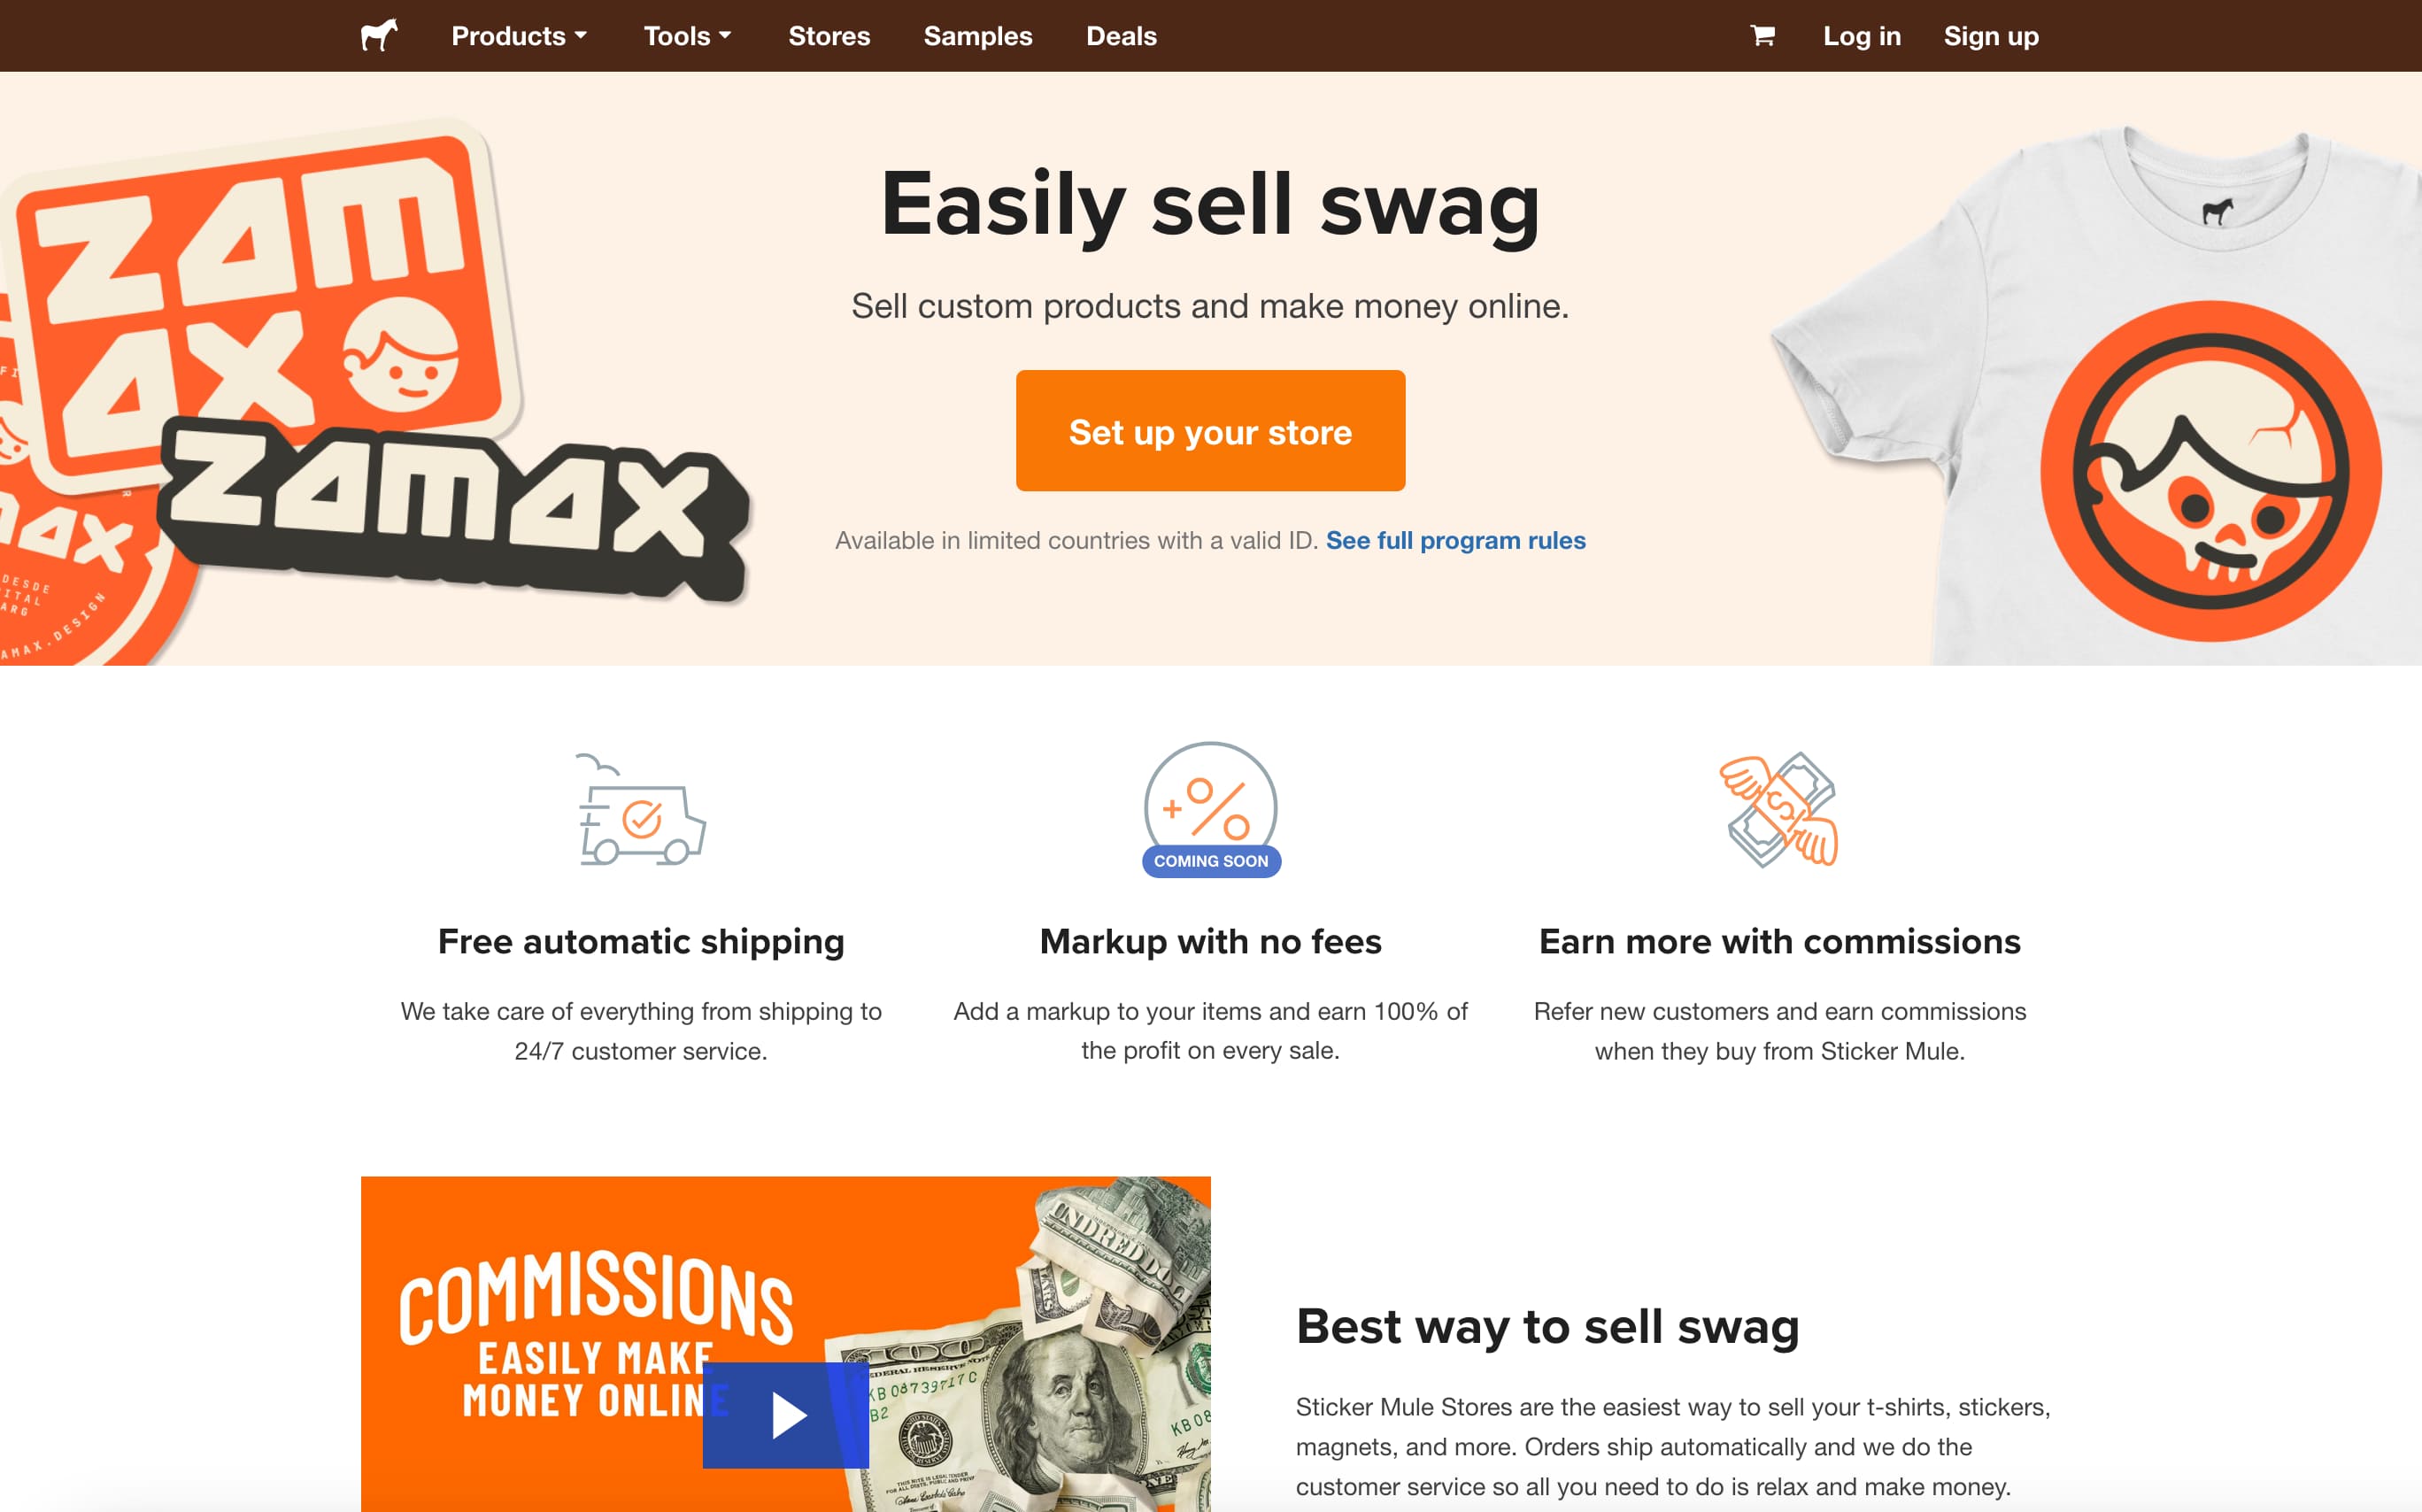
- Wenn Sie Sticker an Ihr Publikum verkaufen, möchten Sie vielleicht eine Auf-Anfrage-Option wie Shops wählen, anstatt sich selbst mit der mühseligen Lagerhaltung herumzuschlagen. Auf diese Weise können Ihre Kunden Ihre Sticker (sowie andere Artikel wie T-Shirts, Buttons, Schlüsselanhänger und vieles mehr) bestellen und wir kümmern uns um den Druck, das Hosting Ihres Webshops, den Versand und sogar um den Kundendienst – ohne zusätzliche Kosten gegenüber dem, was Sie selbst für den Sticker bezahlen würden. Indem Sie uns all das überlassen, können Sie sich auf das konzentrieren, was Sie am besten können – das Designen!
Viele unserer Kunden nutzen Shops als Hauptschaufenster, aber auch wenn Sie auf Websites wie Amazon oder Etsy verkaufen, eignet sich diese Option hervorragend, um verschiedene Designs auszuprobieren oder ein Nischenpublikum anzusprechen. Sie können damit experimentieren und Ihre Designs aktualisieren, ohne große Mengen auf Lager haben zu müssen oder auf Restbeständen sitzenzubleiben, wenn sich ein Design nicht wie erwartet verkaufen sollte.
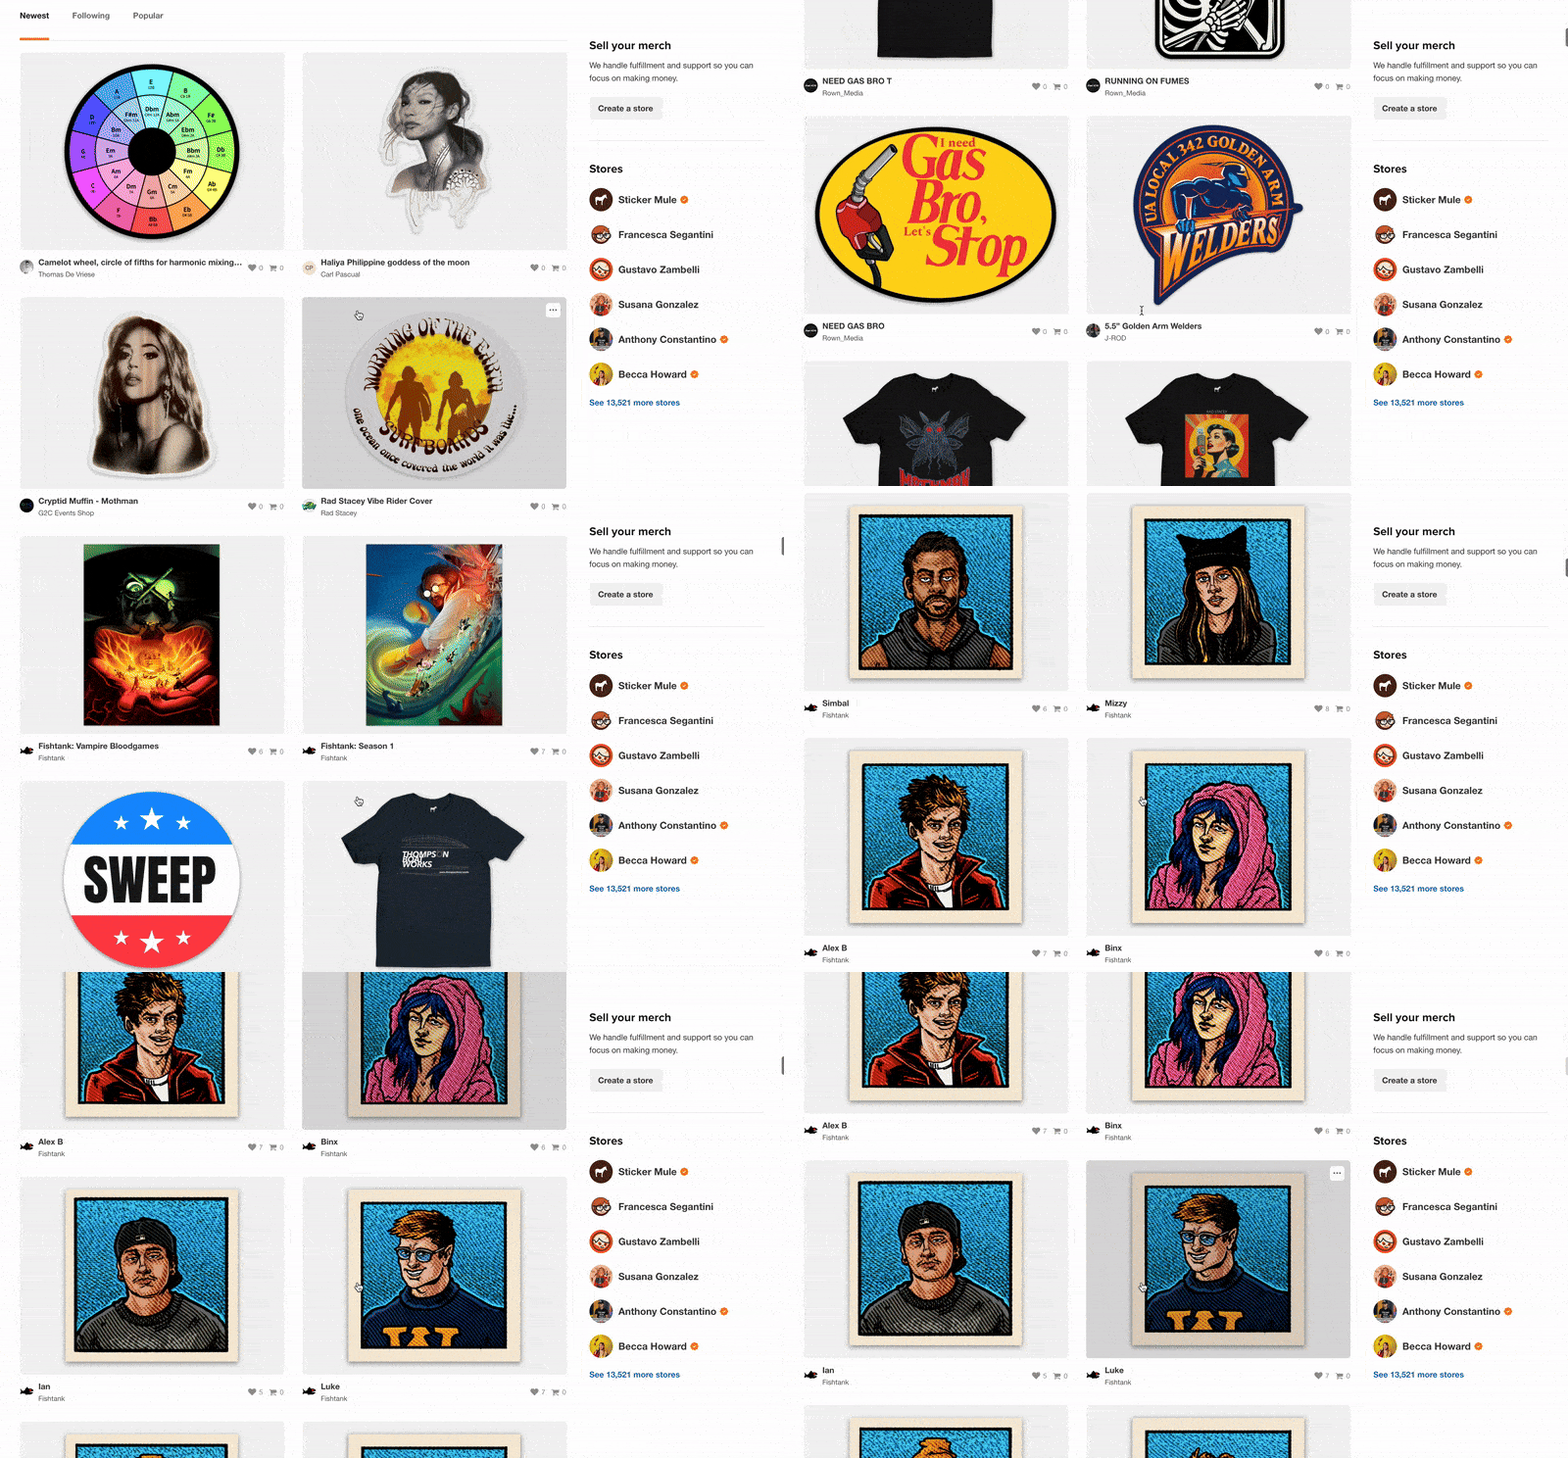
Es handelt sich hier um eine einfache und effiziente Möglichkeit, mit minimalem Aufwand Ihre Designs zu monetarisieren und Ihrem Publikum eine weitere Möglichkeit zu bieten, Sie zu unterstützen – und das Einrichten dauert nur wenige Sekunden. Schauen Sie sich an, was andere Leute bereits in Shops zum Verkauf anbieten.
8. Vermarktung Ihrer Sticker
Sobald Ihre Sticker fertig sind, besteht der nächste Schritt darin, sie effektiv zu bewerben. Heutzutage gibt es unzählige moderne und kreative Möglichkeiten, Ihre Sticker zu vermarkten und Ihre Designs potenziellen Kunden und Fans vorzustellen. So nutzen Sie einige der beliebtesten Werbekanäle:
Plattformen der sozialen Medien
Soziale Medien sind ein wirkungsvolles Tool, um Ihre Sticker zu bewerben. Plattformen wie Instagram, TikTok und Pinterest bieten die perfekte Möglichkeit, Ihre Designs wirkungsvoll zu präsentieren. Teilen Sie Fotos, Videos und Einblicke hinter die Kulissen Ihres Designvorgangs, um Spannung zu erzeugen und eine Verbindung zu Ihrem Publikum aufzubauen.
Interagieren Sie mit Ihrem Publikum
Veranstalten Sie Sticker-Vergaben oder verwenden Sie trendige Hashtags, um sich für Ihre Designs inspirieren zu lassen und die Sichtbarkeit zu erhöhen. Für noch mehr Aufmerksamkeit können Sie mit Influencern oder Inhalt-Erstellern zusammenarbeiten, die zur Ästhetik Ihrer Marke passen. Wenn Sie @stickermule taggen oder das Hashtag #stickermule verwenden, können wir Ihren Beitrag sehen. Vielleicht teilen wir ihn sogar auf unseren Kanälen!
Direkt über Shops verkaufen
Wie bereits erwähnt, bieten wir eine einfache Möglichkeit, Ihre Sticker über unsere Shops-Plattform zu verkaufen. Sie müssen sich keine Gedanken über das Einrichten eines eigenen Webshops machen. Wir kümmern uns um die gesamte Logistik und bieten Ihnen eine unkomplizierte Plattform zum Anzeigen und Verkaufen Ihrer Designs. Sie können Ihr Publikum über Ihre Social-Media-Kanäle zu Ihrem eigenen Shop leiten, sodass Ihre Anhänger Ihre Sticker ganz einfach kaufen können. Die Leute stöbern sogar in den Designs, sodass sie Sie auf der Plattform selbst entdecken können.
Kreative Werbeaktionen
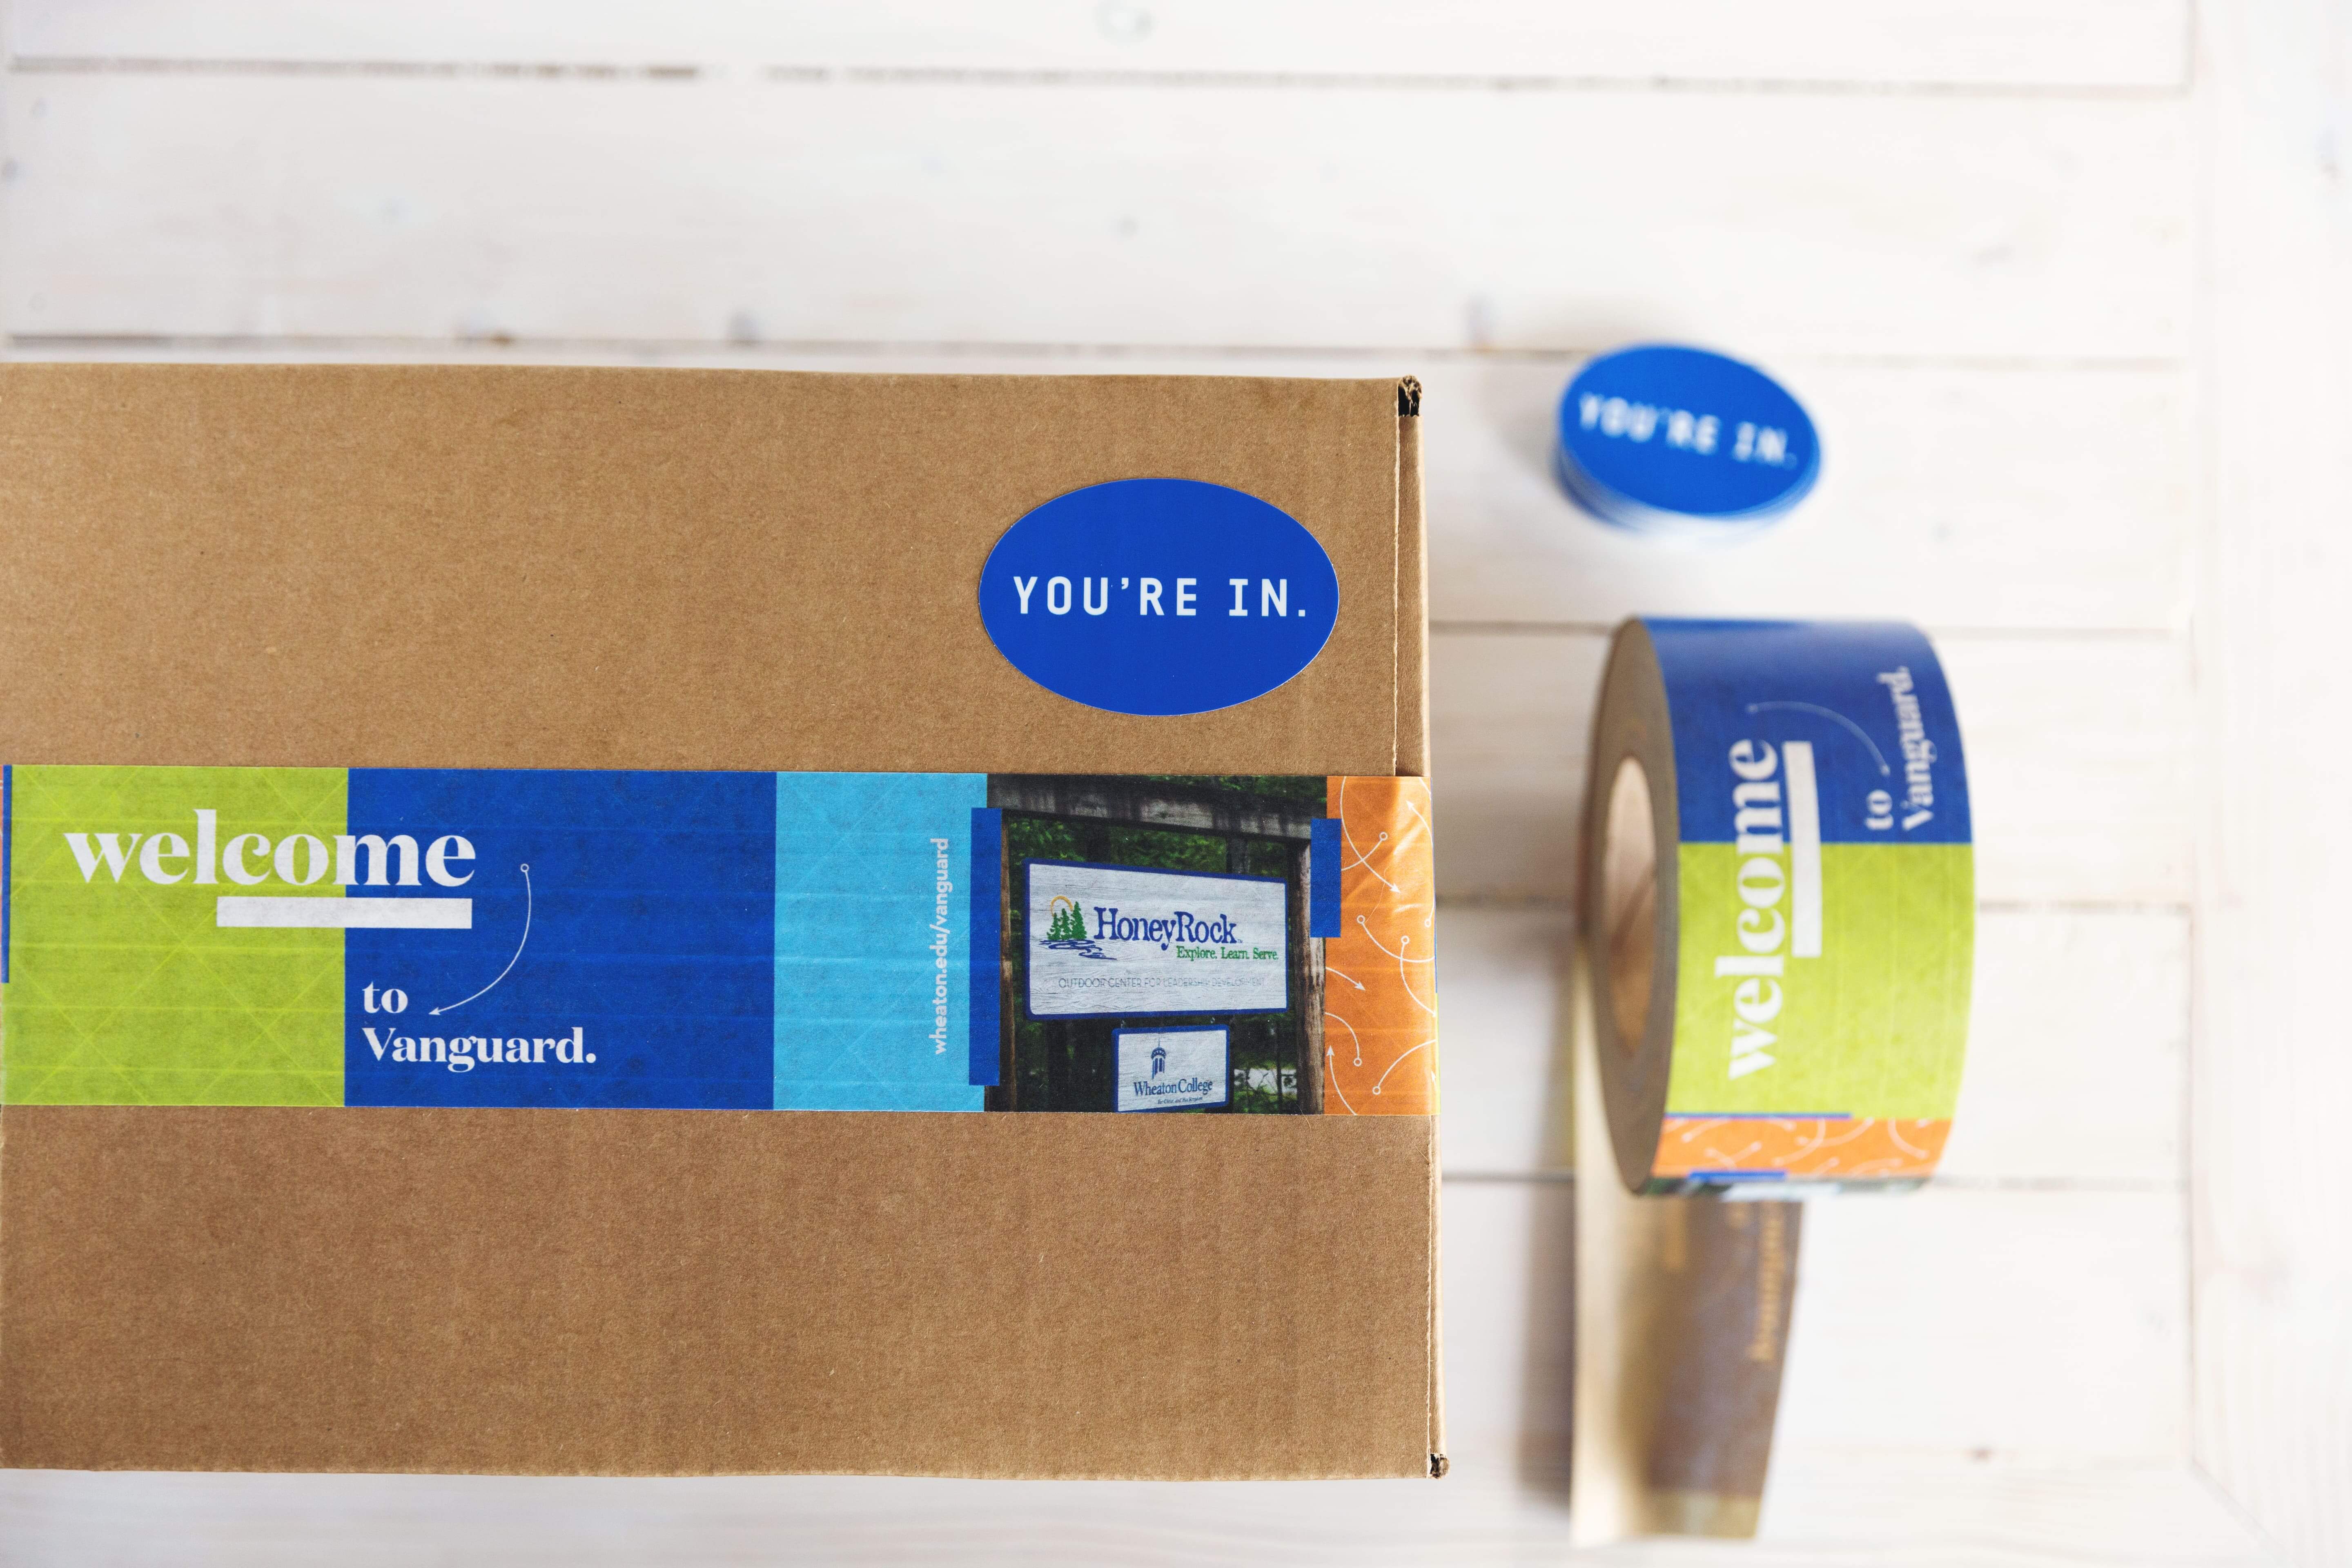
Sticker sind vielseitige Werbemittel. Sie können sie als Gratisbeigabe zu Ihren Bestellungen verwenden, um den Wert Ihrer bestehenden Produkte zu steigern, sie als Markenartikel für Veranstaltungen verwenden oder Sticker in limitierter Auflage erstellen, um einen Eindruck von Knappheit zu erzeugen.
Viele Marken nutzen Sticker erfolgreich als unterhaltsame und verteilbare Werbemittel fürs Unternehmen. Erwägen Sie, eine Sticker-Kampagne mit Ihrem Publikum durchzuführen oder sie in Guerilla-Marketing-Taktiken einzusetzen, z. B. indem Sie Sticker an öffentlichen Orten hinterlassen, damit die Leute sie finden können.
E-Mail-Newsletter und Communitys
Wenn Sie bereits einen Newsletter haben oder einer Online-Community von Designern oder Fans angehören, können sich Sticker als ein großartiges exklusives Produkt zum Anbieten erweisen. Geben Sie Ihrem treuen Publikum frühzeitigen Zugriff auf neue Stickerdesigns und erzeugen Sie Hype.
Indem Sie diese modernen Werbestrategien nutzen, können Sie Ihr Publikum auf ansprechende Weise erreichen und Ihre Stickerdesigns in eine erfolgreiche Produktlinie verwandeln. Ob über soziale Medien, Marktplätze oder Direktvertrieb – Ihre Sticker den Leuten zu präsentieren ist genauso wichtig wie das Entwerfen selbst.
Fazit
Das Entwerfen individueller Sticker braucht mehr als nur eine gute Idee. Es erfordert sorgfältige Überlegungen zu Ihrer Idee, Designauswahl, Dateivorbereitung und das Erreichen Ihres Publikums. Wenn Sie diese Schritte befolgen, befinden Sie sich auf dem besten Weg, auffällige Sticker zu erstellen, die bei den Personen, für die die Sticker bestimmt sind, Anklang finden und Ihre Sticker-Reise zu einem großen Erfolg machen.
Egal, ob Sie Sticker für persönliche oder geschäftliche Projekte entwerfen, experimentieren Sie weiter und verfeinern Sie Ihren Prozess. Und wenn Sie nach einem Ort suchen, an dem Sie die bestmöglichen Sticker drucken können – bei uns sind Sie genau richtig! Wir produzieren sie in höchster Qualität, mit kostenlosen Online-Proofs und kostenlosem Versand. Viel Spaß beim Gestalten!
Kommentare