How to put a picture on a shirt (3 steps)
Posted by Sticker Mule on
You don’t have to be a graphic designer to put a picture on a shirt. With just a little bit of planning, you can DIY your own custom tee in just a few hours. You don’t need to spend money on expensive software either - there are several easy programs you can use right from your browser. Here we have listed two easy ways to make your own t-shirt at home or print online.
1. Decide what you want to print
The first step in designing your own t-shirt is deciding what exactly you want to print on it. The possibilities here are endless - you can put a funny saying, your logo or catchphrase, a picture, or anything else you can think of.
Of course, some types of designs are easier to create than others. If you want to put a photo on your t-shirt, you’ll need to find an image editor that lets you resize, crop, and edit the image. If you want to put text on your shirt, you’ll need an editor that lets you change the font, size, color, and spacing.
Luckily, there are a lot of really great online image editors out there and some of them are even free to use. Let’s go over some of these options
2. Design the t-shirt with free online design software
With all of the different t-shirt design software out there, you might be wondering which one is right for you. Fortunately, you can try out several different programs without spending any money. If you want to design your t-shirt online, we recommend trying a free online design tool like Studio.
To get started, head on over to the t-shirt templates section of Studio. You’ll see a whole slew of ready to use t-shirt templates. You just need to click on any of the templates and you can edit it to your liking with the easy to use online editing tools available on Studio.
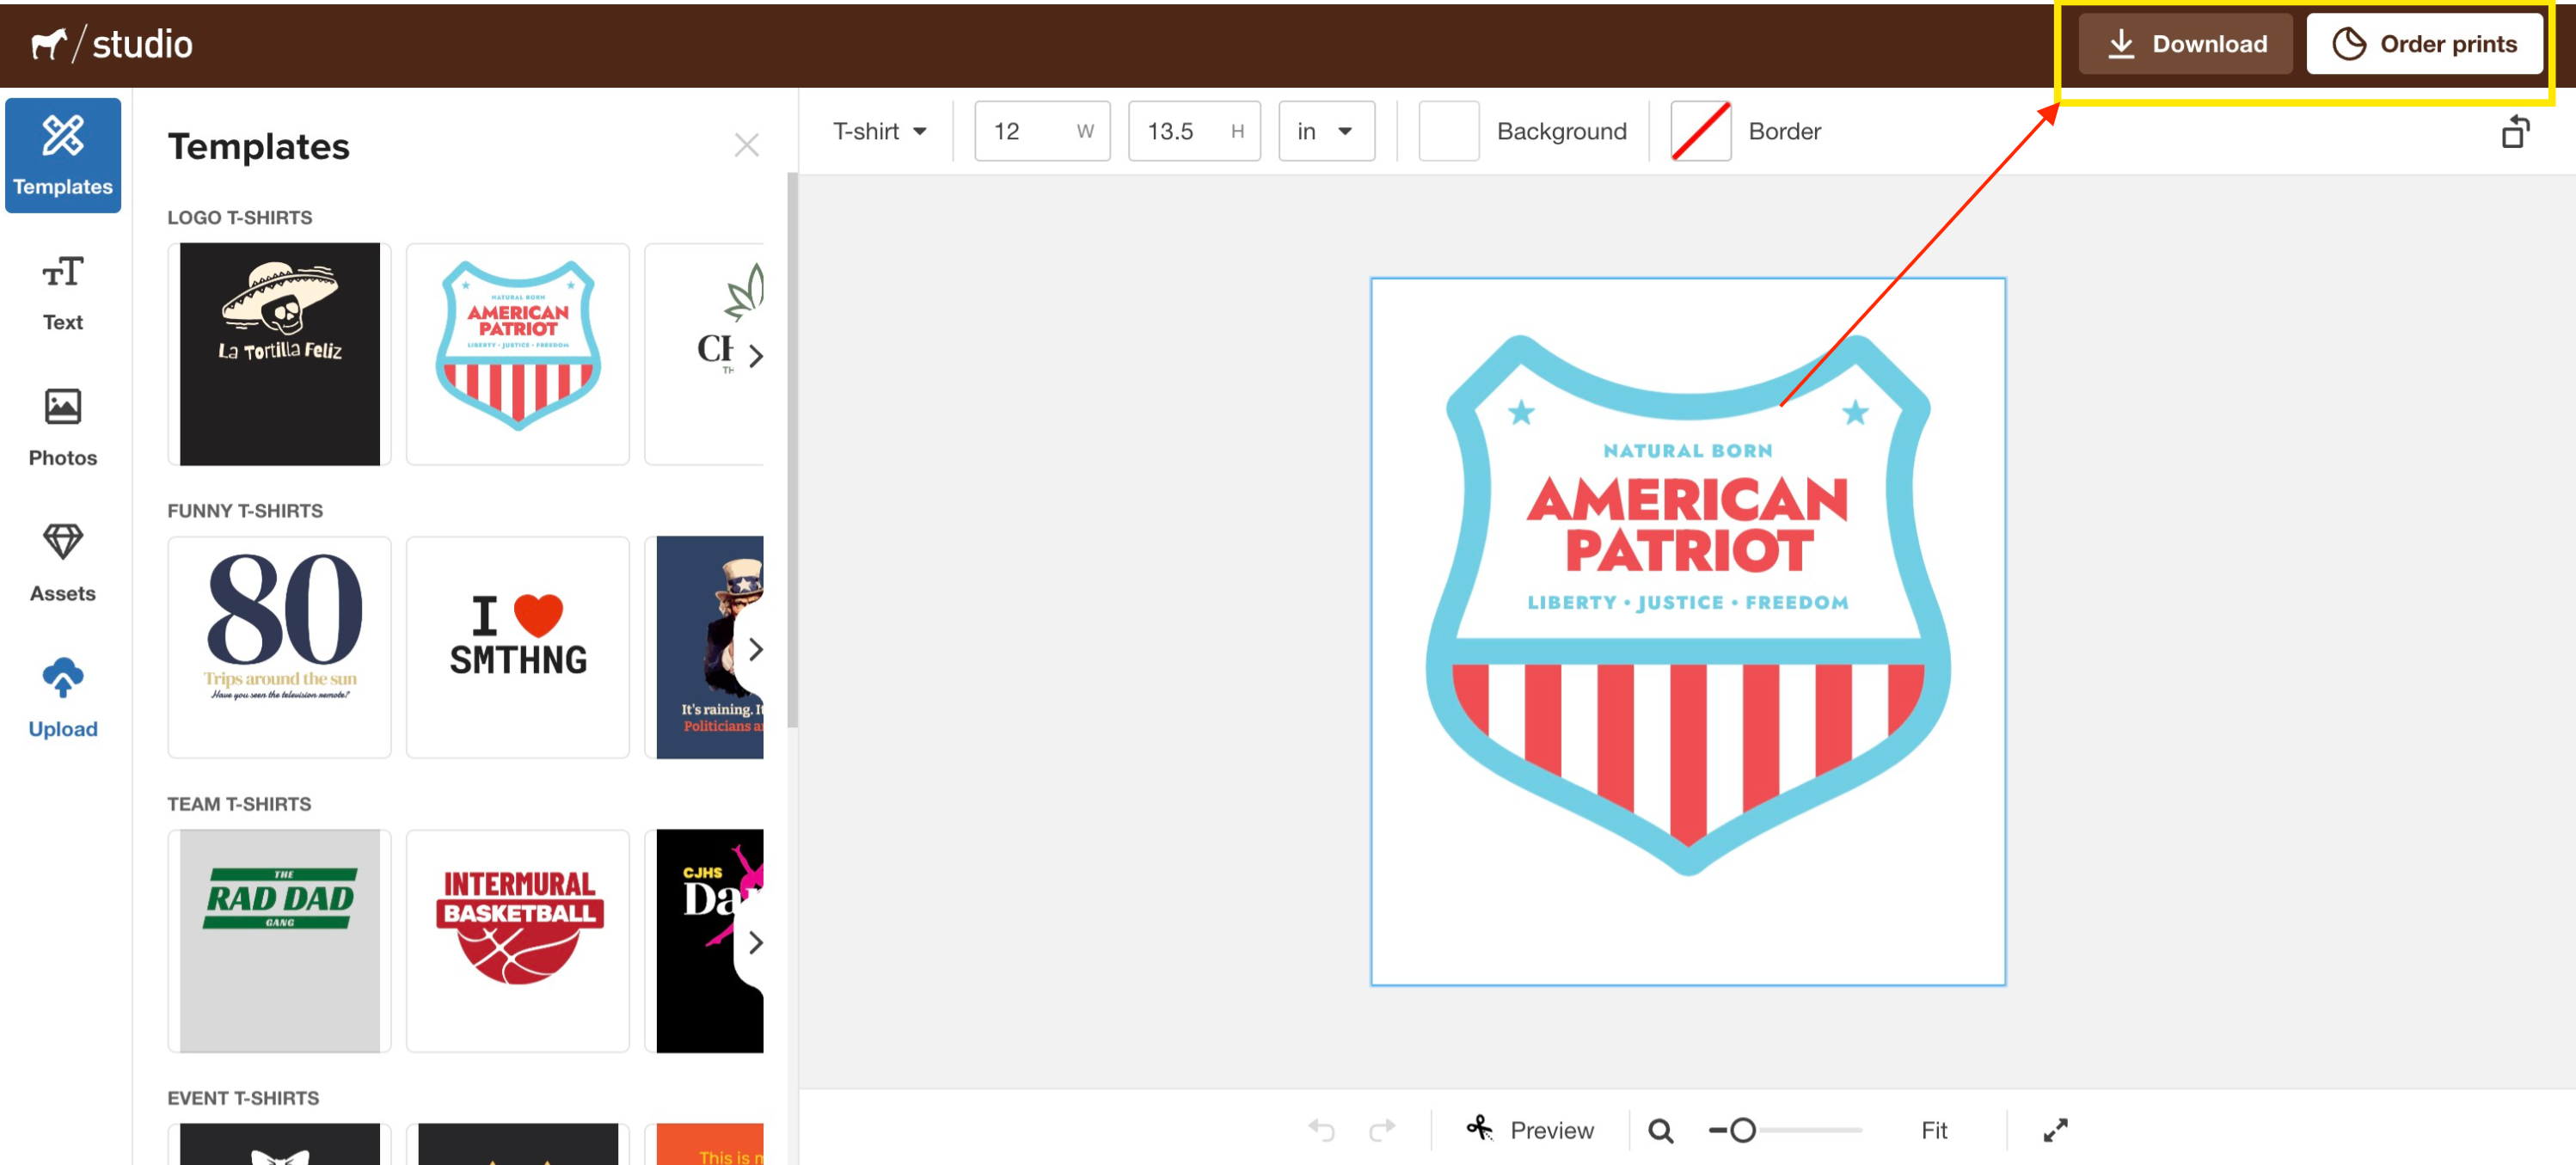
Once you’ve edited your design you are ready to print it. You can save the design by pressing “download” on the top right corner of the screen and then printing the t-shirt design yourself or you can use Sticker Mule’s online printing service directly from Studio by pressing the “order prints” button.
3. Print the shirt online at Sticker Mule
We’ve talked a bit about what to expect when designing your own t-shirt, but we haven’t actually gone over the actual printing process yet. Printing your own t-shirt design online is actually a lot easier than you might think. If you use the Studio tool from above, it’s as simple as pressing the order button to get a t-shirt printed.
If you already have your design ready, the process is pretty easy as well. Just head on over to Sticker Mule’s custom t-shirts page. Here just select the color and size you’d like the design to print on; then, simply upload your design when asked and complete checkout with your order details. You’ll have your t-shirt printed and delivered to your door in about a week!
There are many other t-shirt printing services available online, but not many come with the peace of mind of having Sticker Mule’s award winning support and proofing teams helping you along the way. But if you are a do-it-yourselfer, there is another option available for you to get your design printed on a custom t-shirt: iron-on heat transfers!
Alternatively, use DTF transfers
If you’re crafty, you can create a custom t-shirt at home using iron on heat transfers. Heat transfers are relatively inexpensive and they’re a great way to create a one-of-a-kind design and print it on a t-shirt without much difficulty. To do so, you just need to have a design ready to go and then print the design on a custom DTF transfer.
Once you’ve printed the design on the heat transfer paper, you can then use an iron to apply the design to a blank t-shirt of your choice.
Wrapping up
Now that you know what to expect when designing your own t-shirt, it might be a good idea to start thinking of some designs that are special to you. The best thing about designing your own t-shirt is that there are really no limits as to what you can create. You can put your favorite quote, your company’s catchphrase, your logo, or even a silly joke. Whatever you decide, just make sure you design something you’ll love wearing!
When you have a design ready to go, you can either print the design on your home printer on special heat transfer paper or have it printed online at a custom t-shirts printing service like Sticker Mule.
Comments