How to resize images for print
Posted by Alberto Queiroz on
When you are looking to print a graphic — perhaps as a sticker or custom t-shirt — one of the first things to do will be to resize it to the proper dimensions. But you'll also need to make sure it retains good resolution. Without proper resolution, it's just not possible to get a quality-looking product. No bueno.

Resizing a large image into a small one is a fairly simple process that most image editors will cover, including Photoshop and many different online-based image apps. But what to do if you're stuck with a low-quality file that you want to enhance? If you can't find a higher-resolution version of it, one way out would be to upscale it. Below, we'll look at how you can do a basic resizing in the first case, and how, if your file is undersized or low quality, Upscale by Sticker Mule helps you get it ready for printing.
Understanding image resolution for printing
Here perhaps we should recap just what image resolution is. In a few words, it represents how much detail your image has, and hence how much it can be expanded. For digital files, that is usually represented in pixels (short for "picture elements"). The higher your picture's PPI (pixel per inch) ratio, the more you'll be able to expand it.
For printing, a different measurement is commonly used: DPI, or dots per inch — the amount of dots and spaces a printer produces within each inch of printed material. Higher DPIs mean a higher quality look on your printouts. Typical print sizes are 300 DPI for content such as leaflets, stickers, and labels, and 150 DPI for larger printouts such as posters and wall graphics, where the viewer will stand farther away from the print.
Resizing images with Photoshop
If all you need to do is resize your picture because it's too large to fit your editing canvas or the file is too heavy to upload, you'll find it an easy enough procedure:
- Open your image file on Photoshop
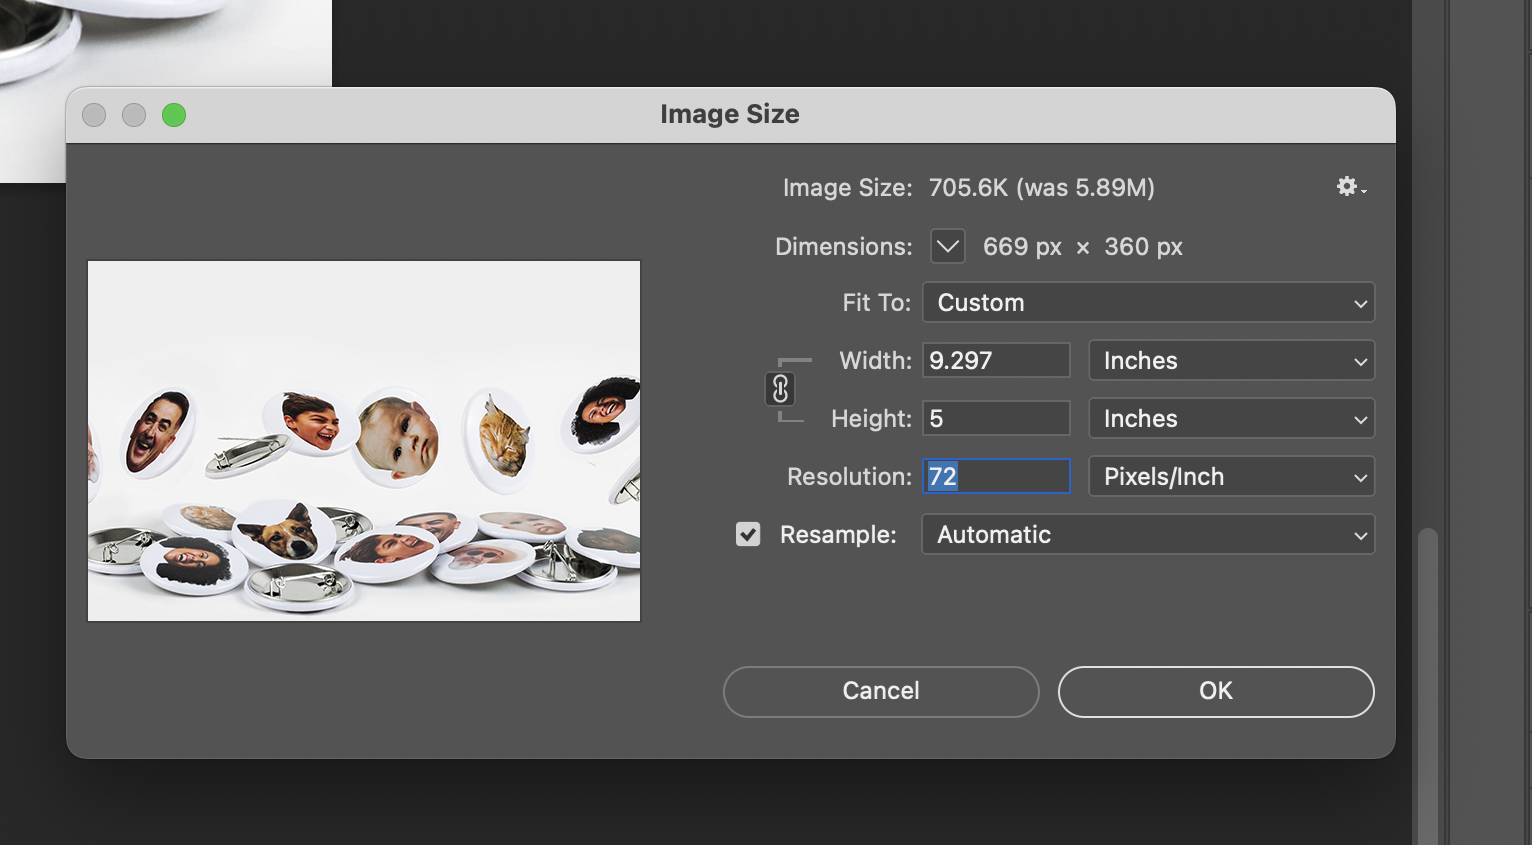
- Click Image > Image size. A dialog box will open.
- Adjust the image's dimensions in pixels on the width and height fields, or simply enter a percentage of the current size.
- If you prefer to use a measurement other than pixels, you can also do so in the same dialog box — inches, centimeters or millimeters, among other options.
What if you want to resize your picture while retaining the original one, with the original resolution? That's easy, too — just use the export function:
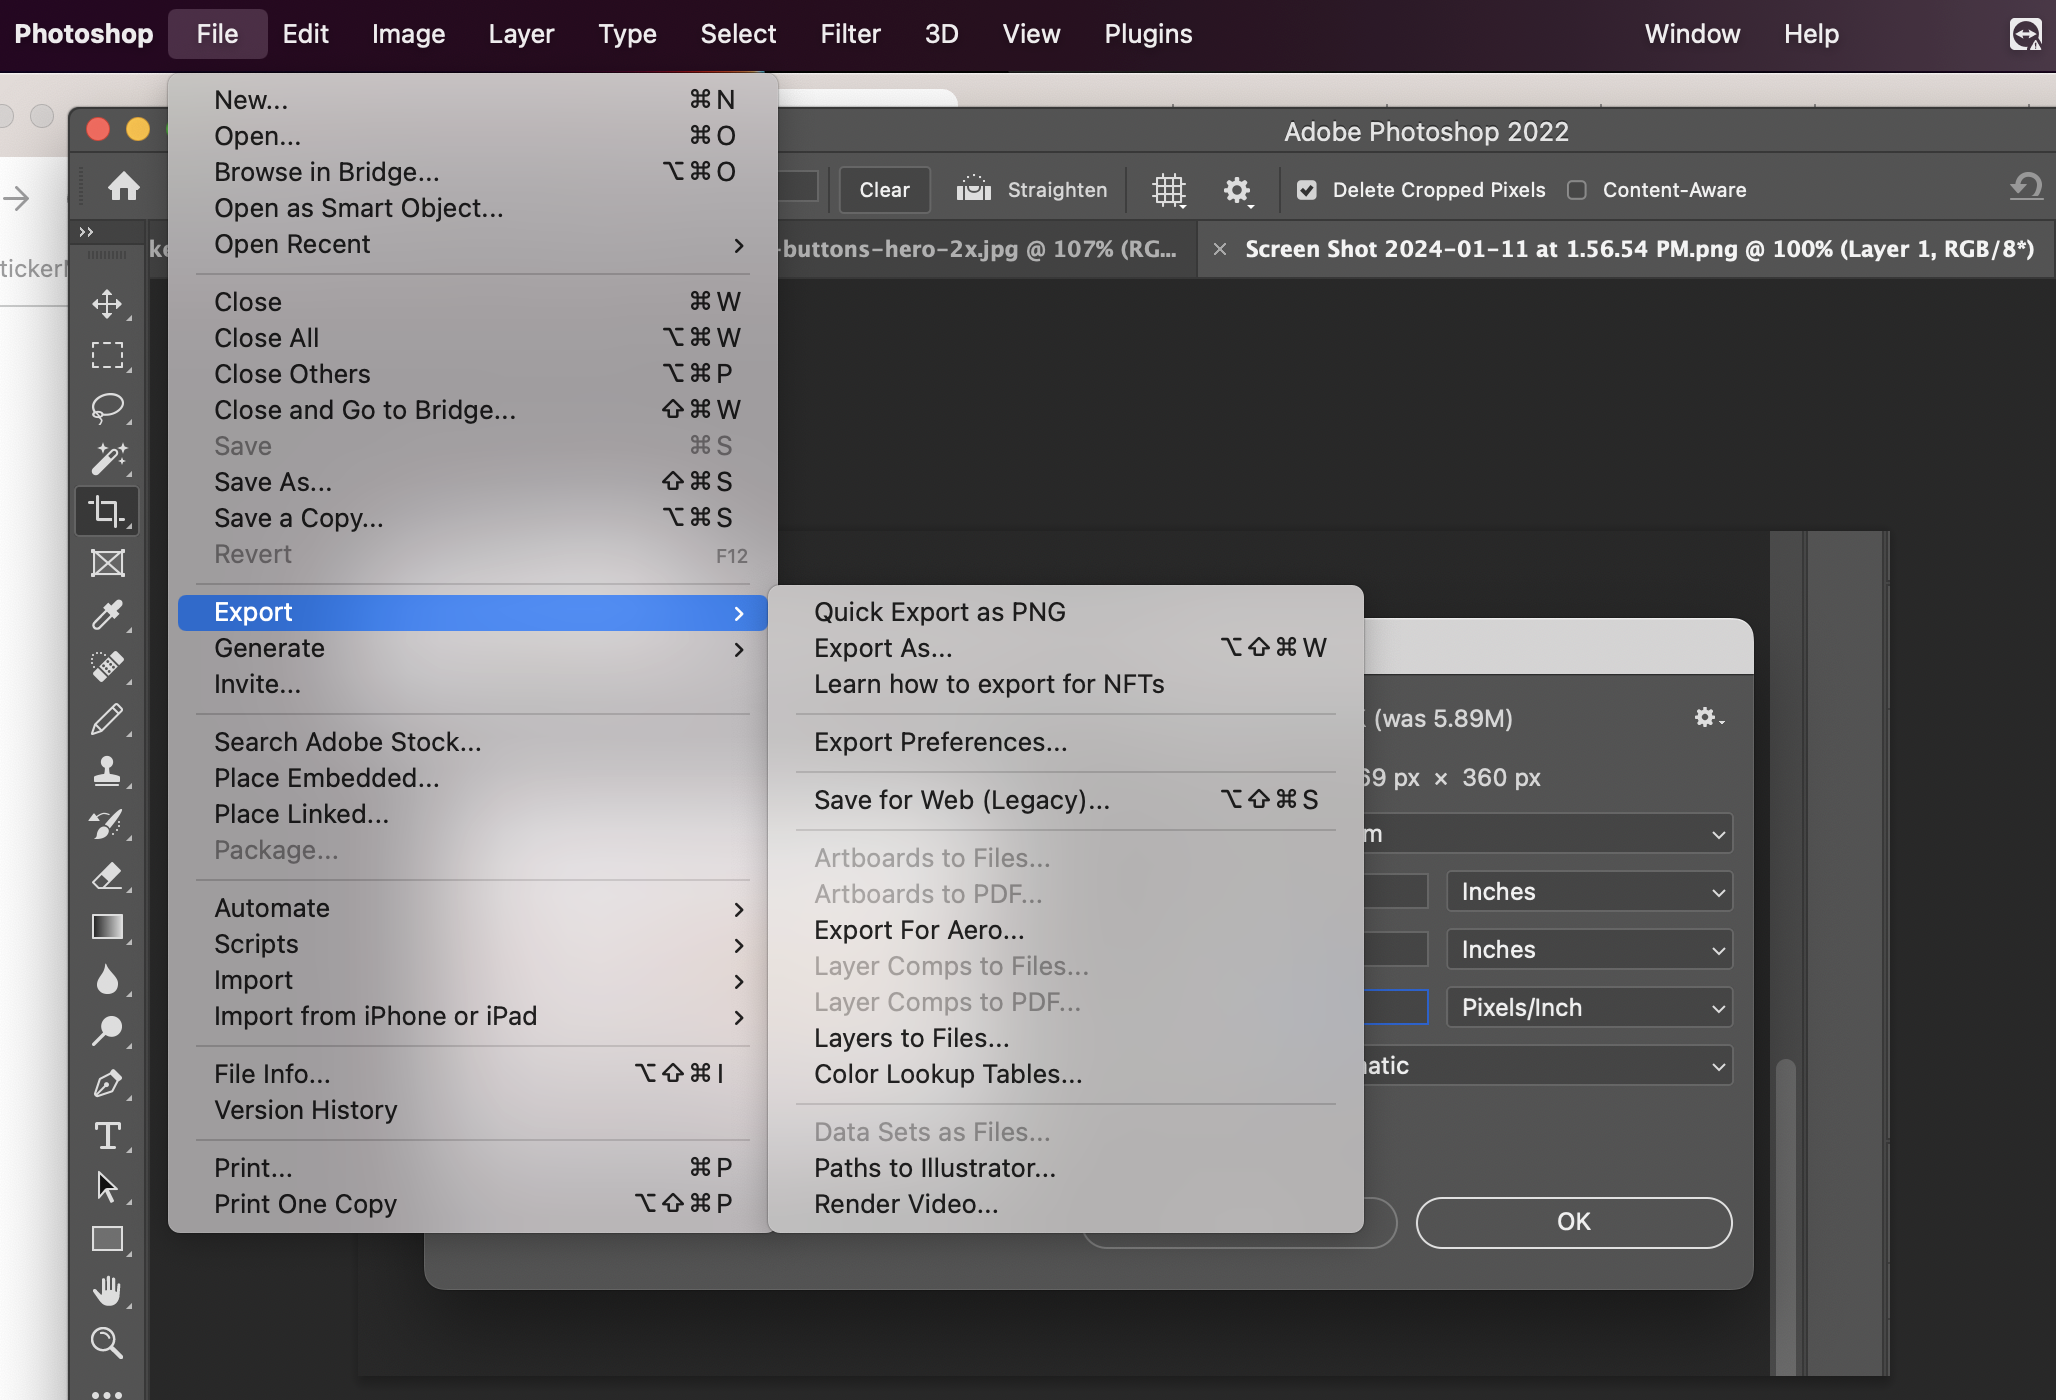
- With your file open on Photoshop, click File > Export.
- Adjust your new file's dimensions (pixels or percentages).
- Select the format for the new image you are creating (JPEG, PNG, etc.) and click OK.
- And that's it — now you'll have created a second, smaller file for your current use case, while at the same time keeping the original one safe and sound.
Using free tools to resize your images
If you don't have a Photoshop account or your laptop starts sounding like a malfunctioning rocket when you try to run it (we've all been there, trust me), you can try using one of a myriad of free online tools. Here are a couple of them.
Image Resizer
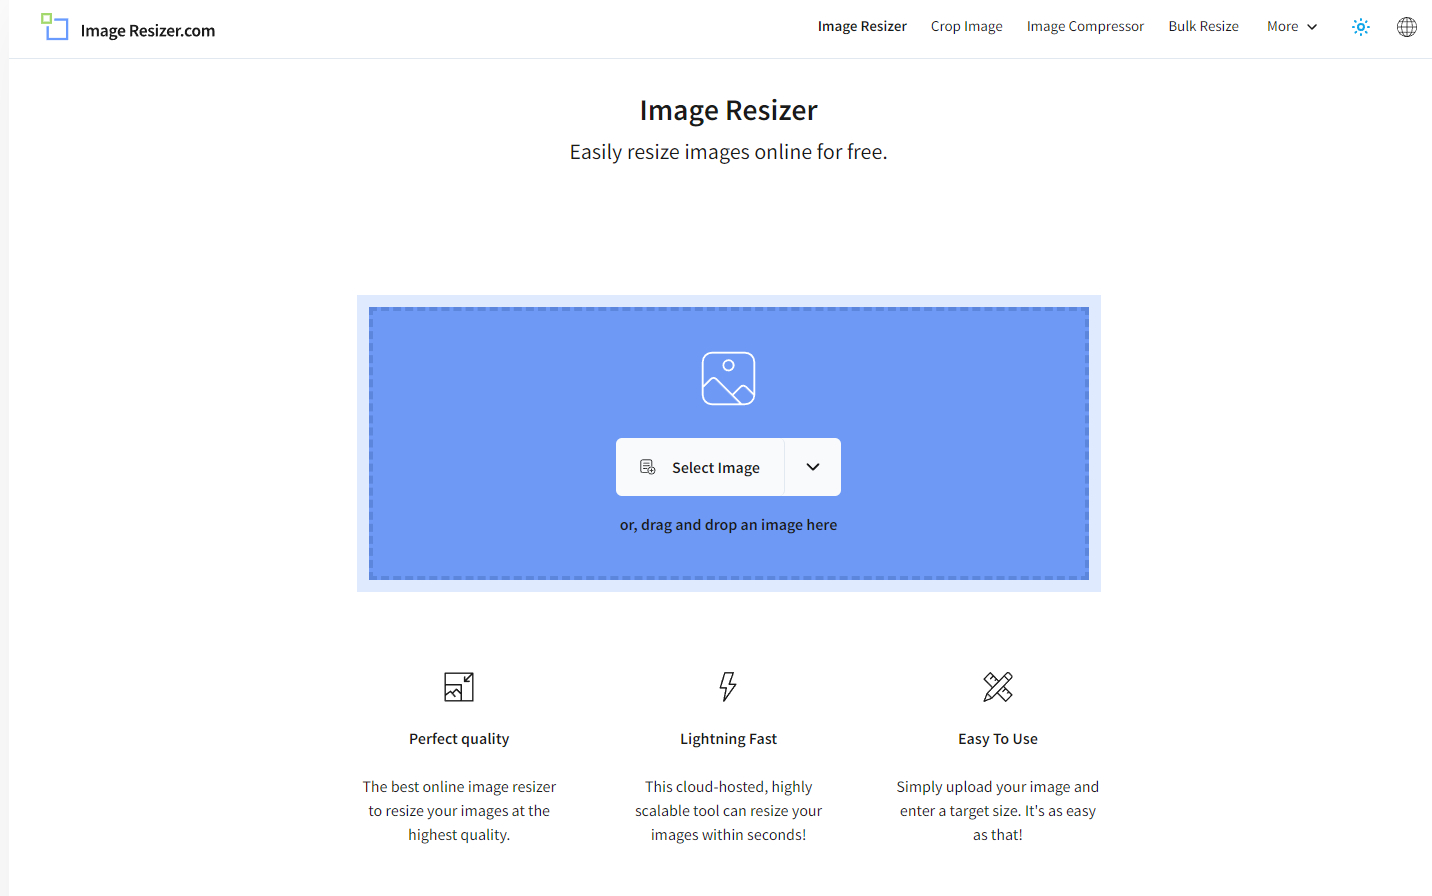
Image Resizer is a nifty and easy to use tool. Just open their homepage, upload the image you want to resize and enter the new dimensions. Once again, you can do it either in percentage terms or by entering the new size directly in pixels — just make sure you keep the original width/height ratio intact.
Once that is done, click Resize image and, after a few seconds, you'll be presented with a ready-to-download, resized version of your file. You'll also be able to re-edit it, convert it to PDF, or compress it to a .ZIP file.
Adobe Resizer
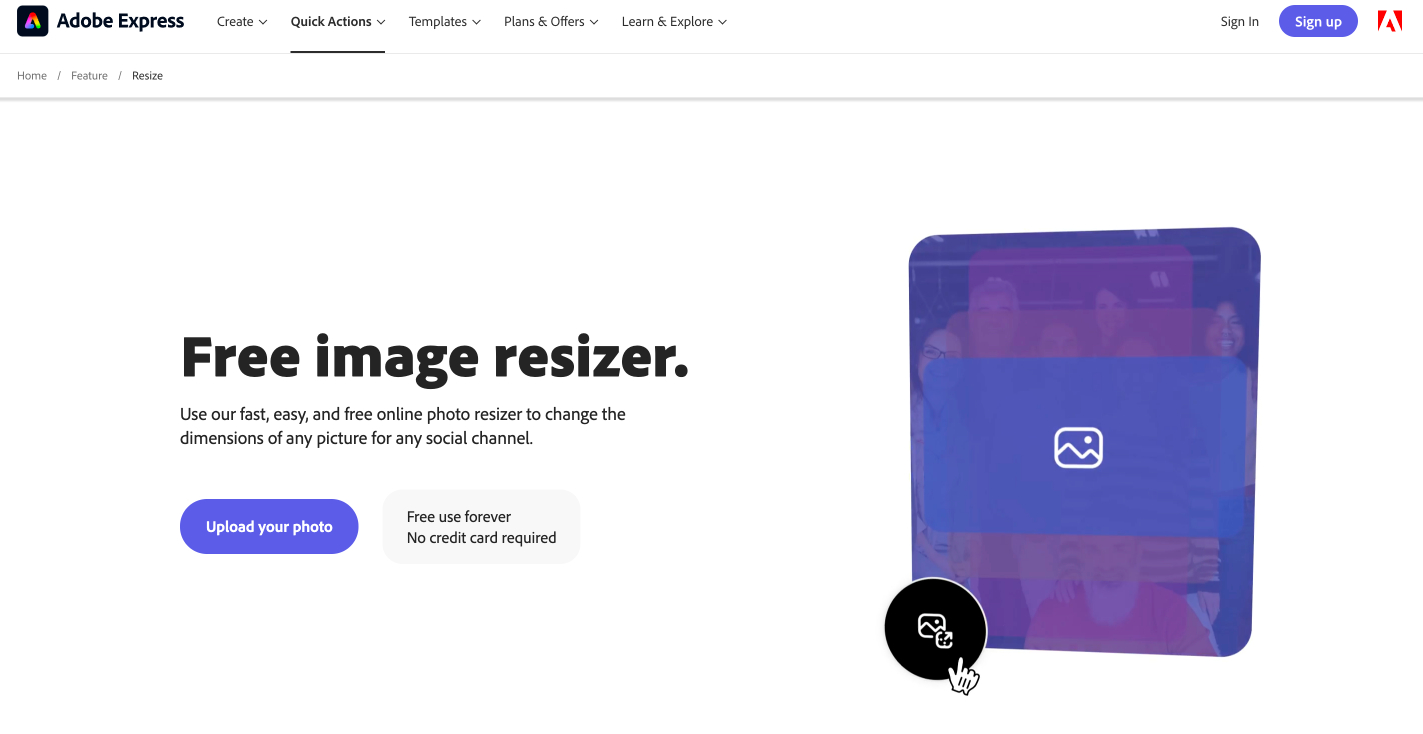
You don't need to have Photoshop to benefit from an Adobe resizing service — that's just what their online resizing service is for. To use the free Adobe image resizer:
- Go to the Adobe Free Image Resizer page.
- Click Upload your photo.
- Select the file in question on your computer.
- Once the file is uploaded, enter its new dimensions and click Resize.
- Your file will soon be ready for download. Before downloading, you'll also be able to choose new dimensions for your file according to standard sizes such as Instagram story, landscape, portrait, and square.
As resizing is a fairly simple operation, any of the above options should be enough for your needs. Both Image Resizer and the Adobe solution are free and don't require creating an account. However, we found that the Image Resizer is best for slower-working devices.
Finally, remember the solution to your resizing needs may be literally in the palm of your hands. Most modern Android and iOS smartphones come with image editing software that works great for simpler operations such as resizing, so you can likely generate your new image file on the go, no problem.
Enhancing image size without losing quality with Upscale by Sticker Mule
What if you need to resize an image upwards — that is, your file is too small for your printing needs? Run it through any of the above options, and you'll find yourself looking at a larger, but pixelated and low-resolution image. In fact, the Adobe tool will sometimes tell you straight off that your image is too small for the selected size.
So yes, for enhancing your image size you'll need something a little more advanced than any old picture resizer. Allow us to present our very own solution: Upscale, by Sticker Mule.
What does Upscale do?
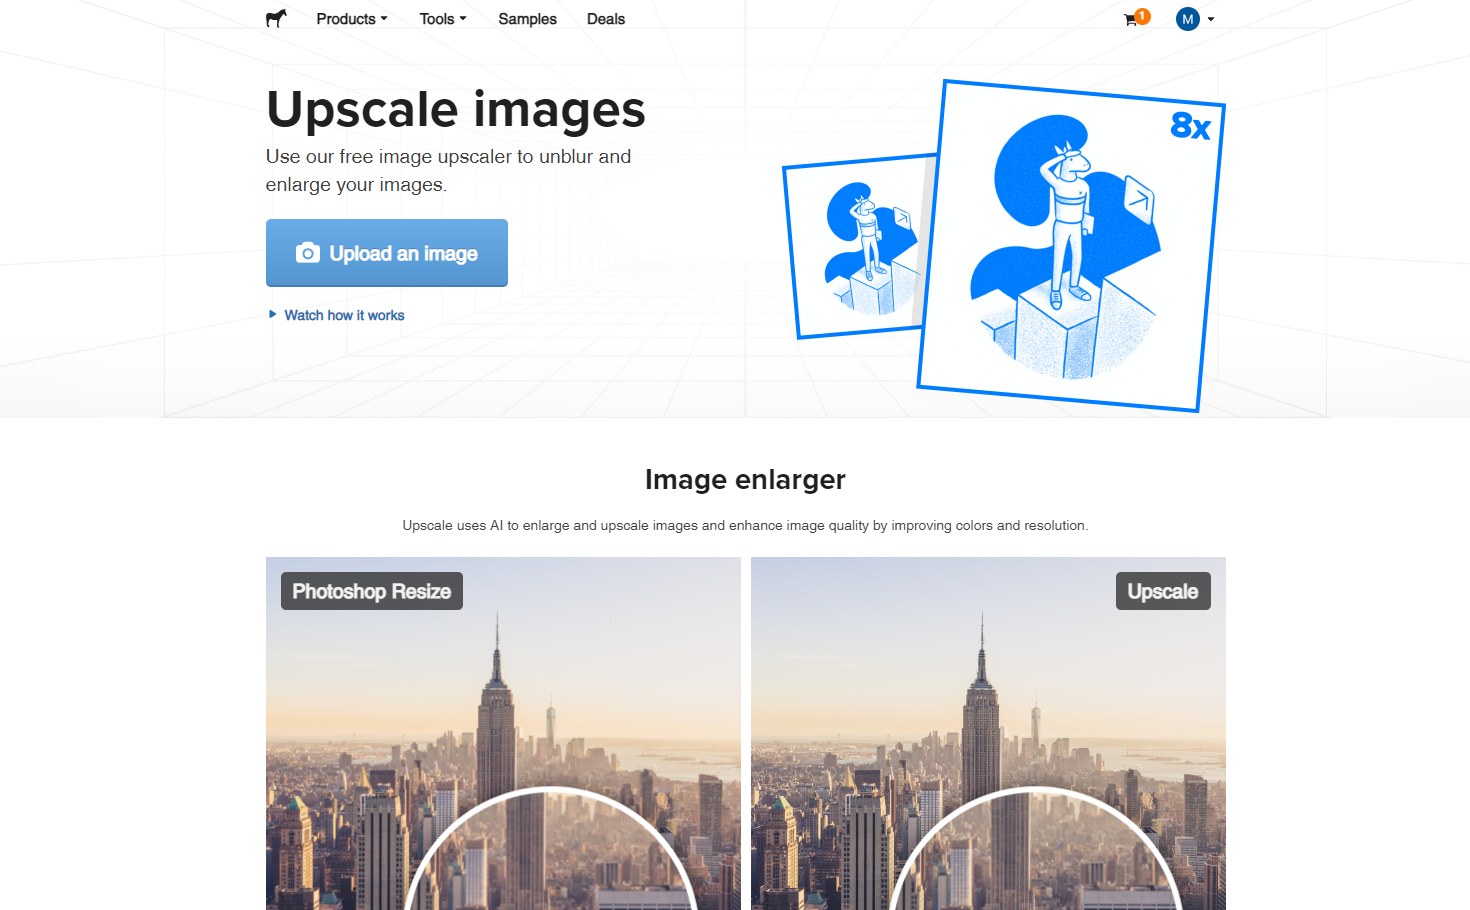
Upscale leverages the power of AI algorithms to increase the number of pixels in your image. As it expands your image, it also fills in the missing pixels, avoiding the granulated look you would get otherwise.
Upscale is completely free to use. It also boasts a pretty simple and intuitive interface. Try it out yourself:
- Go to the Upscale main page
- Upload your image (or images, as you can also run a bulk upscaling)
- Select the type of image — photo or artwork —, or, if unsure which to choose, leave it in Auto
- Select the desired upscaling scale — 2x, 4x or even 8x.
- Click Start processing and hold on tight. Upscaling one or two images should be fast enough, but if you're doing that with a whole bunch of them, you might want to check the Email me when complete box and go about your business. Just don't close your browser tab!
- When your files are ready, you'll be shown their new size in pixels, in comparison to the original one. Now click the download button and you're all set.
- [Optional]. If you want to order your prints directly from our website, simply select the desired product, below your upscaling results — stickers, coasters, labels, keychains, or anything else from our store. Enter the quantity and size and order in one click. It's as simple as that!
As a caveat, remember even the best apps have their limitations, and Upscale is no exception. If the original file is minuscule and barely has a fistful of pixels to show, you should adjust your expectations for the result accordingly.
Overall, though, we are convinced you'll be more than happy with Upscale's image-enhancing magic.
Conclusion
Resizing and redimensioning are key steps if you want to ensure the best possible results for your custom printed products. And happily, as you can see from the above examples, it's also a pretty straightforward process. So give the above browser-based options a go and see what works best for your use case — you'll soon have a properly sized version of your graphic, ready to print.
Comments