Convert any image to vector - 6 ways to vectorize an image
Posted by Sticker Mule on
Converting images to a vector is a skill that any designer needs to know. The good thing about this is that there are plenty of tools and tutorials online that will teach you exactly what you need to know! (Thank you, technology!)
Vector images is a common file type that designers and advertisers need to master. After all, this is the preferred format for billboards and other types of ads.
There are a lot of ways to convert flat images into vectors. Here are a few ways of doing it.
What is a vector image?
To better understand what a vector file is, it is important to learn the 2 basic categories of a digital image: raster graphics and vector graphics.
You may already be familiar with a flat or raster graphic. These graphics are .jpg (Joint Photographic Experts Group), or .png (Portable Network Graphics) file types. Notice that when you zoom in a .jpg or .png image, you’ll see that the image becomes blurry and you start seeing little square dots. These dots are called pixels. This is the basic foundation of a raster graphic: flat little dots that form the full picture.
On the other hand, a vector graphic is made up of mathematical formulas rather than flat, fixed, and solid colored pixels. The formulas create the points, paths, lines, curves, shapes, and colors that you see in a vector image.
The most important attribute of a vector image is that it is infinitely scalable without compromising the quality of the image. No matter how close you zoom in, or how big you scale a vector image, it will remain smooth. The resolution will also remain high! Some common file formats of vector files are .ai (Adobe Illustrator), .eps (Encapsulated PostScript), and .svg (Scalable Vector Graphic).
Where are vector images used?
Vector images are used in branding and printing. Most logos, icons, and other graphics that you see displayed on websites online are vector images. Most print jobs you have seen might also have been vector images before printing.
What can you do with vector images?
Because vector files are resolution independent, they are great for large scale printing like banners, signs, and other large format jobs. Vector files are also great for smaller prints like business cards, packaging, and stickers because even the tiniest details are guaranteed to be sharp and clear.
It is generally a good idea to keep graphic assets as vector files because of its smaller file size compared to a raster image. You can also update and edit vector files with ease as well as export it into any other file type you need anytime.
What are tools that can convert an image to a vector?
There is a variety of software, both offline and online, that have the ability to export vectors. Some popular professional software are Adobe Illustrator and CorelDRAW. There are also open source and free software like Inkscape and Vectr.
Alternatively, there are a lot of free vector conversion websites where you can upload your image and convert them to a vector image. The downside of using free and automatic conversion tools like them is that you will not get an accurate image. Some include watermarks, while some simply do not produce high resolution vectors.
Here are our favorite ways to accomplish the task but still have a great result
1) Let someone else vectorize the image for cheap online
Here’s our pro tip: Redraw from Sticker Mule converts and upgrades any image to a high resolution, vector graphic.
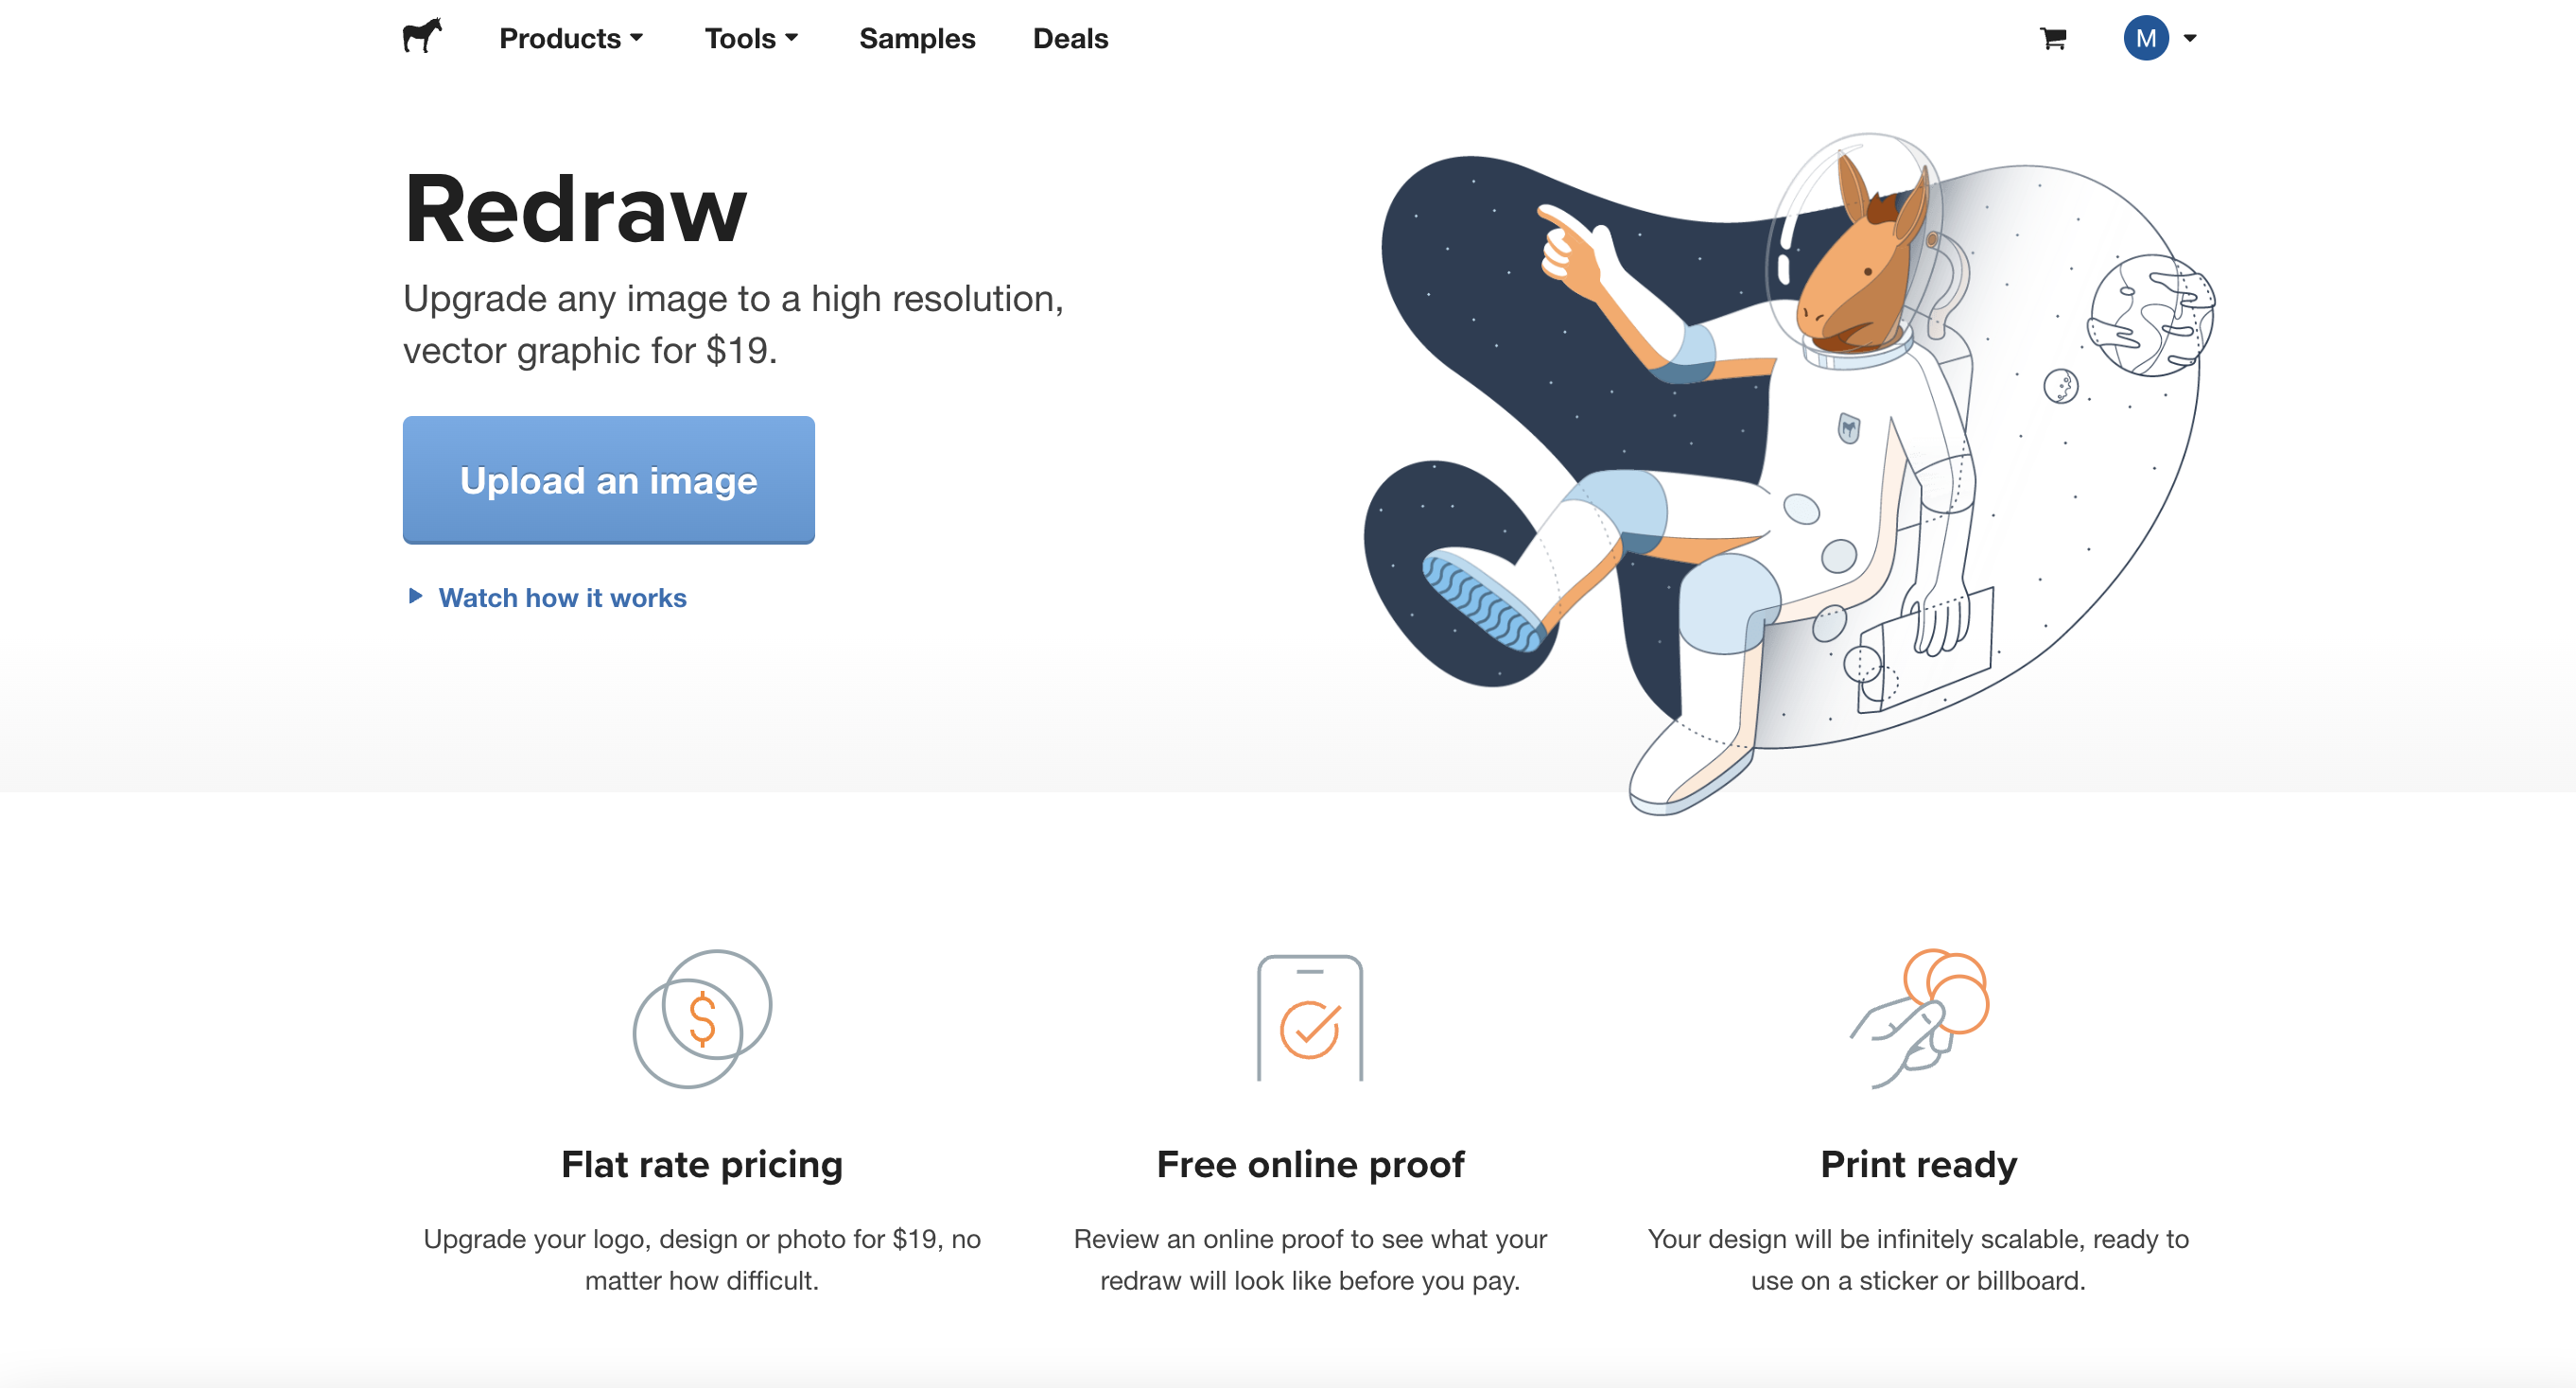
Redraw eliminates the hassle of tracing, coloring, finetuning, and exporting. Though you may need to shell out a few bucks, Redraw guarantees that it will convert any image into a high-quality vector image that is infinitely scalable! And after that, your new poster, sticker, or billboard will be ready in no time!
2) How do you convert .jpg to vector manually?
Well, if you insist on trying to learn the basics of converting vectors manually, you will need graphic design software such as Adobe Illustrator, CorelDRAW, or Inkscape. Some softwares have a smart tool that helps in automating the process, but not all of them do this. However, there are ways to accurately, albeit manually, convert flat images into vectors.
- Using the software of your choice, open your flat image.
- Create a new layer on top of the image.
- Using the pen tool, trace your image to create paths and shapes.
- Use the color picker to accurately fill in the shapes with the colors of your image.
- Delete or hide the raster image that you traced.
- On the File drop down menu, select Export, and choose SVG.
3) Convert a pdf to vector manually
Converting pdf to vector is similar to the steps described above but it’s easier! Some pdf files preserve the text and have the shapes already defined within the pdf. Luckily, these may have been preserved for editing.
- Right click on your pdf, and select open in Adobe Illustrator or any software that you are using.
- Using the selection tool, select the shapes, graphics, images, and text you want to convert.
- From the Type menu, select create outlines. This converts all the text to paths and shapes.
- On the File drop down menu, select Export, and choose SVG.
4) Convert images to vector in Illustrator
Adobe Illustrator’s image trace feature is one of the quick ways to convert a flat image into a vector image. Here are the steps:
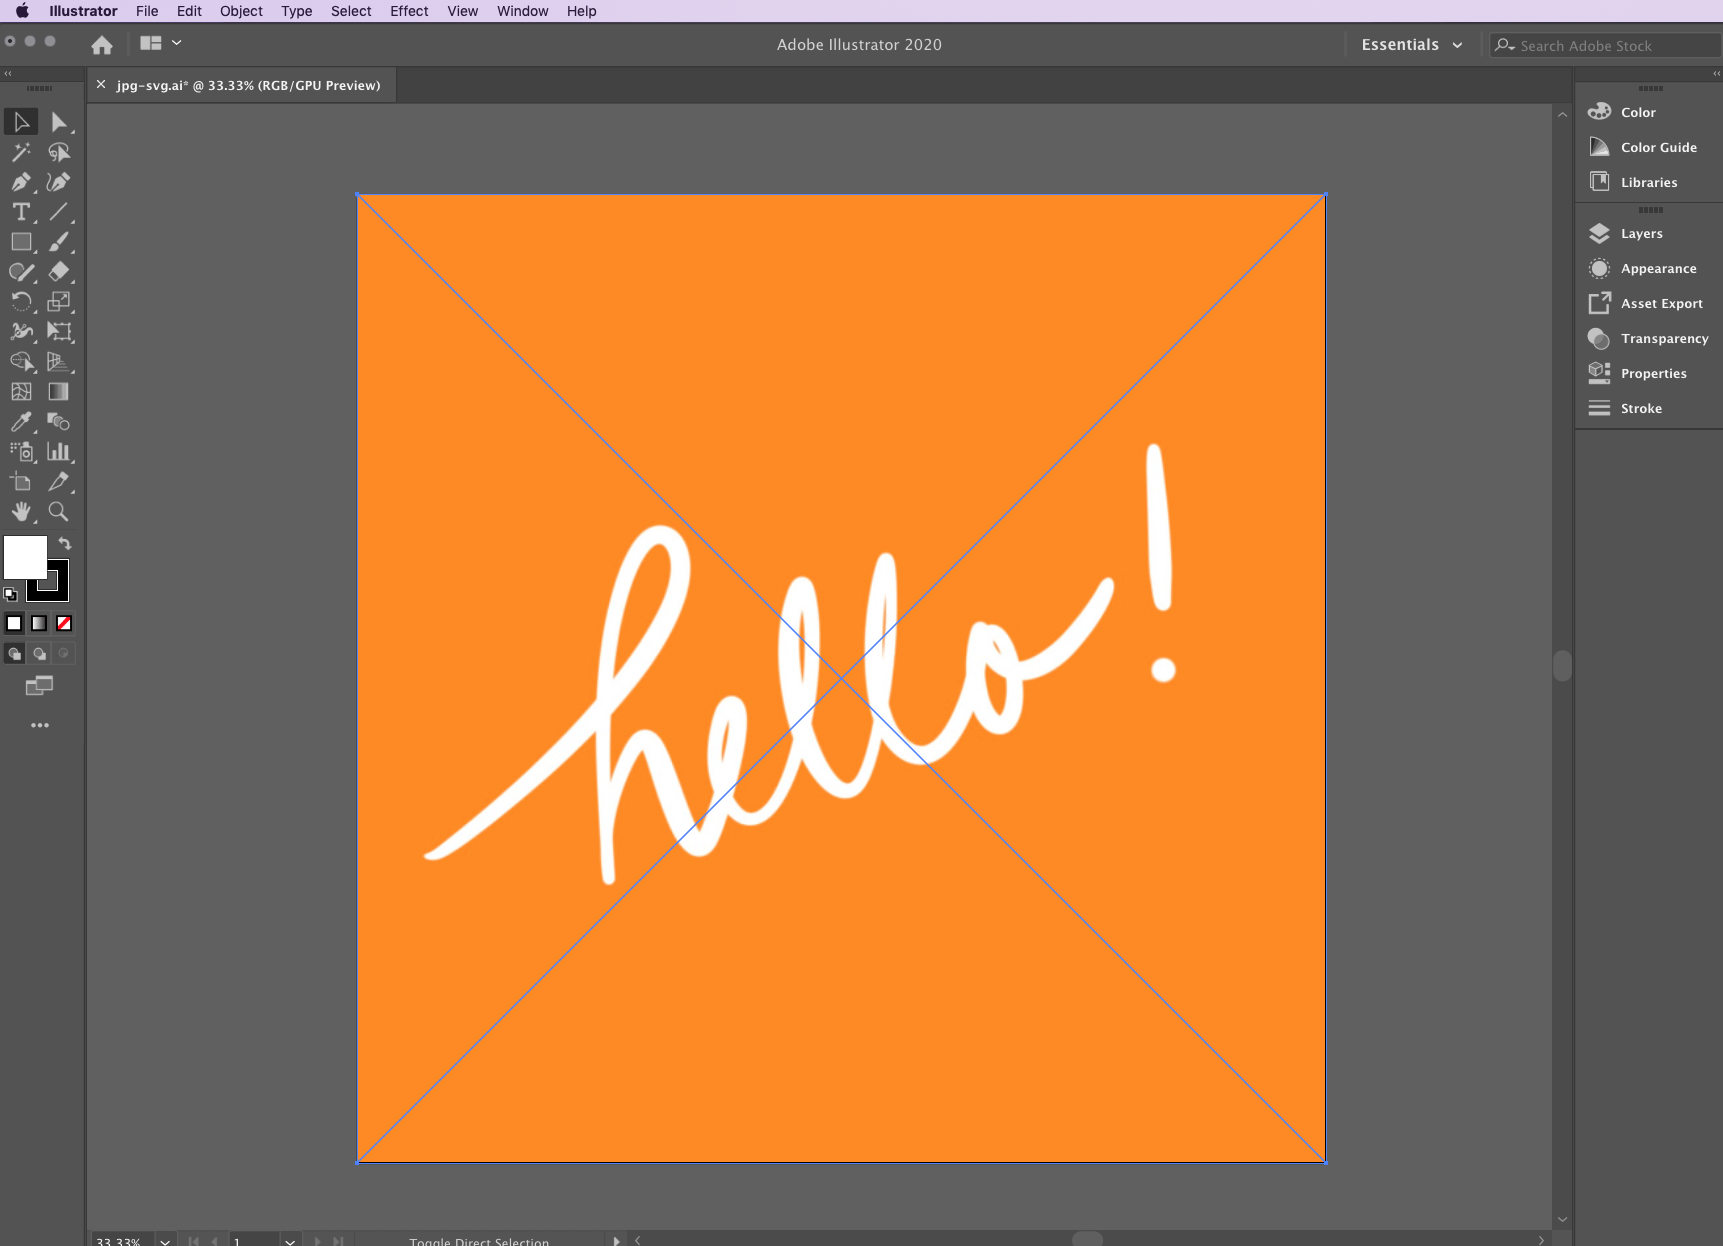
- Open a new document in Adobe Illustrator.
- On the menu bar, click on File, and then Place. Find the image you are converting into a vector, then click on the Place button.
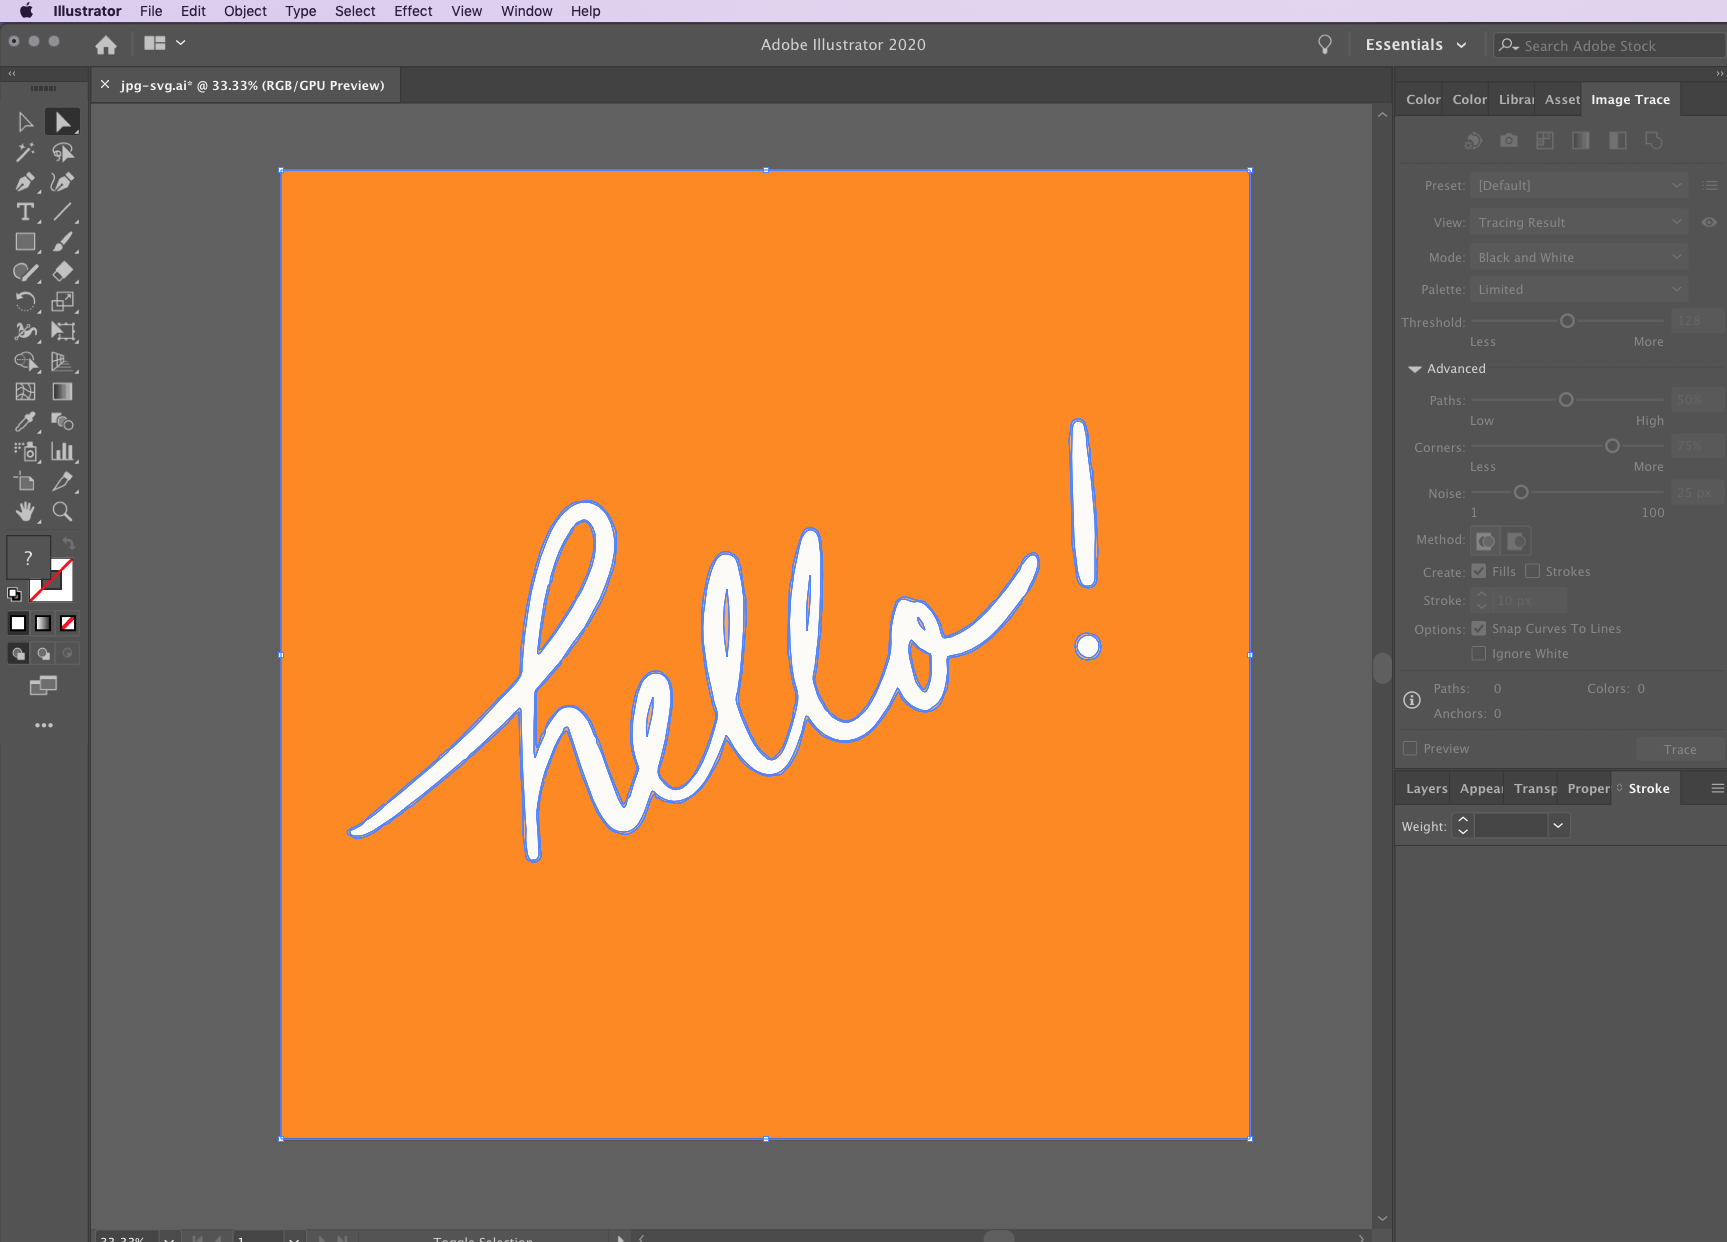
- With the image selected using the selection tool, select Image Trace on the Window drop down menu. This will bring up the image trace panel. Make sure to tick the Preview checkbox.
- On the mode drop down menu, you’ll be able to pick between 3 modes: Colors, Grays, and Threshold. Your selection will activate sliders that have similar functionalities. Select the color mode if you are converting a colored image.

- Toggle the Advanced menu to activate more fine tuning options.
- Adjust the Paths slider to set the number of paths in your design. Fewer paths work for designs that are smoother and simpler, and more paths work for more complicated designs. Adjust according to your image’s complexity.
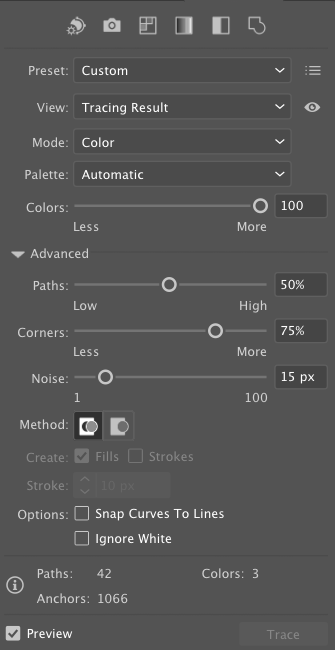
- Adjust the Corners slider to control the amount of corners on your design. High corners will make the corners of your design sharper, and low corners for more rounded corners.
- Adjust the Noise slider to add or eliminate details of your design. Too low on the slider might eliminate details that are important, and too high might add unnecessary details back. Find a good spot that closely depicts your design.
- Once you think you’re in a good spot, click on Object on the menu bar, and then Expand. You will now see that your image has been successfully converted into paths.
You have now successfully converted your image into a vector! It can now be scaled infinitely. You can save your new vector image into an svg file type by exporting it into an .svg file
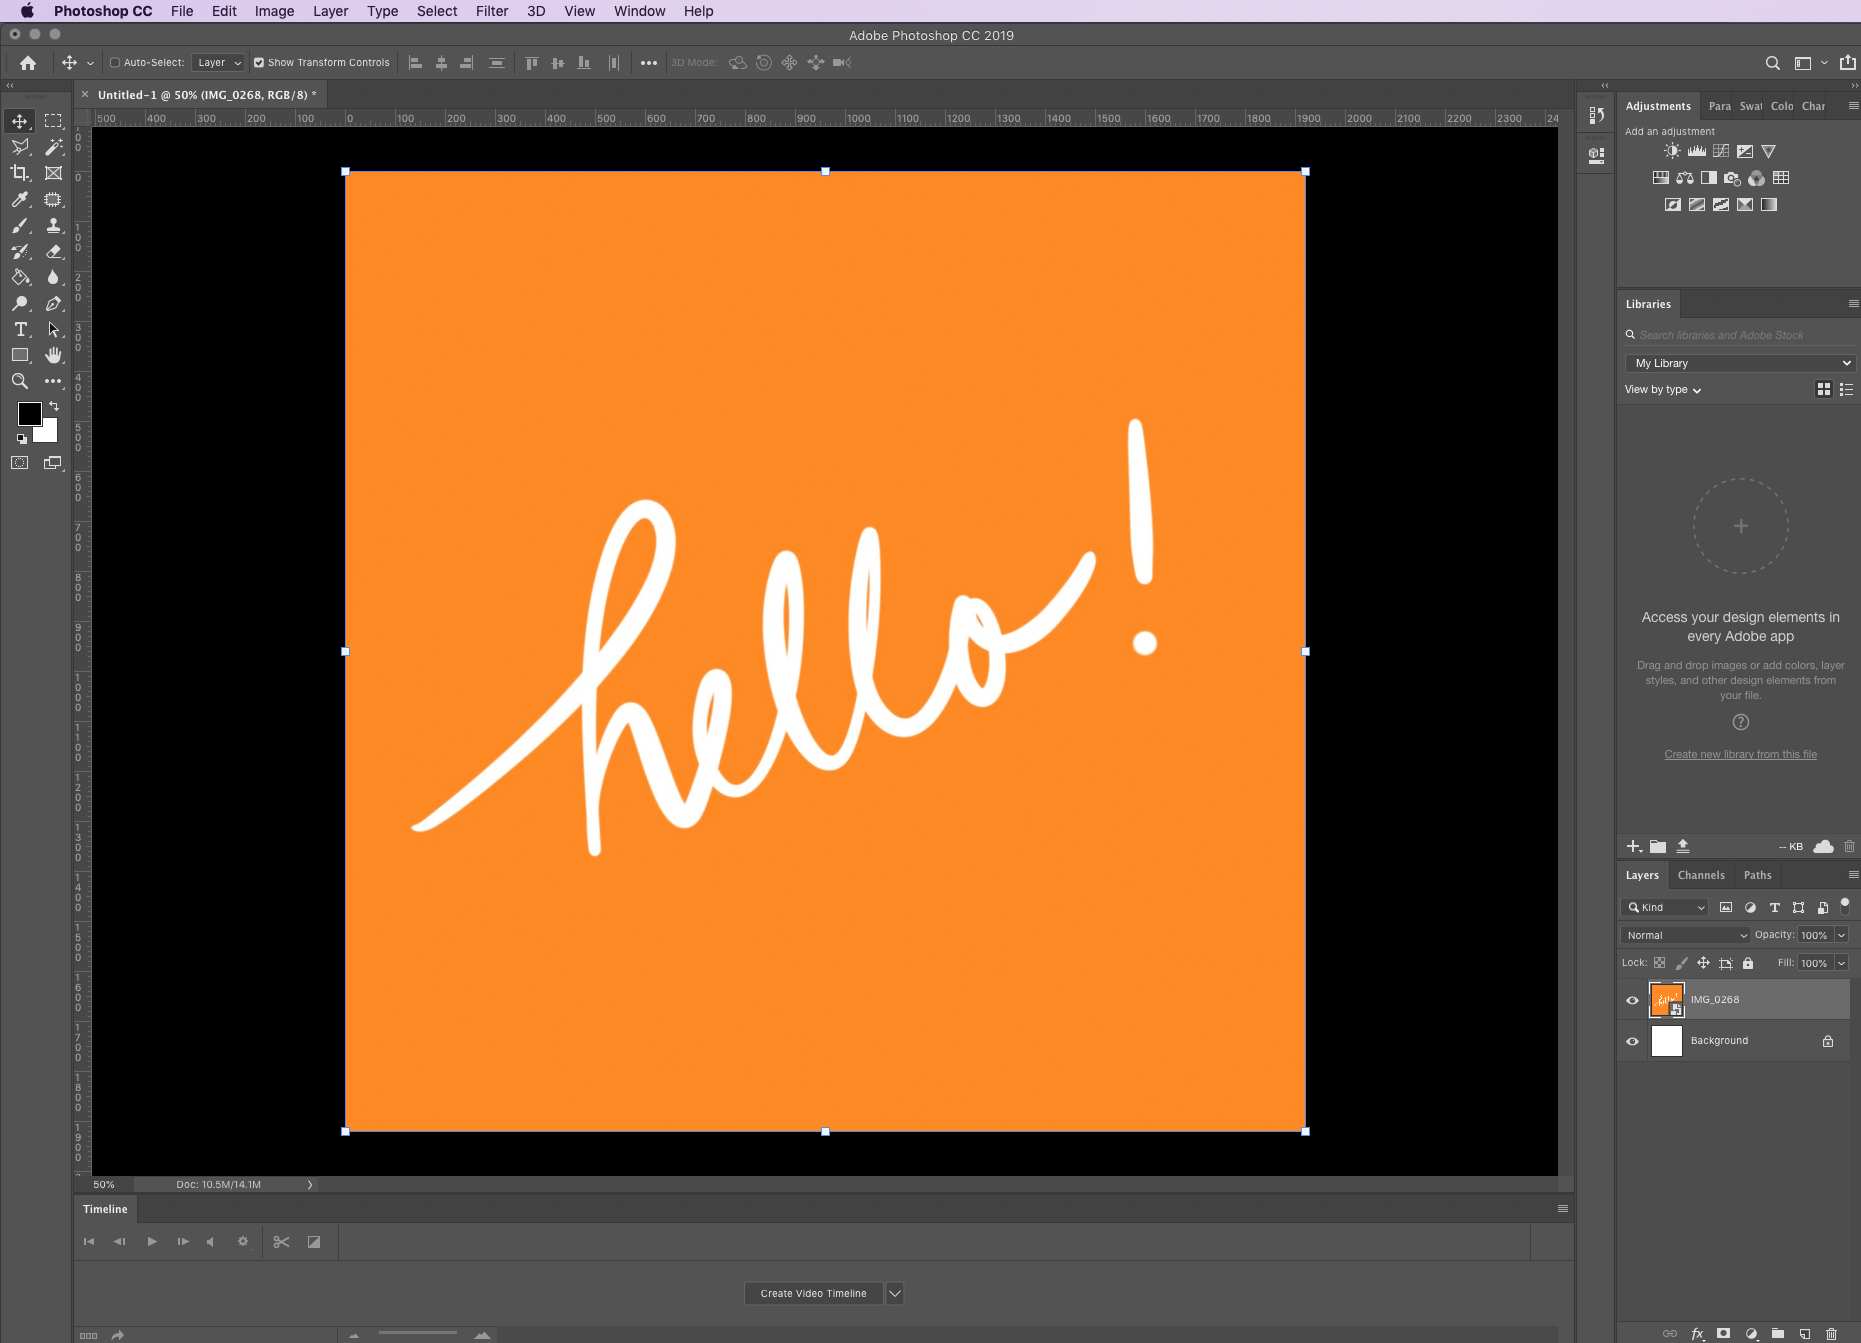
5) Convert images to vector in Photoshop
Since Photoshop was created specifically for photos and raster images, vector images converted using Photoshop will not be infinitely scalable. You will still end up with a vector file type that has a raster image embedded in it.
However, you will still be able to convert a .jpg or .png file into a vector file like an .svg using Photoshop.
- Open your image in Photoshop.
- Go to File, Export, and then Export As.
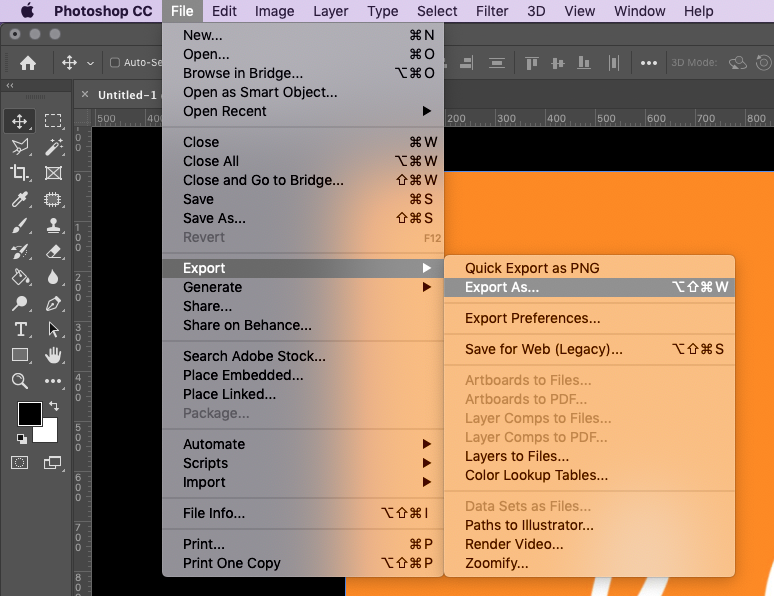
- Choose SVG file type.
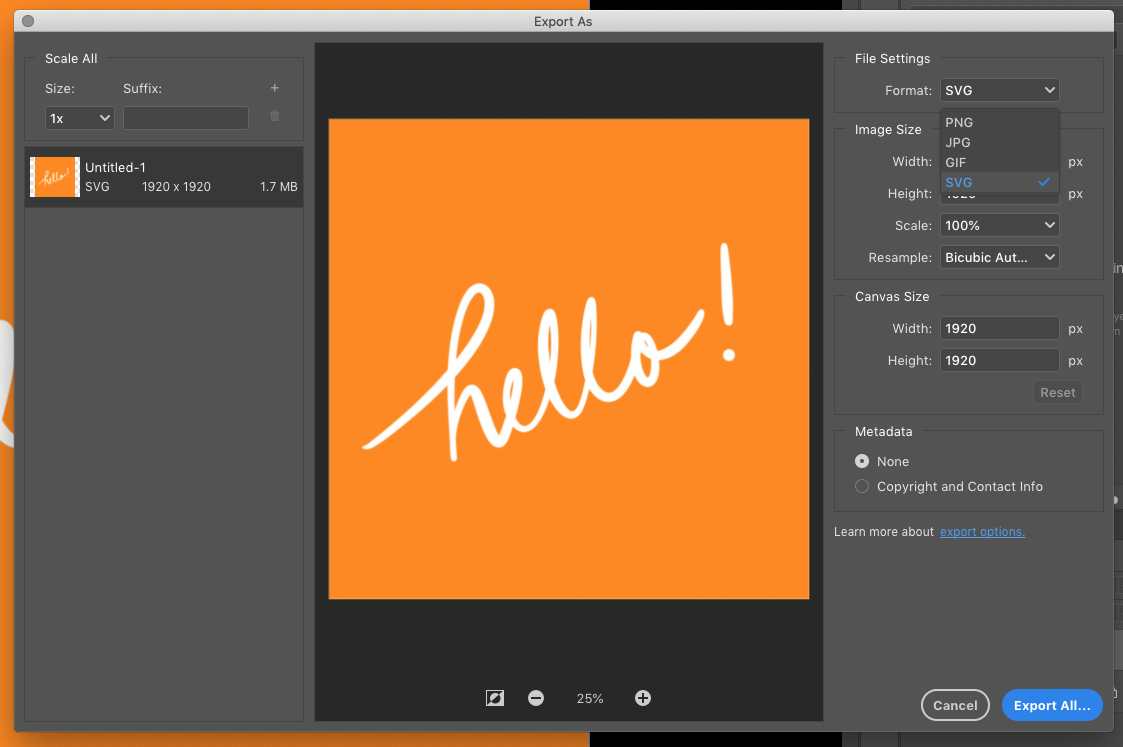
- Click export.
Remember that although you have a vector file, the raster image is just embedded in it. Your image will not be infinitely scalable and will still have visible pixels when you are scaling up or down.
6) Convert your images to vector for free
There are a lot of websites that convert flat images to vectors for free. Some of them go as far as giving the user the ability to input the number of color output, as well as designating a color palette. A couple of the best examples are pngtosvg.com or adobe convert to svg.
The downside to this is that aside from the webpage being heavy because of numerous ads that pop up all over the site, the output creates imperfect and crooked lines. (And be careful with clicking on those ads too! Sometimes, they may lead you to malicious, virus-ridden websites! Yikes!)
The converted vector also creates unnecessary extra shapes. You would still need to download and edit the vector image using software to finetune and clean up the vector.
Converting images to vector: Tips from a designer
Here are some tips on converting a flat image into a vector:
- Converting images into vectors works well for images that are simple, clear, and have minimal colors.
- When manually tracing, zoom in as close as possible so that you are able to follow the lines with better accuracy.
- Use the color picker tool when filling in paths and shapes.
- If the software that you are using has advanced automatic tracing tools, take advantage of it! You will only spend time fine tuning the result
- If you’re not a pro designer, then doing this process manually may not yield the best results. It’s better to take advantage of online tools like Sticker Mule’s Redraw to get that perfect finish!
How do you convert an image to a vector without losing quality?
If you have a flat image that you want to convert into a high resolution vector image, consider using Redraw. It will upgrade any image to a high resolution, infinitely scalable, vector graphic.
With Redraw, you will be able to increase the quality of any image, regardless of how complicated it is. With Redraw’s flat rate pricing of $14, you will not have to worry about having the right software, manually tracing, and fine tuning your image. You will get to review an online proof to see what your redraw will look like before you pay. You will receive an infinitely scalable, high-resolution vector image without all the hassle!
Comments