How to design a t-shirt in Adobe Illustrator
Posted by Miles Wright on
Designing a custom t-shirt is something I always wanted to try, and thanks to Sticker Mule’s Illustrator template, I found the process to be surprisingly smooth.
If you don’t have your hands on professional software like Adobe Illustrator though, you can design it right in your browser using Sticker Mule’s free design app Studio.
But in this tutorial, I’ll walk you through exactly how I designed my t-shirt from scratch using Adobe Illustrator, and how you can do it too.
CMYK or RGB?
Before getting into the steps, one important note: I made sure to work in RGB color mode instead of CMYK. This might seem counterintuitive since CMYK is usually made for print, but for direct-to-garment (DTG) printing, RGB is actually the better choice.
DTG printers are optimized to receive RGB files, and their software converts them to CMYK in a way that preserves a wider and more vibrant color range, closer to what you see on your screen. So if you're aiming for bold, vivid t-shirt designs, RGB is the way to go.
Step 1: Deciding where to start
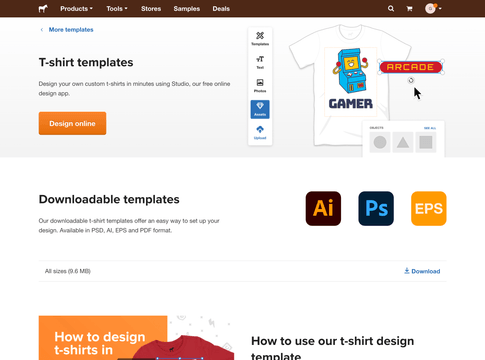
I had two options: I could either upload my completed design and let them handle the setup, or I could download their easy-to-use template and customize the artwork myself.
Since I wanted to try this myself and finetune the placement on the t-shirt, I downloaded their template from stickermule.com/templates under More > T-shirt templates.
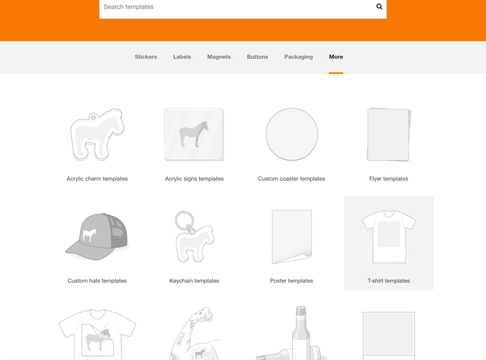
Click the Download option to get all t-shirt templates in different file types (.ai, .eps, .pdf, and .psd).
Step 2: Setting up in Illustrator
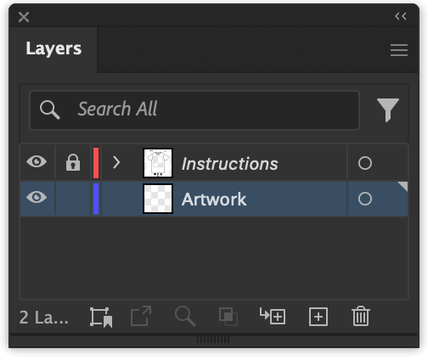
Once I opened the template in Adobe Illustrator, I saw it had two layers:
- Instructions (locked)
- Artwork (where I placed all design elements)
The Instructions layer is a non-printable layer that helps you understand where the design should be placed on the artboard. The template is built in a way that scales along with different shirt sizes, so whether you’re looking for a Youth Small or an XXL, this file has you covered.
The Artwork layer is where you’ll need to be to work on your design. Anything you place inside this layer will be printed.
The gray box inside the template represents the printable area. Everything I want printed needs to stay inside this box since anything outside it would get cropped.
The great thing about this template is that you see exactly where the printable area ends, as your design will be hidden outside of those borders.
Step 3: Adding my design
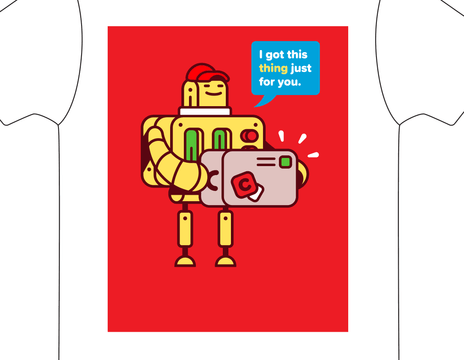
I created a fun fictional brand called CourierBot and started laying out the robot character with a speech bubble. I copied and pasted these vector elements into the Artwork layer.
When I pasted them in, Illustrator initially placed them outside the print area. And remember, anything outside this area won’t be printed. So I made sure I positioned them centrally inside the gray box. This works great!

Step 4: Previewing t-shirt colors
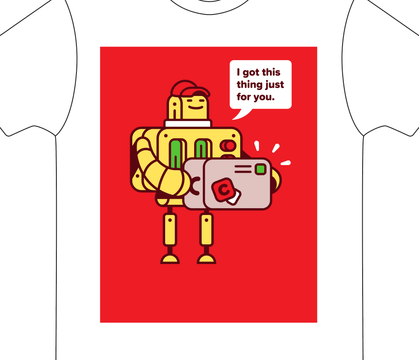
To get an idea of how the design would look on different shirt colors, I created a new layer below the Artwork layer. Using the Rectangle Tool (M), I drew a rectangle that covered the entire shirt area and filled it with red.
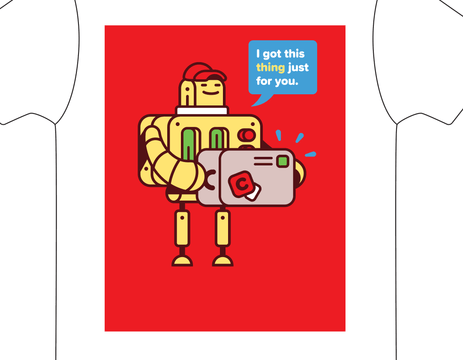
This immediately helped me realize that the blue parts of my robot weren’t really popping against that red background.
Step 5: Fixing contrast issues
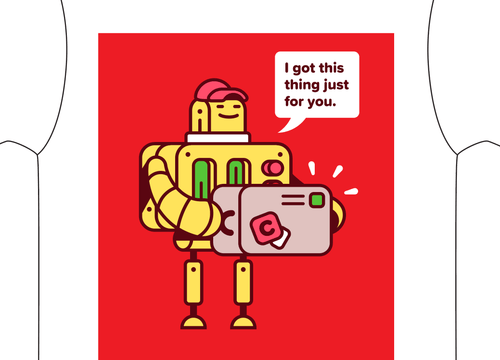
To fix this contrast problem, I selected these blue sparks using the Direct Selection Tool (A) and changed their fill color to white.
Much better. But that speech bubble needs a bit of attention too. I changed it to white as well and the text got that deep maroon color from the illustration using the Color Picker.
This back-and-forth process of visual balancing helped ensure every element was readable and impactful. Make sure to check this for each t-shirt color you want to print. Background colors have a huge impact on the design itself and this process lets you avoid any unwanted surprises.
Step 6: Using the shirt color as part of the design
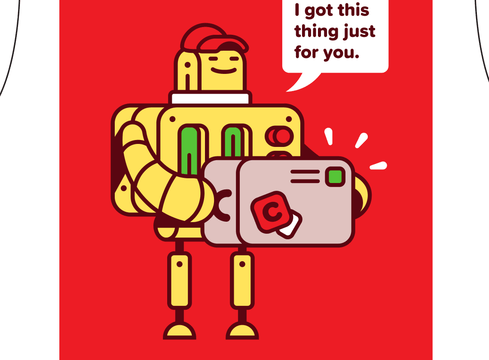
One neat trick I wanted to do was letting the shirt color show through parts of the design.
I selected the red fill from the robot's hat and buttons and simply deleted them. That made those areas transparent, meaning the actual red fabric of the shirt would show through when printed.
Even if you use the exact same colors as your fabric color, they’ll still be printed and you lose out on the opportunity to use the fabric as a color.
I also wanted the word "thing" in the speech bubble to show the shirt color. Here’s how I did it:
- Selected the word “thing” and the white speech bubble.
- I opened the Pathfinder panel (Window > Pathfinder) and clicked Minus Front to subtract the word from the bubble.
That’s all! Now the red of the shirt fabric would appear in place of the word thing.
This is how it would look like on different fabric colors:
Step 7: Outlining text
To avoid font compatibility issues during printing, I converted all text to outlines:
- Select each text object.
- Right-click and choose Create Outlines, or select everything and go to Type > Create Outlines.
This turns the text into vector shapes and won’t cause any unwanted surprises during the printing process.
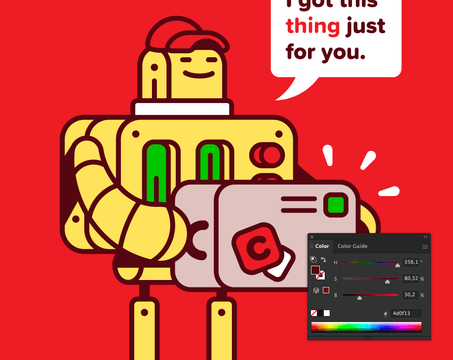
Step 8: Improving colors for print
Shirts fade over time, so I wanted my colors to be more vibrant up front. Using the HSB slider in Adobe Illustrator works very well for this. In Adobe Illustrator, HSB stands for Hue, Saturation, and Brightness.
- I opened the Color panel (Window > Color) and switched to HSB mode from the drop-down menu.
- I selected the elements I wanted to adjust.
- I increased the Saturation (S) slightly to make the colors pop more.
For example, I bumped the Saturation (S) of the green by dragging the slider to the right.
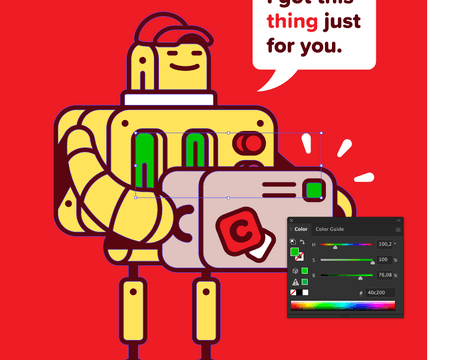
I also slightly darkened the maroon for better contrast by dragging the Brightness (B) slider to the left.
Step 9: Cleaning up before saving
Before exporting, I deleted the background color layer I used for previewing. This is very, very important ,as it was just a guide and not meant to be printed.
I did a quick check to see if all my text had been converted to outlines, and after that, I was ready to export. Sticker Mule accepts all standard file formats, which means I can upload the original Illustrator file instead of worrying about PDF profiles.
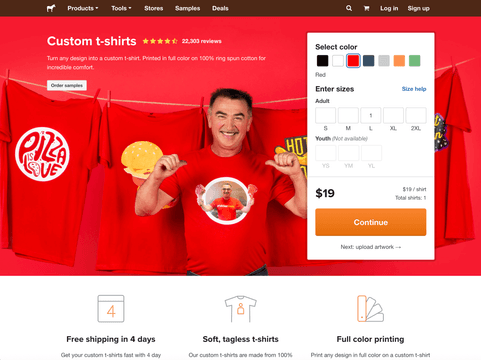
Step 10: Submitting to Sticker Mule
With the file ready, I went to their t-shirts page, picked the color and size, and hit the Continue button to upload the artwork. You can order 1 shirt at a time, or multiple and in multiple sizes.
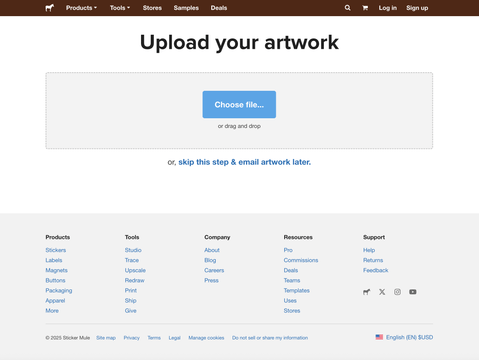
Here you can simply drag and drop your file or skip this step and email them the artwork later on.
They sent me a proof within minutes. If something had looked off, I could’ve requested unlimited free adjustments, but it already looked exactly like I designed it.
Final thoughts
Designing a shirt in Adobe Illustrator using these templates gave me full creative control. Being able to test shirt colors, tweak contrast, adjust size, and see exactly where to place the design meant I could customize every detail.
If you’ve been thinking about designing your own t-shirts, give it a shot. It’s easier and way more fun than you might expect.
So whether you want full control in Adobe Illustrator or a quick creative boost in Studio, Sticker Mule makes it easy to turn any design into custom t-shirts.
Comments