How to design your personalized movie poster in Studio
Geplaatst door Miles Wright op
Ever dreamed of seeing your name in lights or being featured on a movie poster? With our free tool Studio, creating a custom movie poster is easier than you think.
No expensive software, no design experience required, just your imagination and a few minutes of pure fun.
Personalized movie posters are perfect for birthday parties, housewarming announcements, wedding celebrations, Valentine’s surprises, or even as fun gifts for friends and family.
We have a bunch of free templates to help you get started, but in this tutorial, we’ll show you how to design one from scratch so you can make it completely your own. Ready, set… action!
Setting up your file
First, let’s open up Studio. You can find it from our homepage under Tools ➔ Studio, or go directly to stickermule.com/studio.
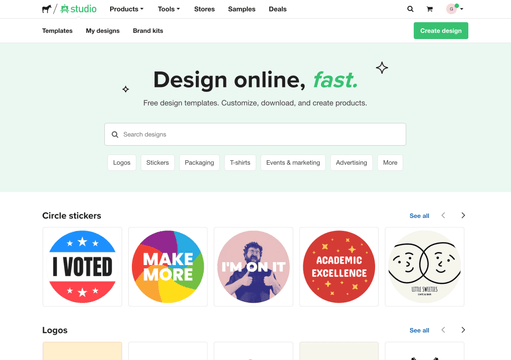
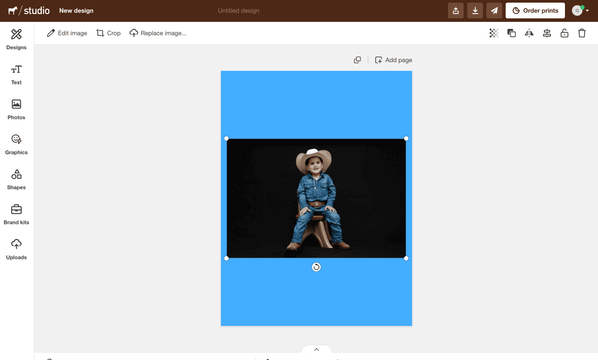
Click Create design.
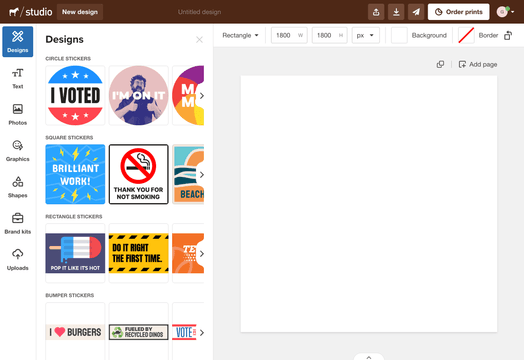
Then, click New design in the top left corner to choose your type of design.
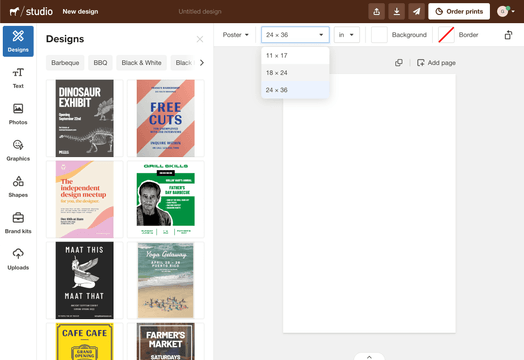
Scroll to find the type of design you need, or simply type it in the search bar. In this case, select Poster.

We’ll be designing in an 18 x 24” size. You can change the size at any time, right there in the toolbar.
How to design your personalized movie poster
Follow these simple steps to create a personalized movie poster in Studio. If you have a specific movie in mind to create a parody of, search for some reference images online and see what elements need to be in there to make it recognizable enough.
We want to design a parody, not a copy. So make sure to stay away from copying material too literally, and try to make it your own.
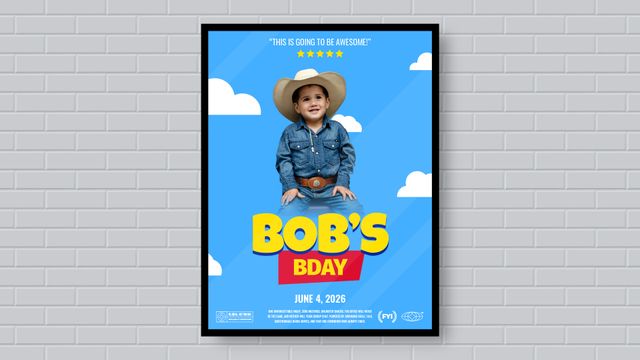
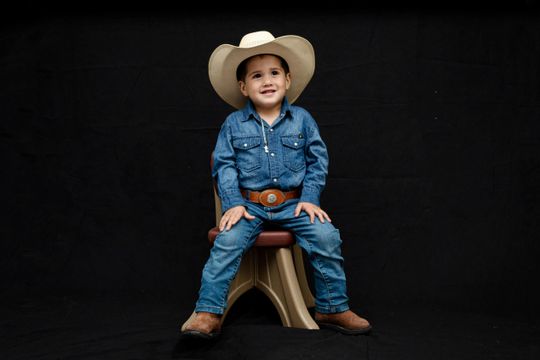
For this project, we’ll be designing a birthday poster for my nephew Bob. He’s a huge cowboy fanatic and recently fell in love with that one movie about talking toys. You know the one.
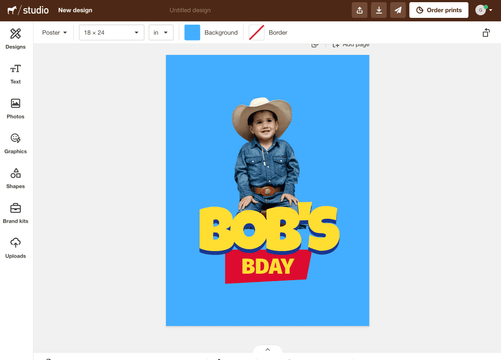
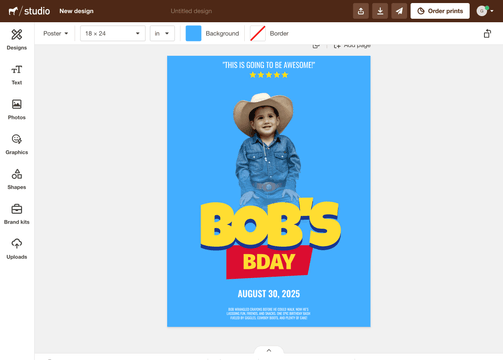
Step 1: Select a background color
Click the Background button on top and set your background color.

Step 2: Add a photo
You can either use a photo as a full background or have a traced image to blend with the background color. With this photo, for example, I would like to remove the background.
If you don’t have your hands on expensive software like Adobe Photoshop, we made it possible to do this right inside Studio. And it’s completely free. We’re just that cool.
First, go to Uploads and select Upload image. Select your file and click Open.
With the image selected, head over to Edit image in the top left corner and click Remove background. Now we’ll do our magic.
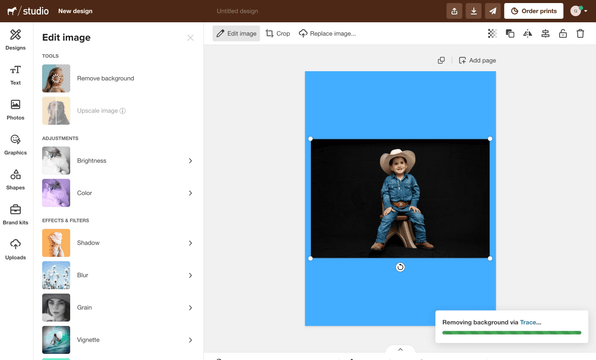
And after a couple of seconds… tadaa!

Step 3: Add text
Because I already know which iconic movie poster I want to mimic, the style of typography I need to work with is quite clear to me. The only challenge might be to find a free font that comes close to this.
Luckily, Studio is packed with more fonts than you’ll need. And they’re all 100% free to use, so no need to stress about that.
First, go to Text and select Add a heading. Type your text and start scrolling through the fonts until you find your perfect match.
For me, it was Luckiest Guy. It’s a very bold, playful font that matched the vibe perfectly. Again, it’s not a literal copy, but it makes it all the better. Because it’s original.

You can change color, size, letter spacing, and much more.
We’ll need to have a blue layer below the text to make it recognizable. A clever trick is to simply duplicate this text and move it down. Hold Shift + Option (Mac) or Shift + Alt (Windows), then drag the text downward a bit.

To make it complete, I need to add a red shape below the heading. You can either go to Shapes and select one of our premade shapes. Because this shape is quite specific, I’ll be importing it as an SVG.

Now let’s find a matching font to use inside the red shape. I chose Fira Sans, which works nicely in all caps.
Pretty awesome already, right? Now, another text element that’s super recognizable on movie posters: quotes. To fit more text in limited space, studios often use condensed fonts.
These are typefaces where the letters are narrower, so you can squeeze in more without shrinking the size too much.
Again, Studio has tons of free fonts to choose from, and I found Oswald pretty fitting for this purpose. Type a fun text and maybe even add some stars in there to make it even more ‘movie-like’.

Nice! And the same can be said about this poster; this is definitely going to be awesome! Now I’ll be adding a date for the birthday party and writing a fun story that can be used on the bottom to look like a list of credits. This is also one of these iconic elements from movie posters that will really amp up your design.
It adds a lot of fun, and people will laugh when they find out it’s actually a tailored piece of text for the birthday boy. Maybe share a fun story about him or tell how cool he is with his cowboy hat on, get creative with it.
This will also look best with a condensed font. I have used Oswald for all of these condensed texts.

Step 4: Add a gradient
If you’re using traced photos, it often looks good when it’s blended with the background a bit. A clever trick to do this is by adding a gradient shape.
Go to Shapes and select a regular square.

Then, choose Vertical gradient in the Fill style options.
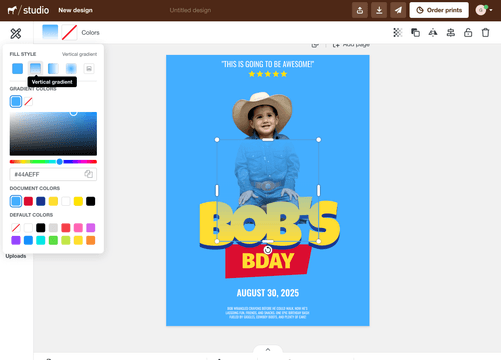
Now rotate it by clicking and dragging the rotate handle.
Then, go to Arrangement in the toolbar, or use Cmd + [ (Mac) or Ctrl + [ (Windows) to move the gradient behind the text.
Step 5: Add graphics
To add the finishing touch to the design, let’s add some graphics. You can either upload your own elements or browse through the library. I’ll be adding some clouds.

When you have your element selected, you can easily recolor it using the color option in the toolbar. Simply click on it and you’ll be able to choose your perfect color. I’ll be using white.
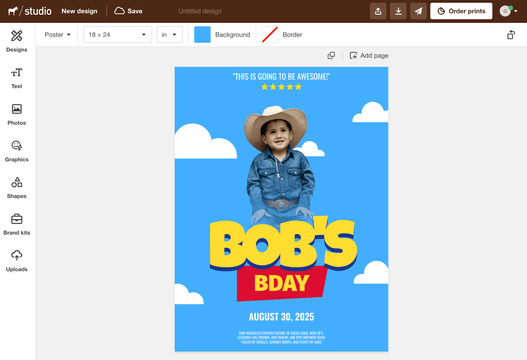
And let’s add some movie-like elements to finish it up.

Done! How easy was that, right?
So, what's next?
From here on, you can print it directly in the quantity you need. You can even print a single one, although there’s a lot of savings to be made when ordering multiple at once. It could even become a birthday token for the family? Maybe even signed by the birthday boy/girl!

If you first want to share it with your family and friends to get approval or want to bring them into the fun early on, you can share the link or even download it as a PDF.
Make sure to save your project so you can make any edits you’d like later on and start the order from there to print your own custom posters.
Have fun with it, and we can’t wait to see what you will come up with. Everyone can become a movie star!