How to turn your photos into stickers: the easiest and quickest way online
Posted by Sticker Mule on
Stickers are all the rage these days and if you want to stand out from the crowd in-person or even on your social media profiles and chat apps, making stickers based on your own photos is one of the easiest ways to do it. But let’s be honest: Creating stickers from scratch isn’t exactly easy. Unless, of course, you have a little bit of insider knowledge about how to make them in a jiffy. So if you want to know how to turn your photos into stickers like a pro… read on.
What you’ll need
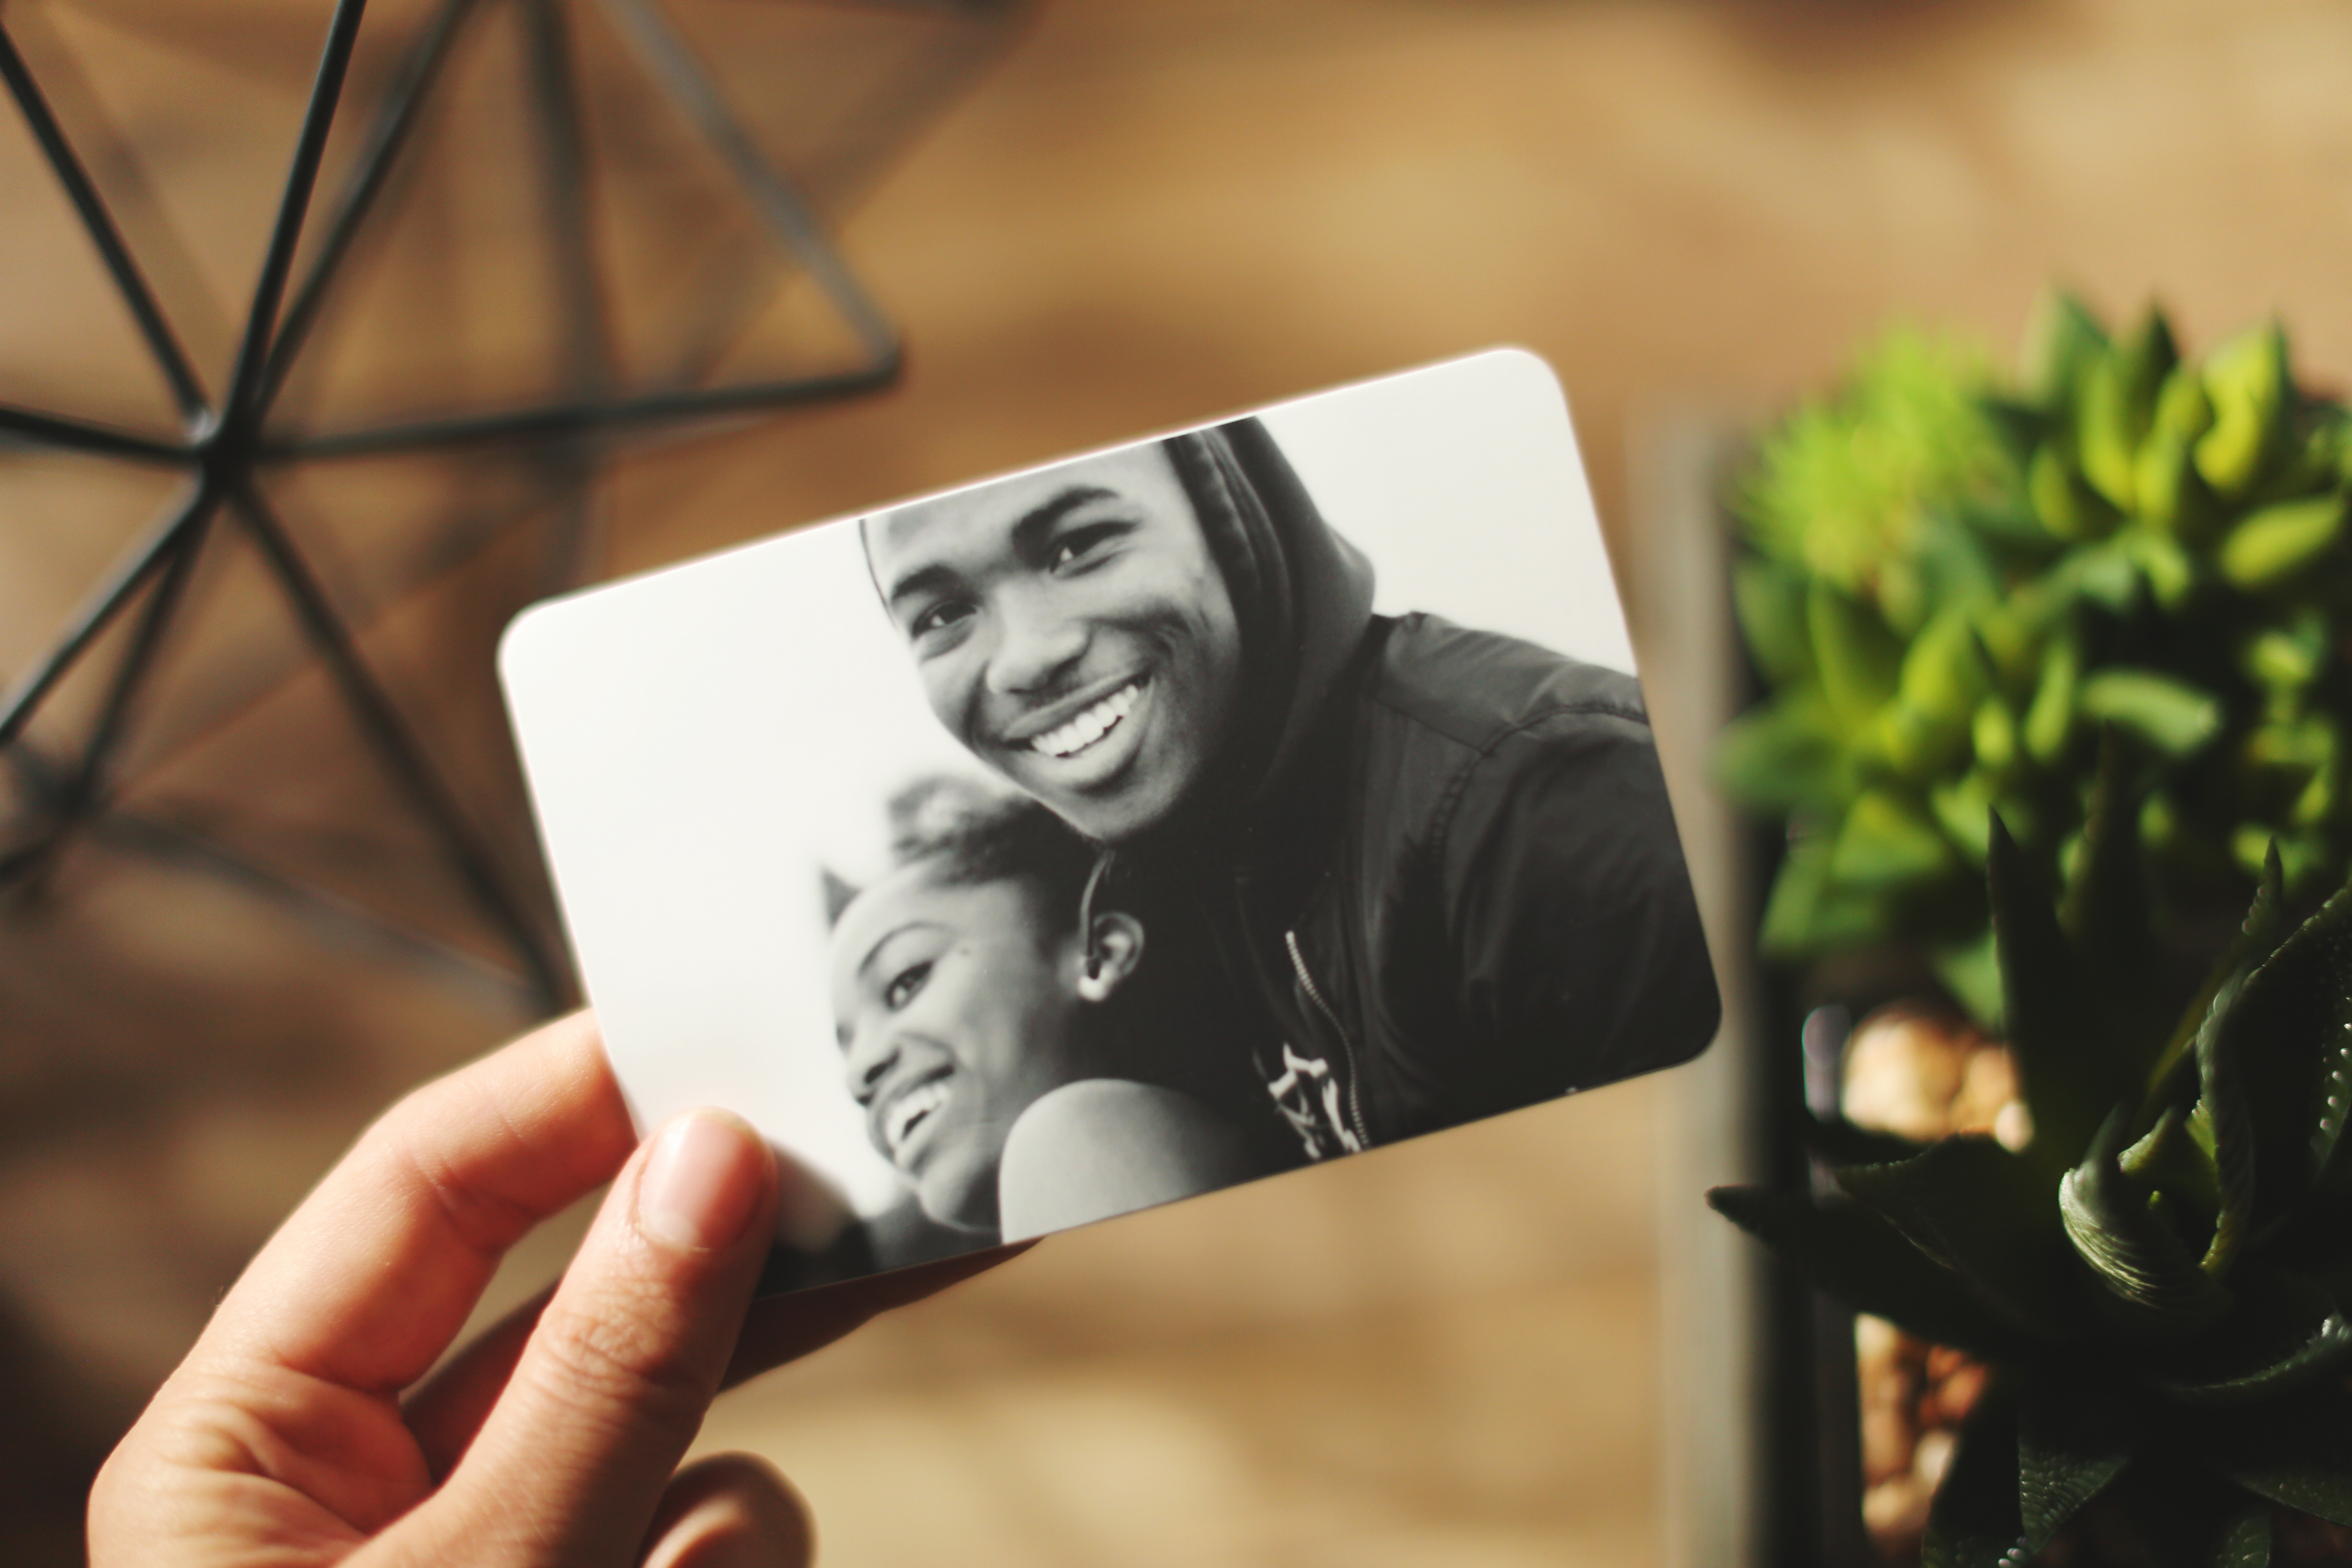
First, let’s run through what you’ll need in order to make your own stickers. To start, you’ll need a computer with internet access. You also need a digital version of the photo you want to use. Ideally, the photo should be at least 5 inches wide by 5 inches tall. But don’t worry if your photo isn’t exactly the right size. You can still make your own stickers, even if your image isn’t perfect. Next, you need to decide which photo(s) to use. You can use a single photo, or you can create a sticker pack that contains multiple images. If you want to create a sticker pack, be sure to select photos that have a consistent theme. For example, you could create a sticker pack that features photos of your dog. Or you could create a sticker pack that’s centered on your hobby, like photography.
Find the right sticker company
To create stickers from your photos, you need to find a sticker maker company. This is the company that will help you create and print your stickers. There are lots of different sticker companies out there. So how do you choose the right one? The best way is to read customer reviews for different sticker companies. This will help you find a company that offers high-quality stickers at a reasonable price. After you’ve found a reputable sticker company (like Sticker Mule’s photo stickers), you’re ready to move on to the next step: designing your own stickers.
Designing your own photo stickers
Now that you’ve chosen a sticker company and you know what photos you want to use, it’s time to design your own stickers. To do this, you’ll need to log into your account on the sticker company’s website. This is where you’ll create your own sticker pack, choosing everything from the design to the size of your stickers. If you have a unique shape, a die cut sticker (a sticker that is cut in the custom shape of the object of your sticker) could be a great idea. Otherwise a square, rectangle, oval, or circle sticker should work but you’ll have to do some editing to make it fit into those exact shapes. Once you’re done, you’ll be able to order your stickers and have them shipped directly to your door. It will take around a week for your stickers to be printed and delivered. And that’s it! Now you know how to turn your photos into stickers.
Conclusion
Stickers are an easy and fun way to customize your digital life. They can help you stand out from the crowd and make your social media posts more interesting. If you want to learn how to turn your photos into stickers, you can follow the steps outlined above.
Comments