Preparing your artwork with a border and/or cut line will help ensure that your sticker will be cut exactly as you intended. The process is slightly different depending on your file format, so we provided instructions for both Photoshop and Illustrator.
1. Resize your artwork:
Open your file in Adobe Illustrator and select your entire design. Set the size to the size you’d like your sticker to be.

2. Duplicate your artwork:
With your artwork selected, click Edit > Copy, then Edit > Paste in Place. This creates a copy of your artwork in the exact same position.
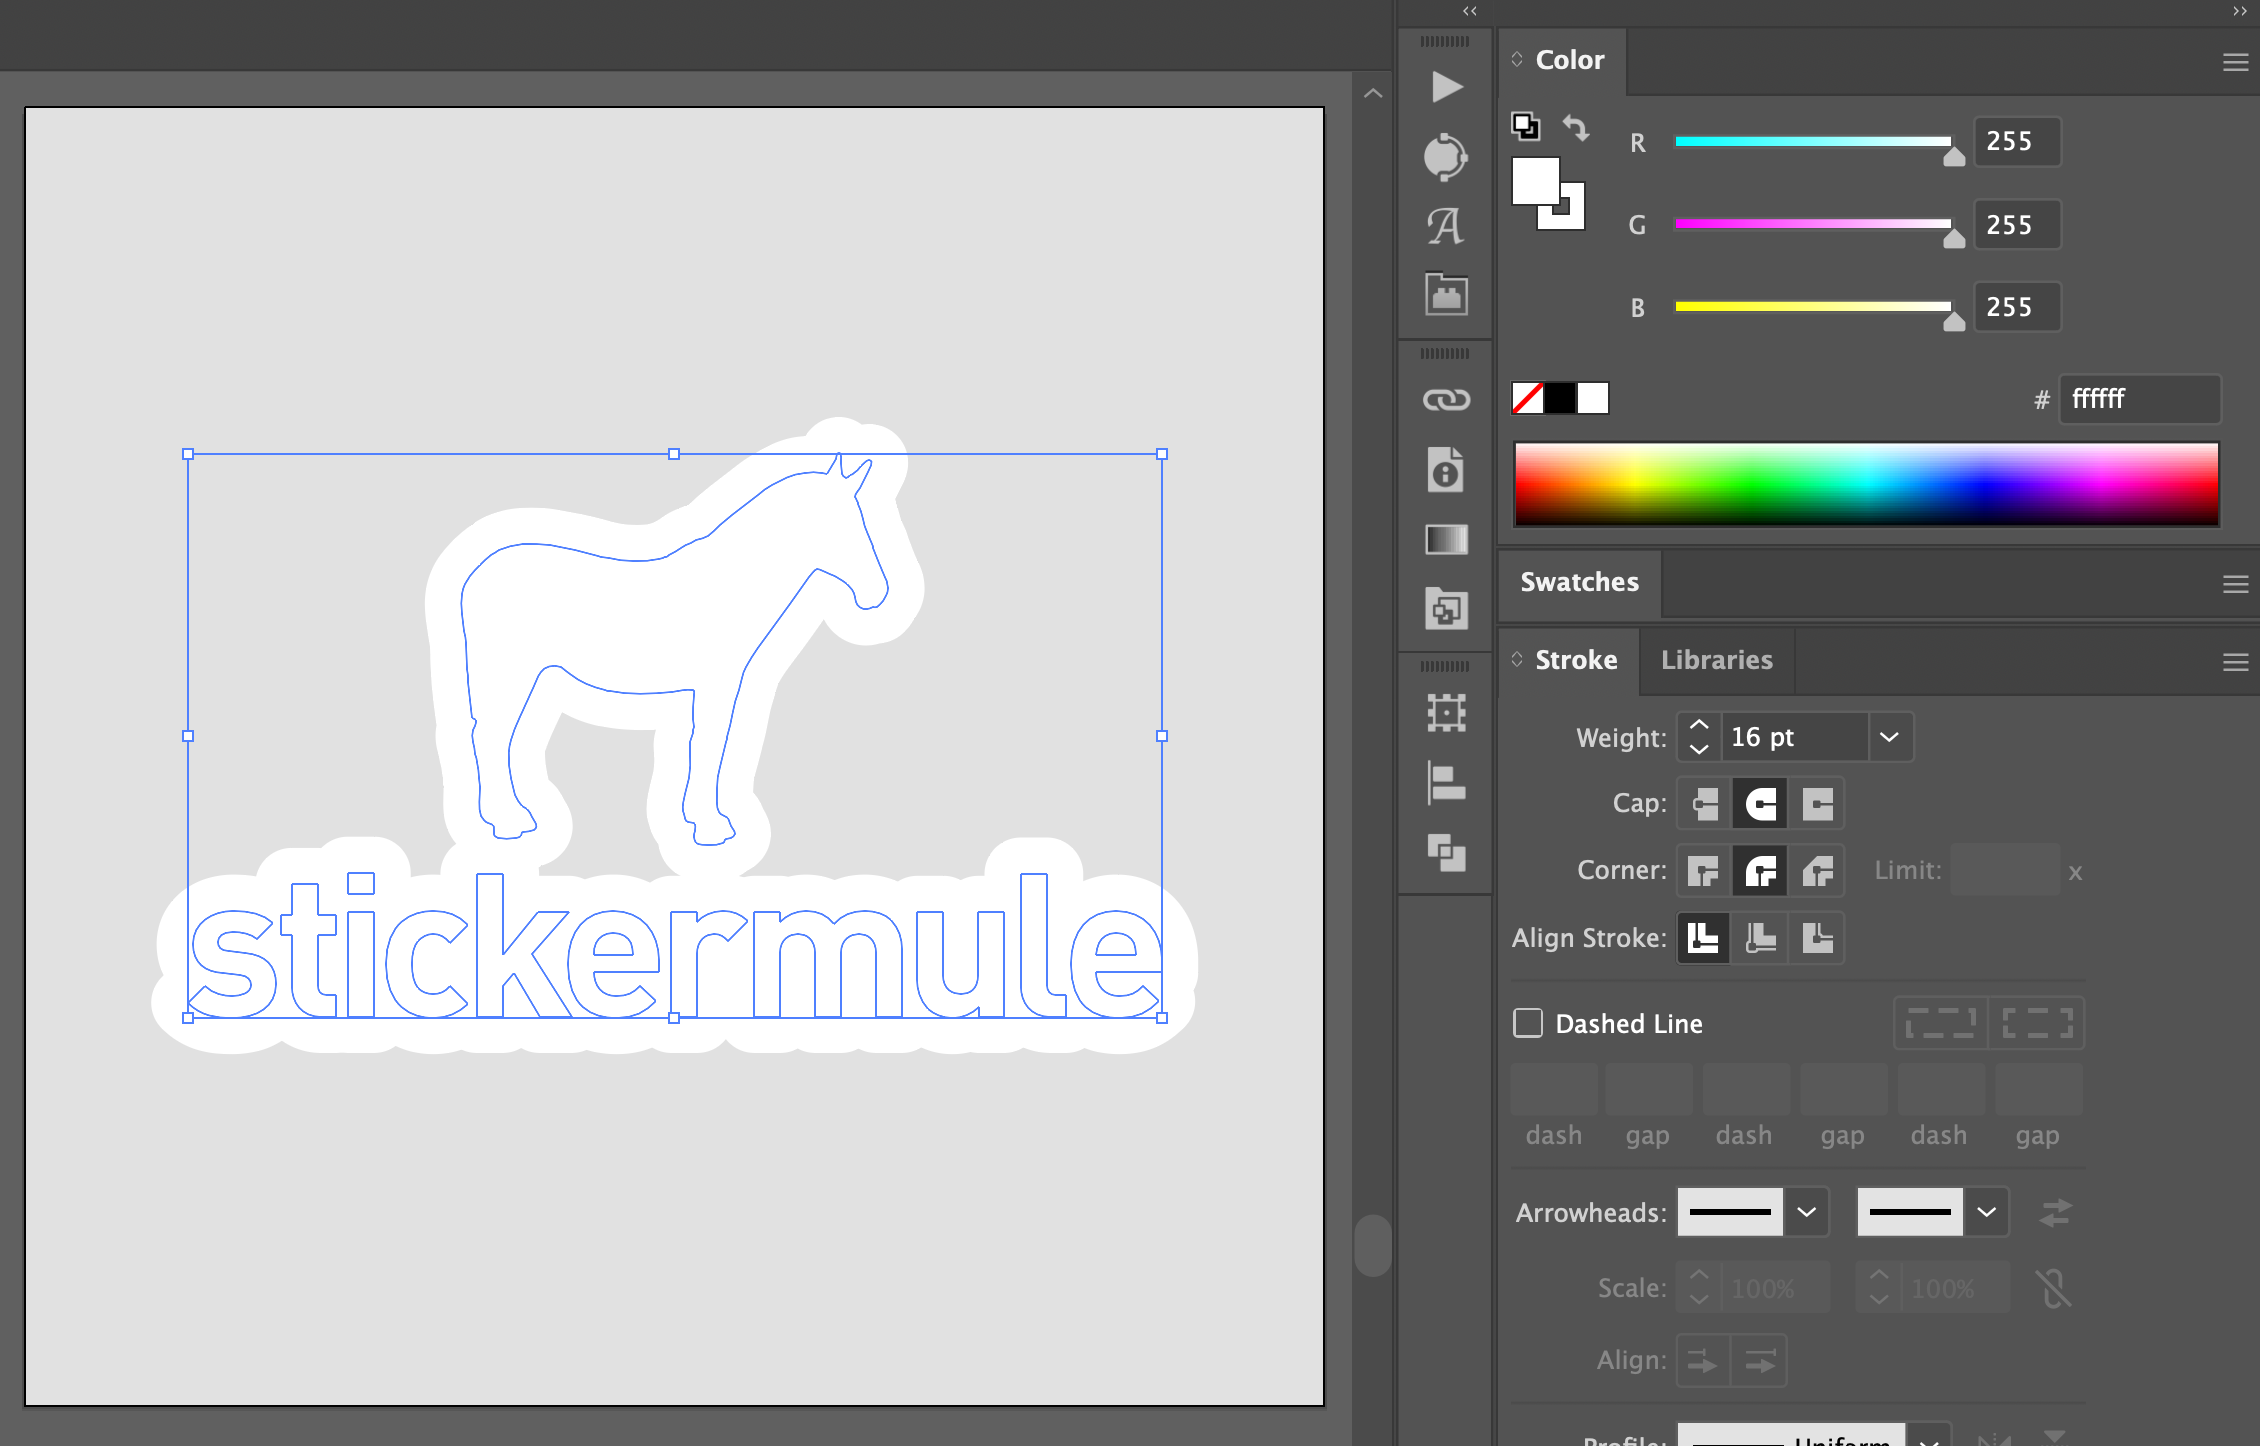
3. Add a stroke:
Change the color of the duplicated artwork to your desired border color. Use the Stroke panel to add a stroke with round caps and corners. Set a weight that creates a border size you like.
4. Expand the stroke:
With the object still selected, click Object > Expand. Confirm Stroke is selected and click OK. From the Pathfinder panel, click Unite to create one unified shape.

5. Clean up your border:
Depending on the shape of your design, you may have some inner areas that need to be filled in or rough edges that need to be smoothed out. Once you’re happy with your border, click Object > Arrange > Send Backward to move your border behind your artwork.

Comments